The other day a picture on 500PX caught my eye and I liked the effect the photographer used. Since it’s not my image, I won’t put it here, but rather I’ll give you the link below.
I liked it so much, I decided to steal the idea, figure out how to reproduce the effect, but still make it my own. When you see an image you like, figure out what it is that caught your attention. It might be lens selection, viewpoint, lighting, color or post processing. Whatever it is try to duplicate it. By that I don’t mean copy it exactly. Besides being virtually impossible, that’s also unethical, especially if you try to pass it off as you own. But using another photographer’s image as a starting point isn’t really stealing, it’s just being inspired. Many times when you see an effect you like, you may be able to search for it on Google and find instructions or even videos. The hardest part may be how to describe it in Google to get relevant results.
What caught my eye in the image I liked was the faded looking background that was large with a normal looking smaller image in front. It’s almost like the subject is casting a large colored shadow. You’ve probably seen similar effects in product shots, but you don’t often see it with people shots. So that was the key concept I “stole” for my attempts. This one was easy enough to figure out on my own, and I’ll give you the basic steps below.
I started by looking for some high key portraits. I didn’t visualize this working with low key subjects, but as you’ll see below, it really can work.
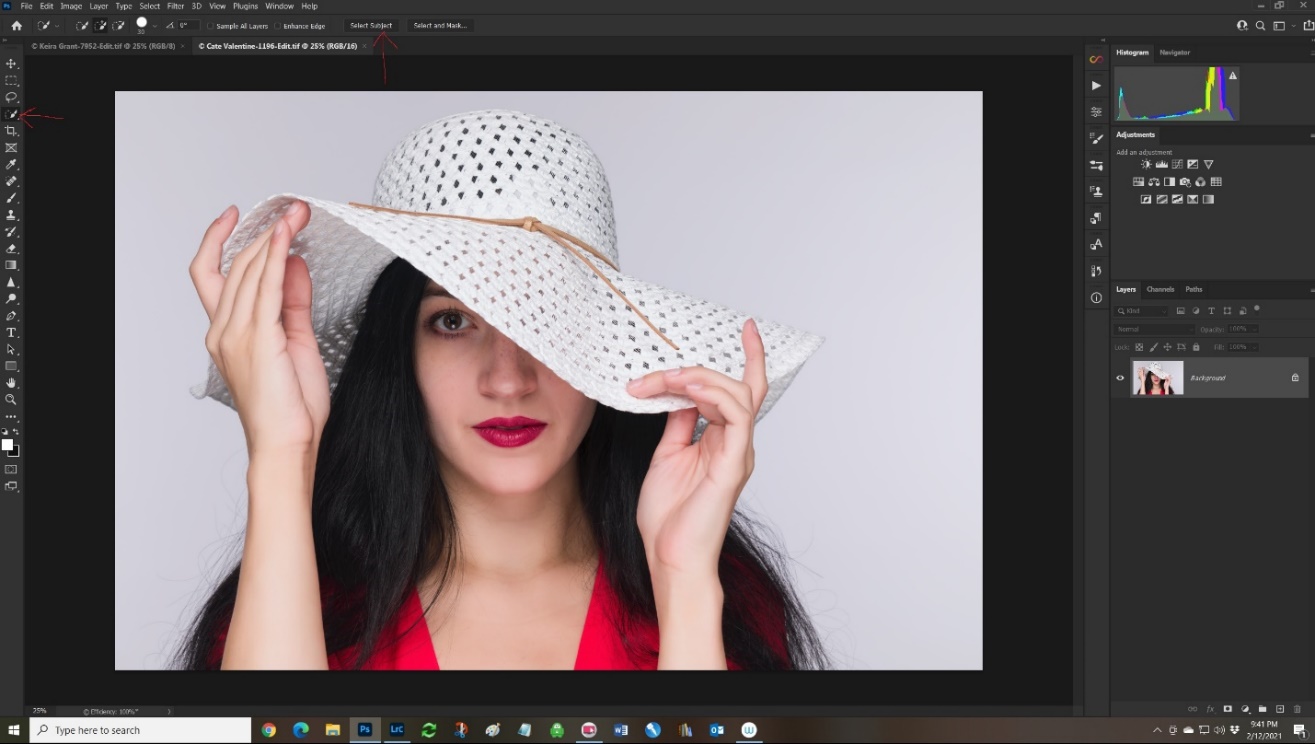
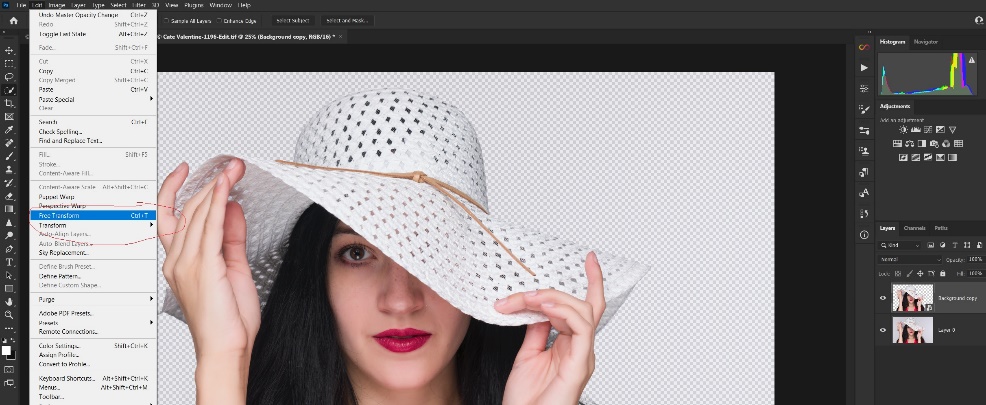
Step 1 Open the image and select the subject.
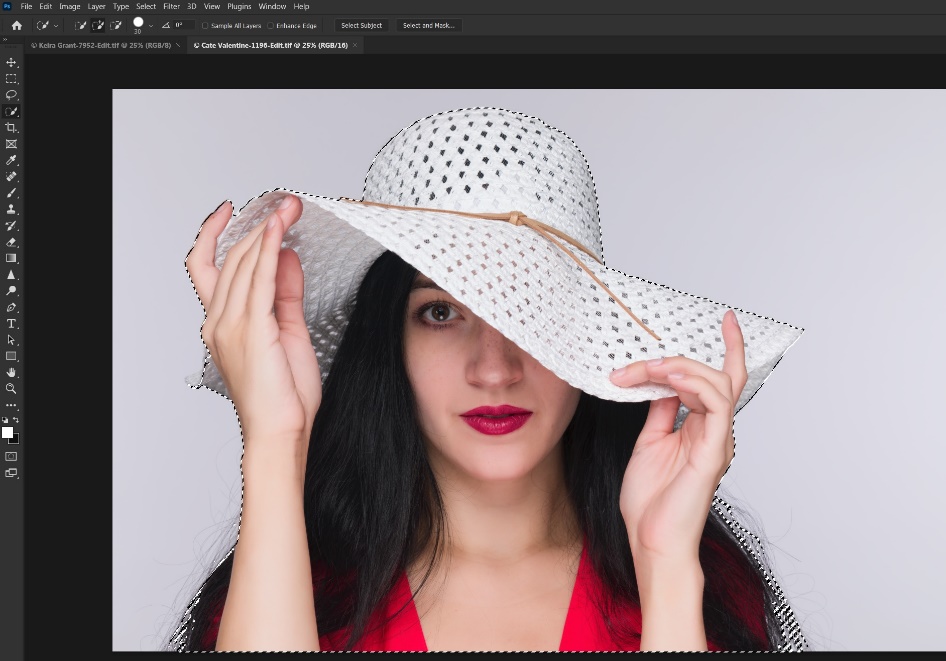
I won’t go into a lot of detail on making a selection, since there are lots of good tutorials out there. I selected the quick selection tool, and then clicked on “select subject”.
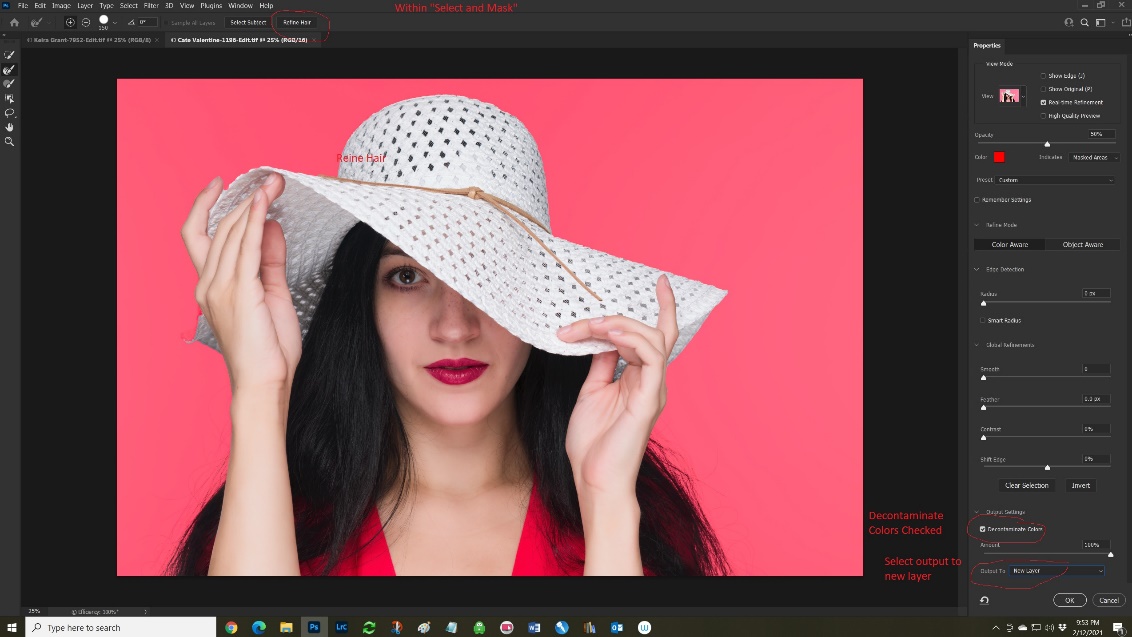
Step 2 Refine the selection
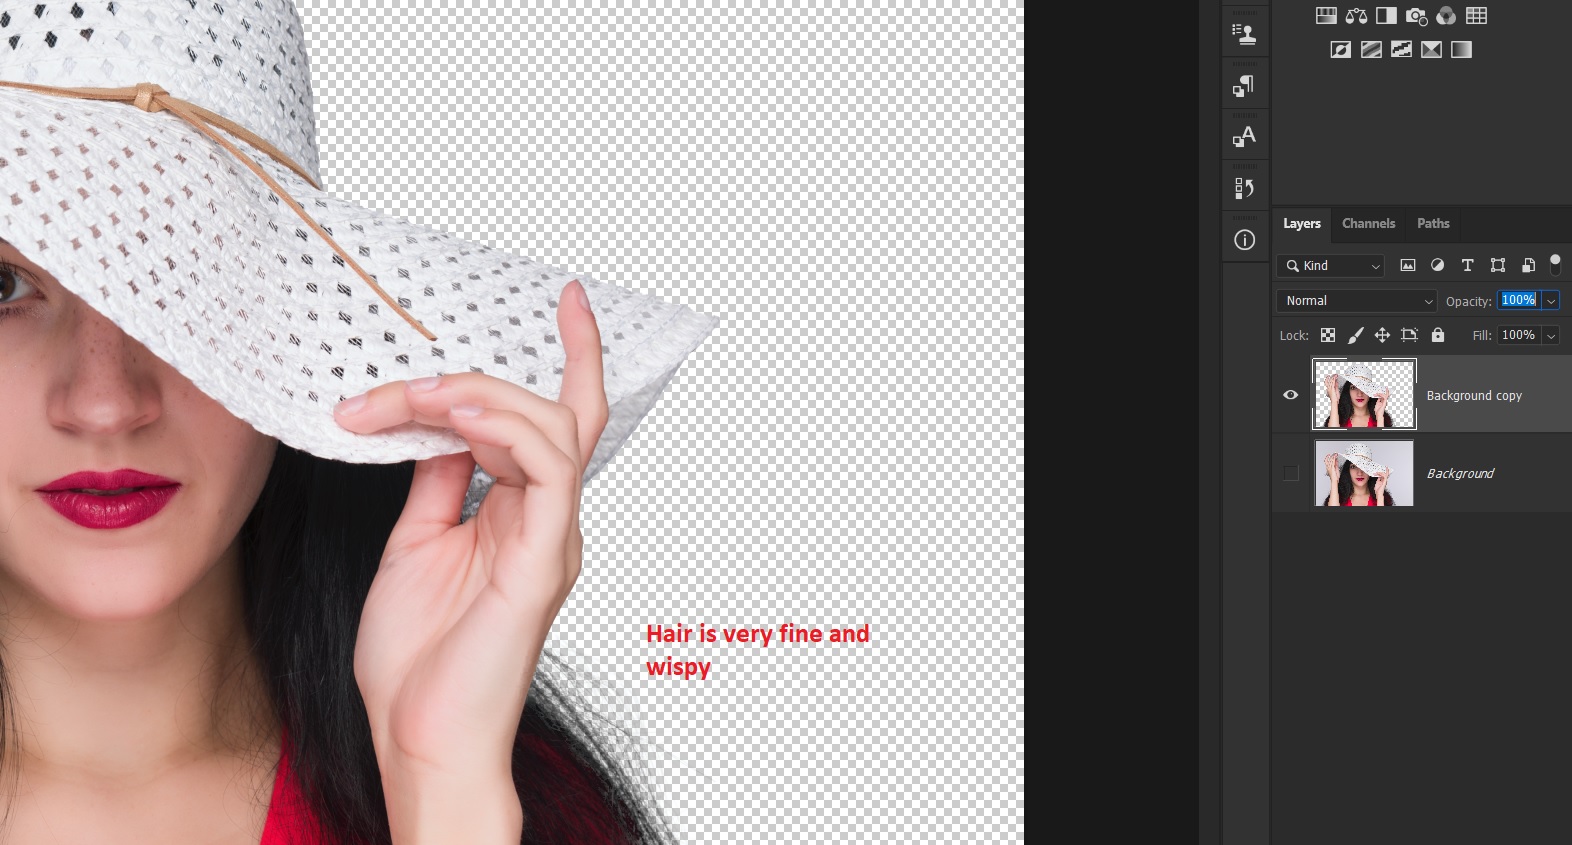
“Select subject” did a pretty good rough selection, but you’ll see it missed a lot of the loose hair. I clicked on “select and mask”, “refine hair”, and most importantly checked the box to “decontaminate color”. I selected on “output to new layer” and clicked OK. I had a pretty good selection faster than you read these directions. Just a couple of years ago this would have taken me 20 or 30 minutes.
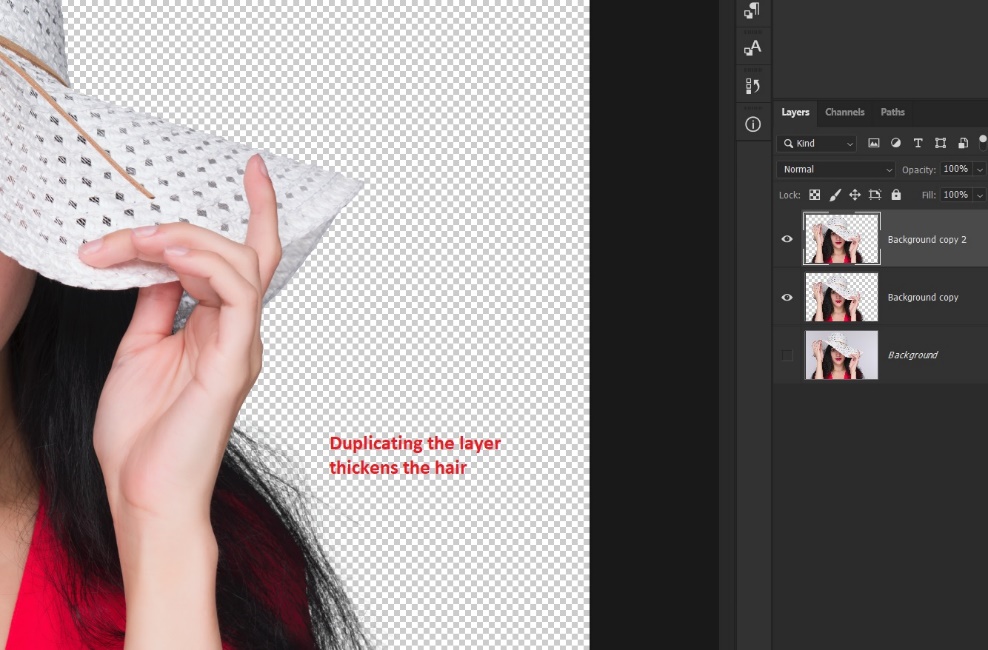
Step 3 Duplicate this layer
Simply duplicating this layer with Ctrl-J makes the wispy hairs become thicker. Then merge this layer with Ctrl-E.
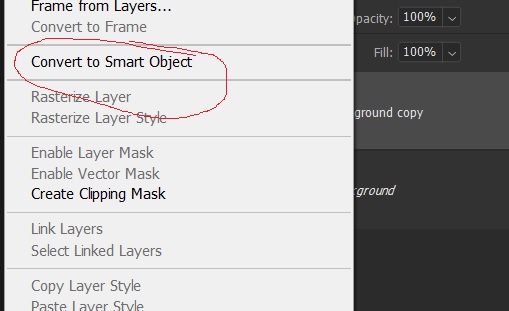
Step 4 (Optional) Convert the subject layer to a smart object.
Do this either from the layer menu or right clicking on the layer and choosing create smart object. The advantage of creating a smart object is that in a later step when we resize the subject, if we reduce it and save it and then change our mind and enlarge it, it will lose detail with each resizing. This doesn’t happen if the subject layer is a smart object. If you’re decisive and always get it just right on the first try you can skip this step.
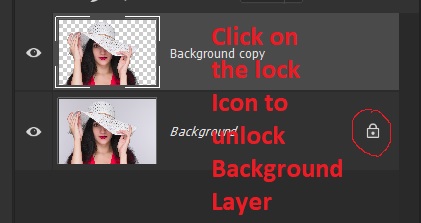
Step 5 Unlock the background layer.
You can’t change the opacity of the background layer because it is locked. To unlock it, just click on the lock icon.
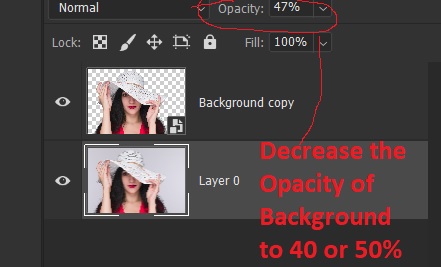
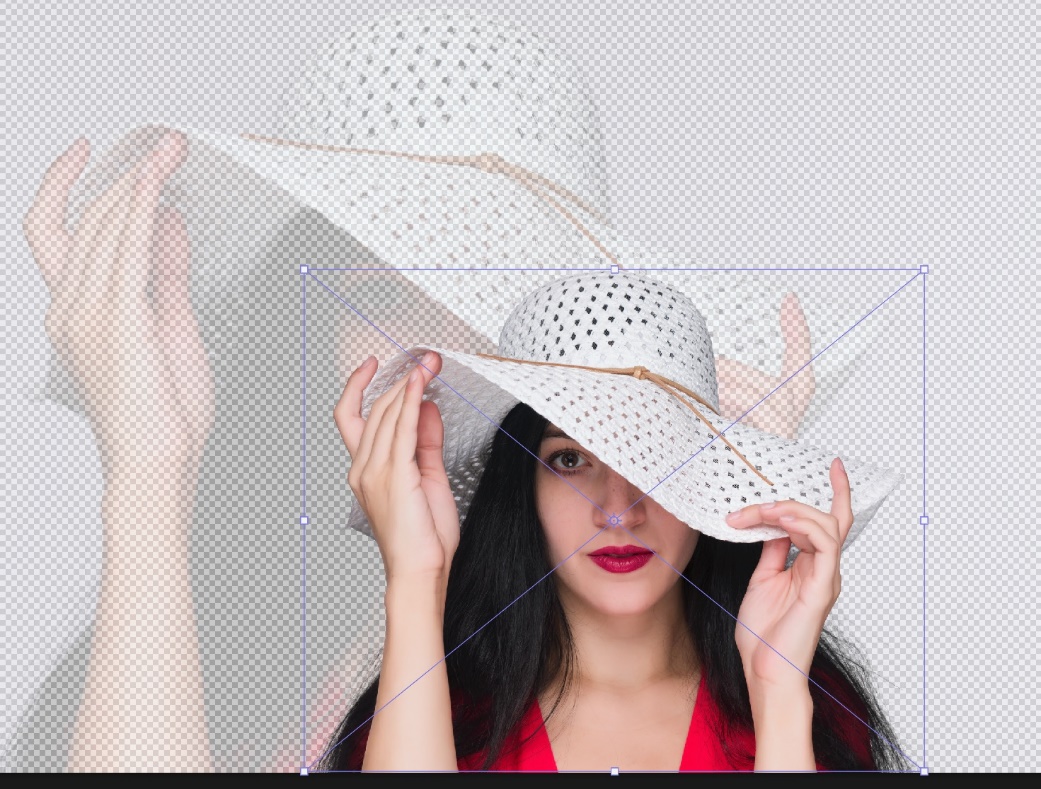
Step 6 Decrease the opacity of the background Layer.
This is personal taste, but I find something between 40 and 55% usually works. You’ll see the gray and white checkerboard pattern that represents transparency.
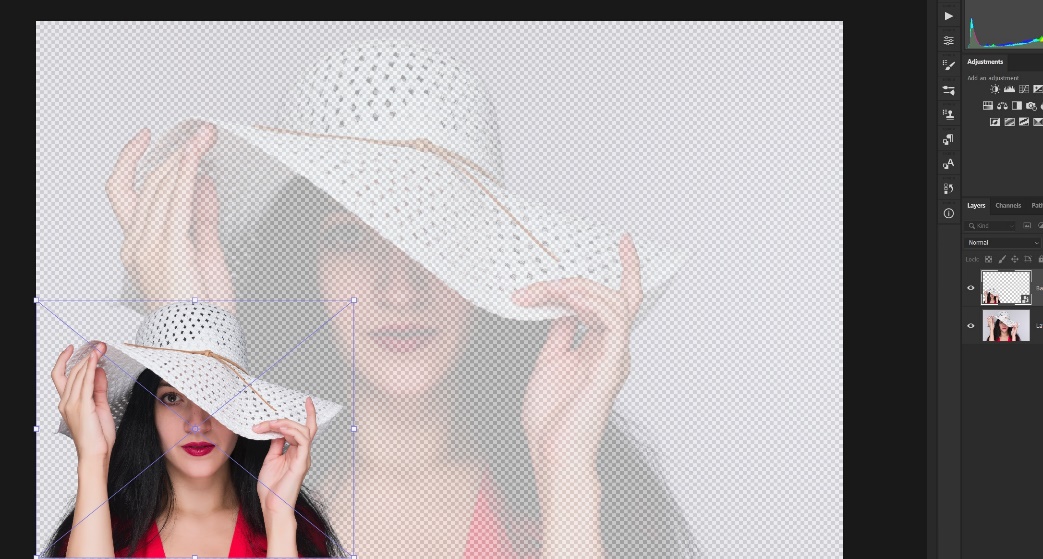
Step 7 Resize and reposition your subject
Select the subject layer and Ctrl-T to open free transform. Scale your subject down to the size you want and hit “enter” to complete the change. Use the move tool to reposition it. If you decide you need to resize it again, you’ll be glad you created a smart object.
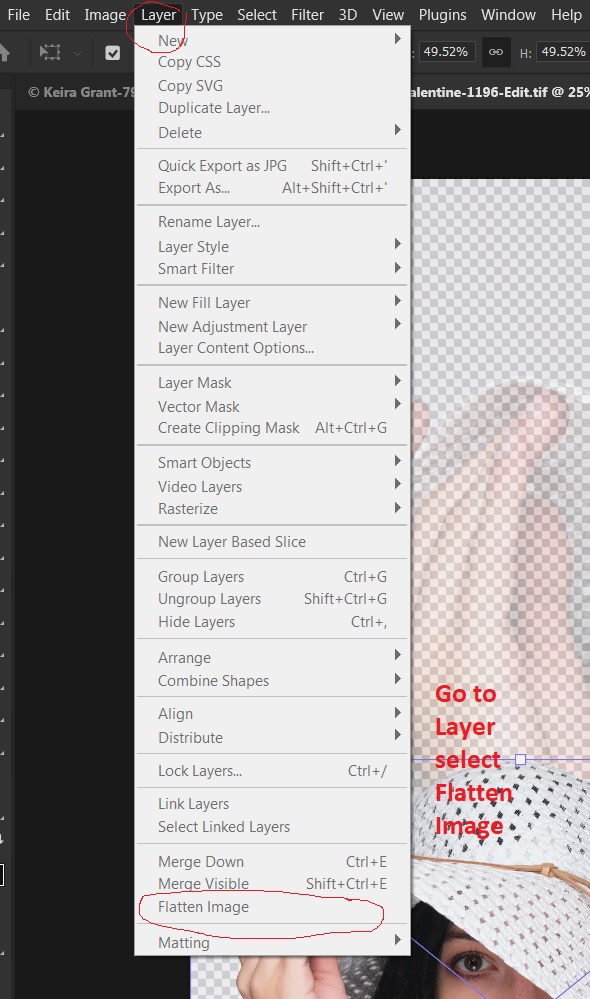
Step 8 Flatten the image.
Go to layers/flatten image. By the way, you won’t really see the full effect until you’ve flattened the image. I’ve done it enough to visualize the results, but you may find it helpful to create a new blank layer, move it to the bottom and fill it with white. Then the effect will look more like the final image, even before you flatten it.
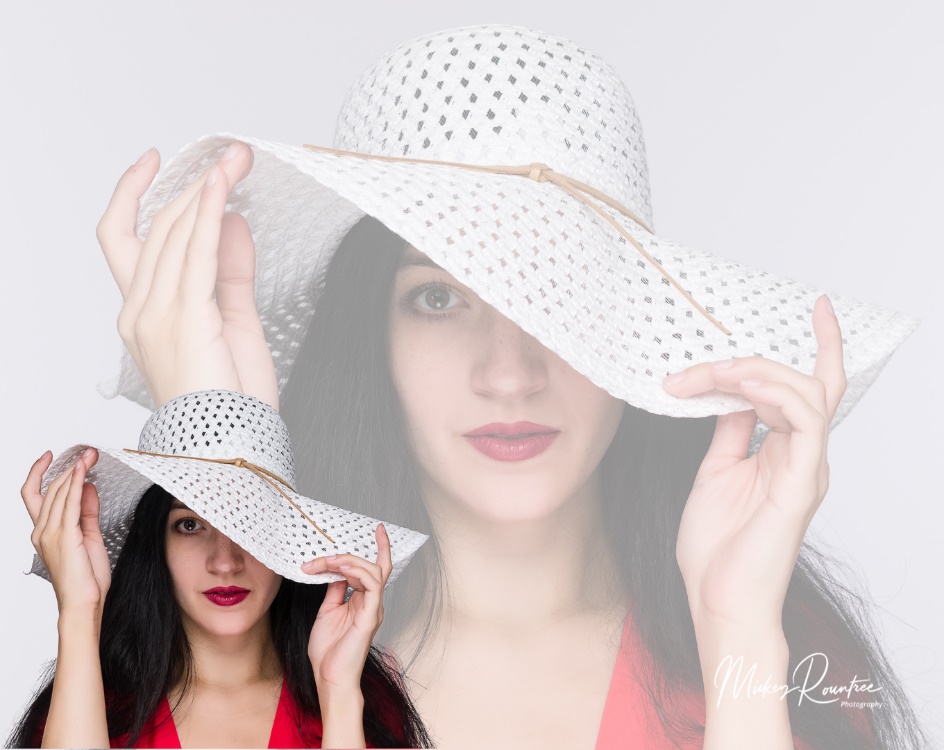
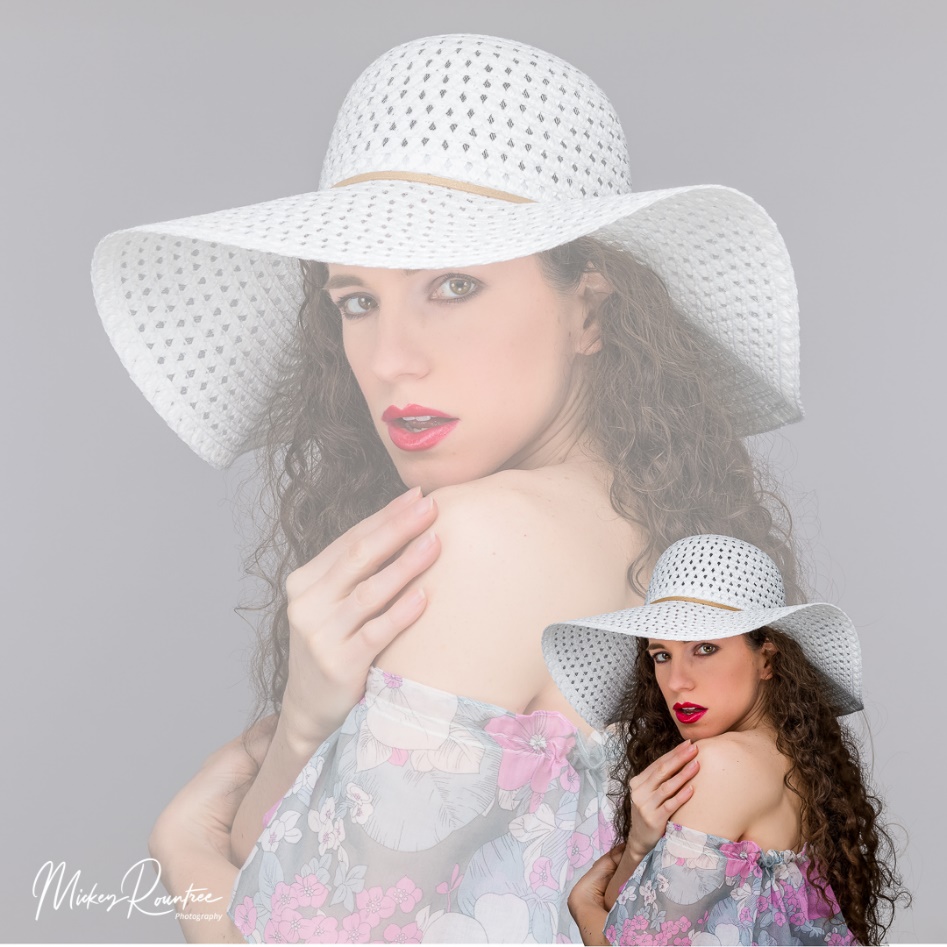
Here is my final image and a couple of other attempts.
At first I started out by using the same subject both large and small. But it works just as well with two (or even more) different images.
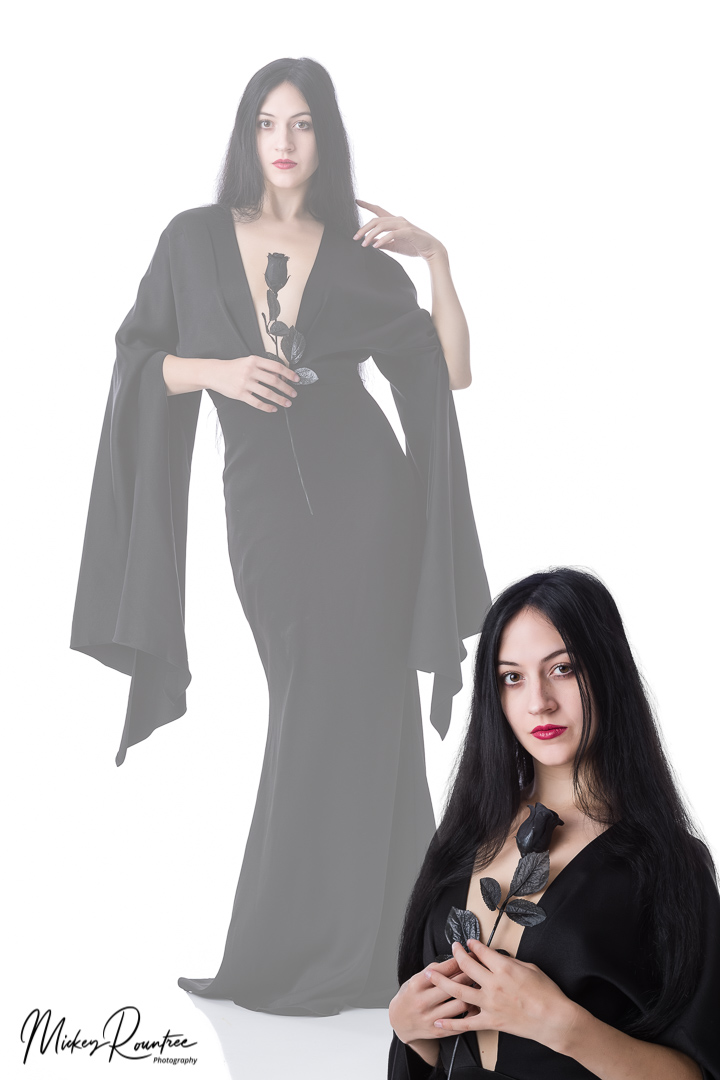
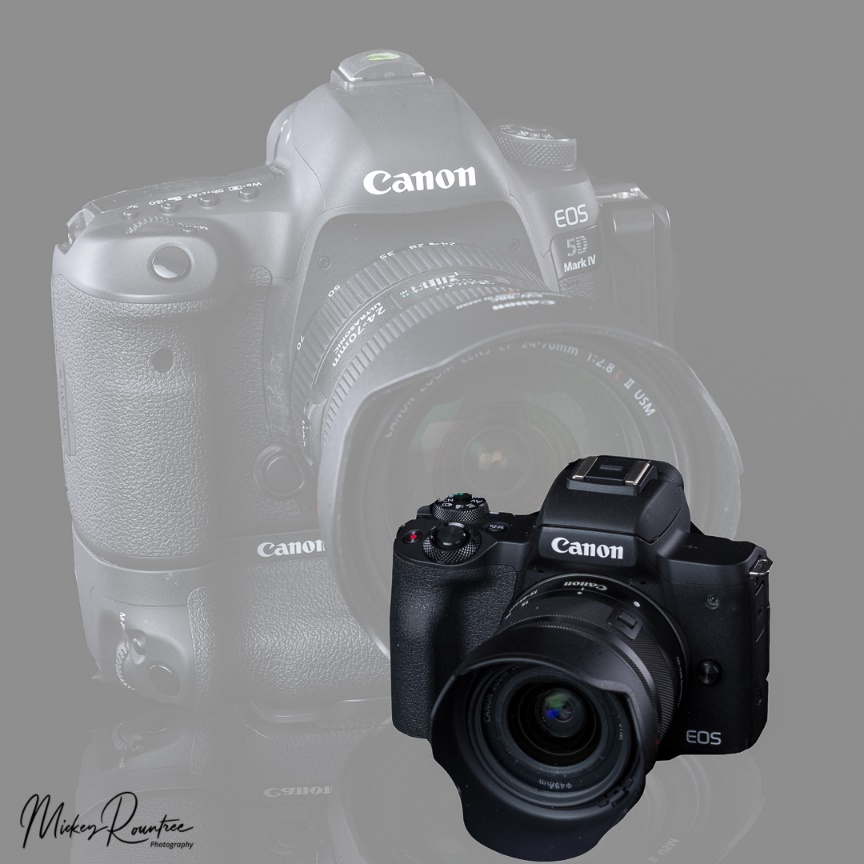
When I first starting working with this technique I visualized images with white or light gray backgrounds. But just to see what would happen, I tried it with a black background and it worked well. So far I’ve done this technique mainly with portraits, but it would work with products, cityscapes and maybe even landscapes with some imagination.