Photography Basics – Using Auto ISO
by Mickey Rountree
The exposure controls on any camera are shutter speed, aperture, and ISO. In manual mode we set all three to obtain our proper exposure. We have total control, and the only disadvantage is the time it takes the photographer to evaluate and make adjustments.
In aperture priority we set the aperture and ISO, and the camera selects the shutter speed to set exposure. As light decreases, the camera selects slower shutter speeds. The problem here is that the camera may select shutter speeds that are too slow for handholding or to freeze subject movement.
In shutter priority, we set the shutter speed and ISO and the camera selects the aperture. As light decreases the camera selects a wider aperture, and as light increases it selects a smaller aperture. The problems here are that as the camera changes aperture, the look of the image mage change considerably, and once the camera has reached the smallest or largest aperture it has no way to make further exposure adjustments and images may be over or under exposed.
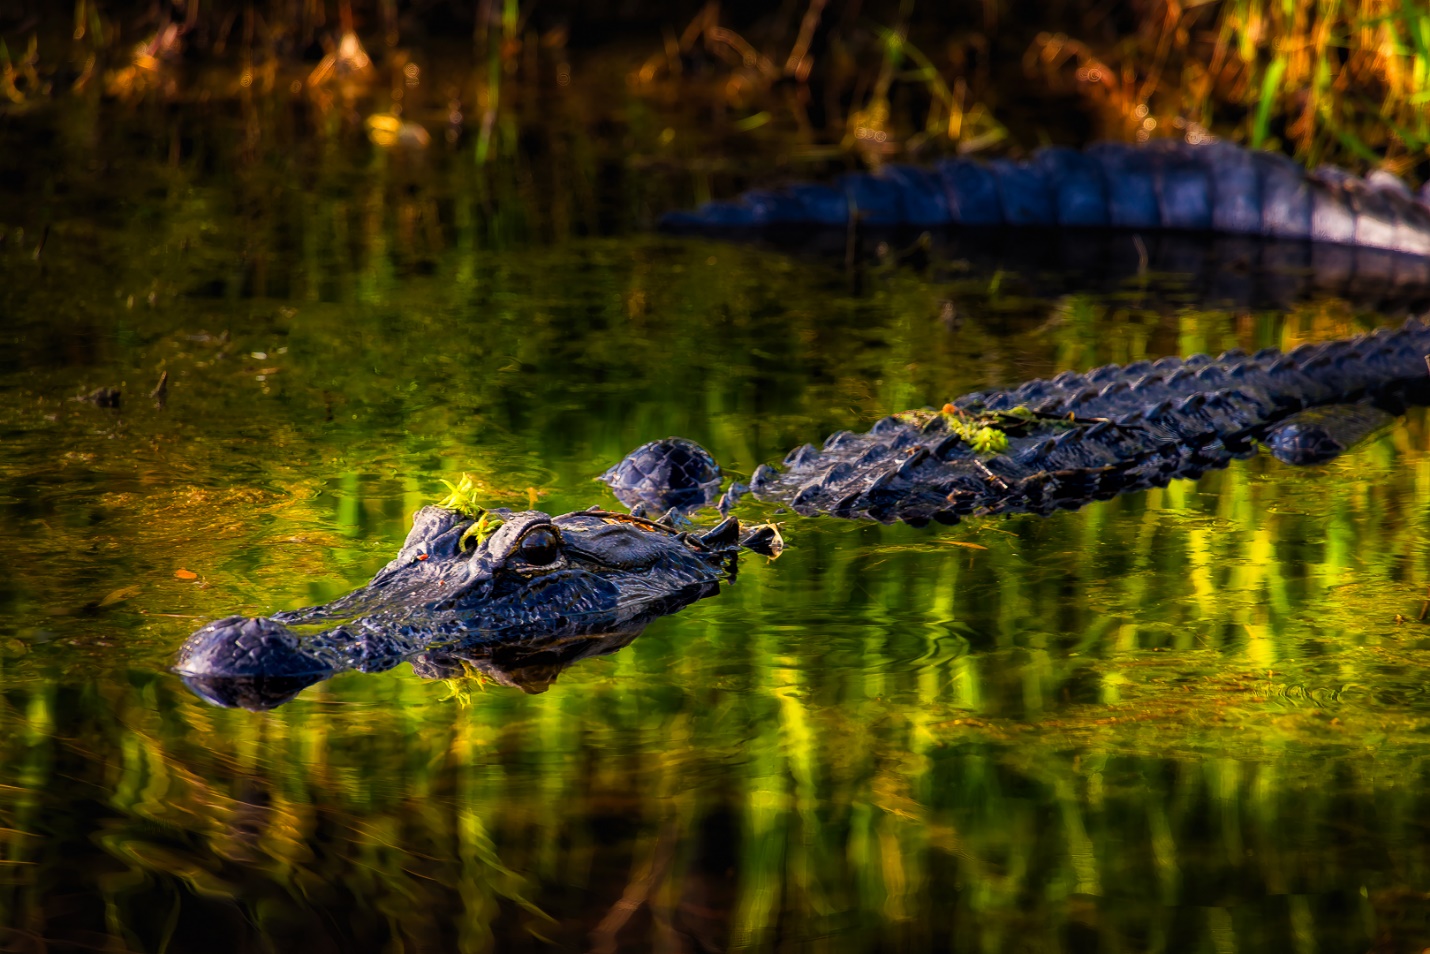
Sometimes there are situations where the light is changing so quickly and drastically and photographic opportunities happen and then disappear so quickly that we may exceed the useful ranges of shutter speed or aperture, or we just don’t have time to change settings. This is when Auto ISO can come to the rescue. With Auto ISO set, the camera will change ISO as needed to maintain proper exposure.
Once we set Auto exposure, there are some additional settings we can make to assure our shutter speed doesn’t become too slow, or our ISO doesn’t go too high. The issue of high ISO is less important than it once was. My earliest digital cameras were pretty terrible above ISO 800. Also in my early days of digital, we didn’t have the software tools to reduce the noise of high ISO. Most cameras made in the last few years are pretty good up to ISO 3200 or even 6400. Images shot at even higher ISO can be more than acceptable with any of the good noise reduction software available. The important thing to remember is that it is better to have a sharp image with noise than to have a low noise image blurred by camera or subject movement.
I’ll be showing examples of how to use Auto ISO on Canon cameras, since they are what I’m familiar with. If you use another brand Auto ISO probably works similarly, but the menus to set it will be different. Check your camera manual, or go to YouTube and search your camera model and Auto ISO and most likely you’ll find a tutorial.
Set Auto ISO either with the top camera controls or through the menu.
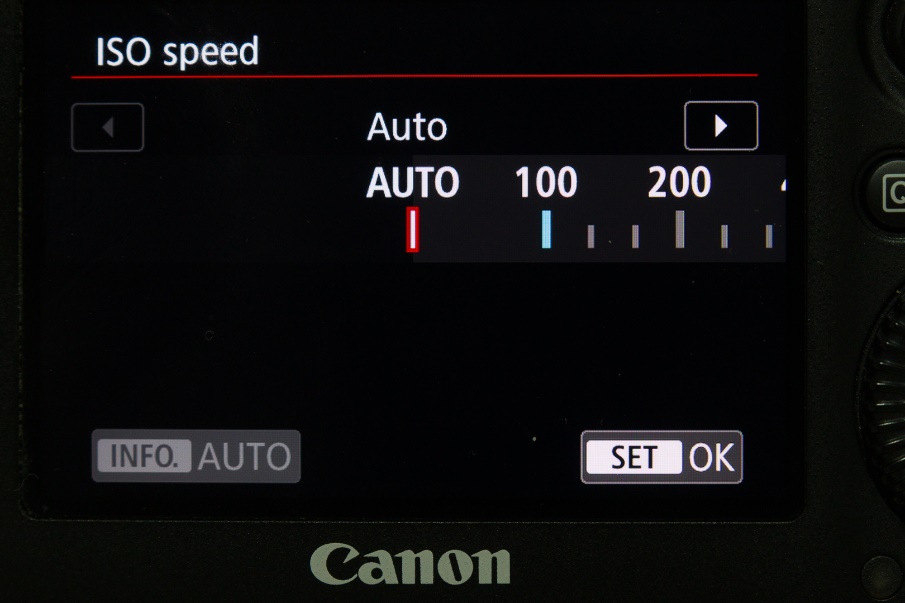
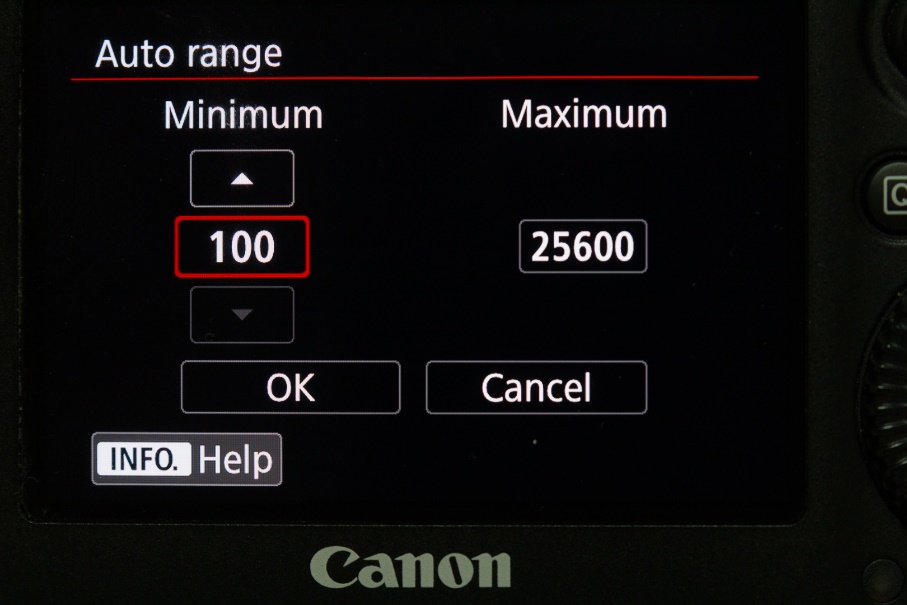
In the menu go to Auto ISO Settings and set the highest and lowest ISO you want the camera to choose from. I’m not afraid to go as high as 51,200 in dim light with moving subjects.
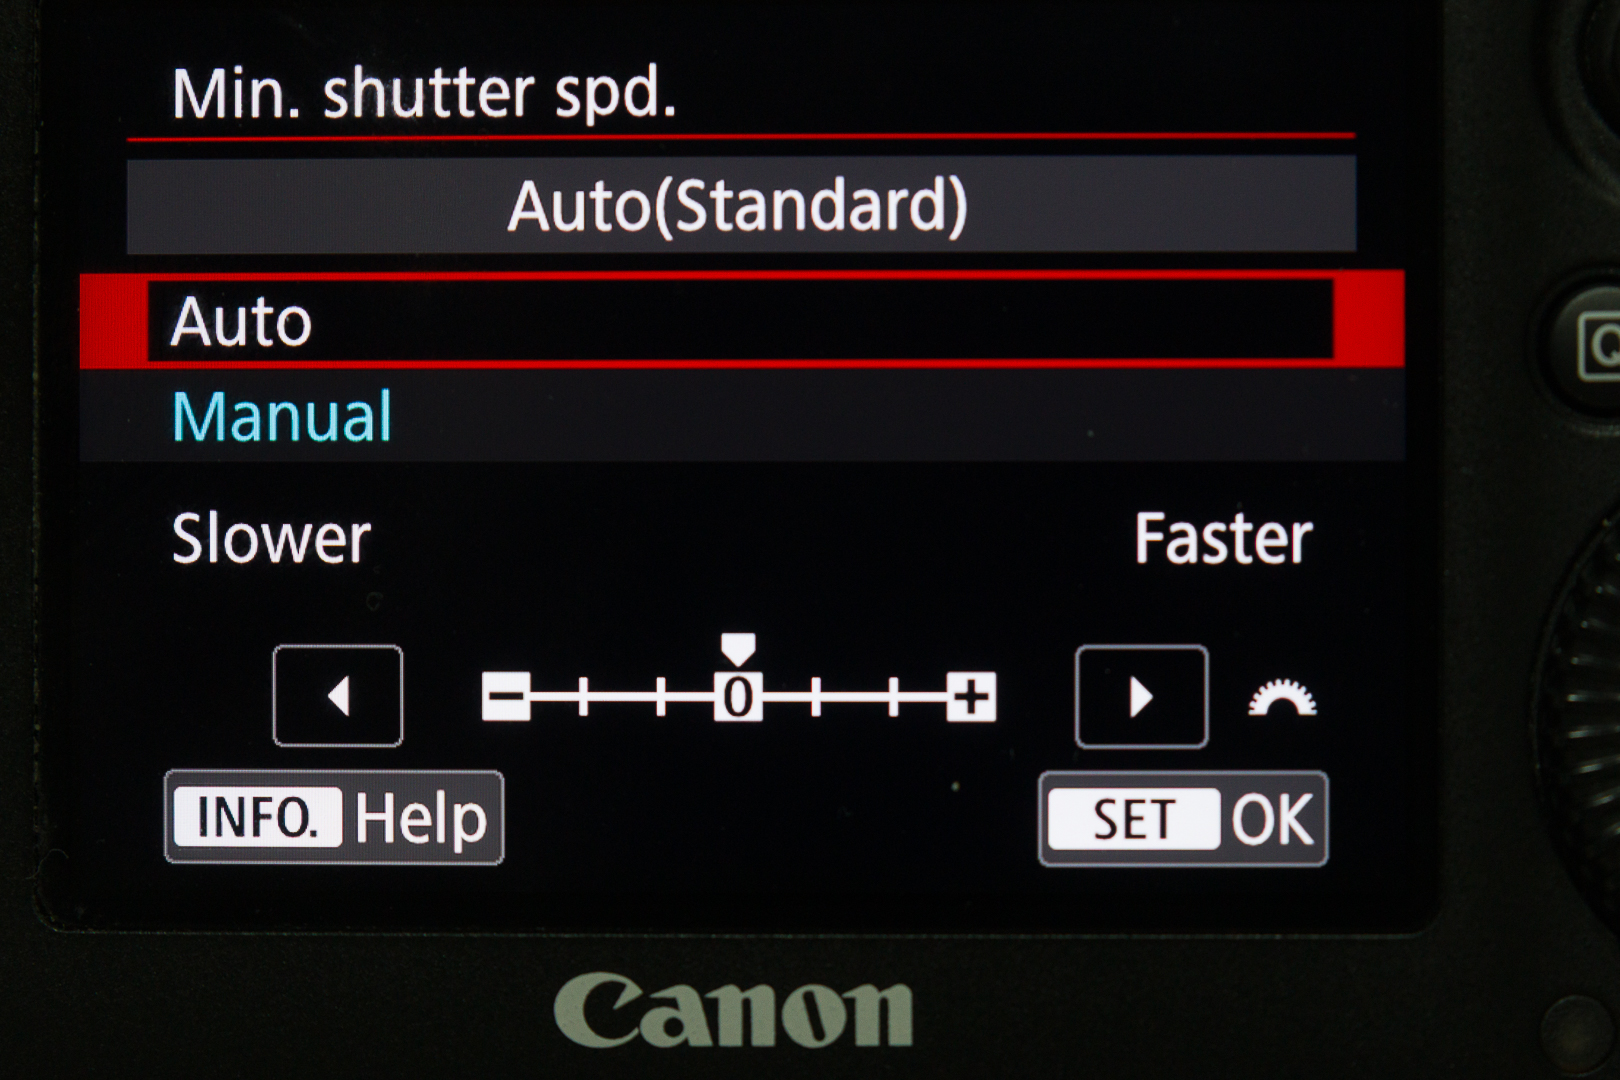
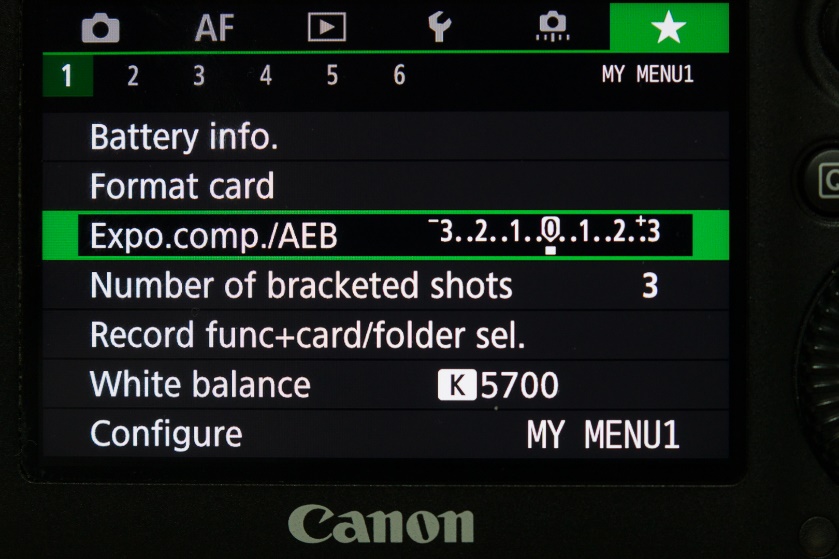
In Aperture priority the camera will lower shutter speed down to a shutter speed you select or automatically based on the focal length you are using. I prefer to set it manually and usually set the minimum at 1/250 sec because I can usually hand hold most of my lenses at that speed. I might set higher if I have fast moving subjects. Once it reaches this shutter speed it will increase exposure by increasing ISO. In Aperture priority you can still dial in exposure compensation as you normally would.
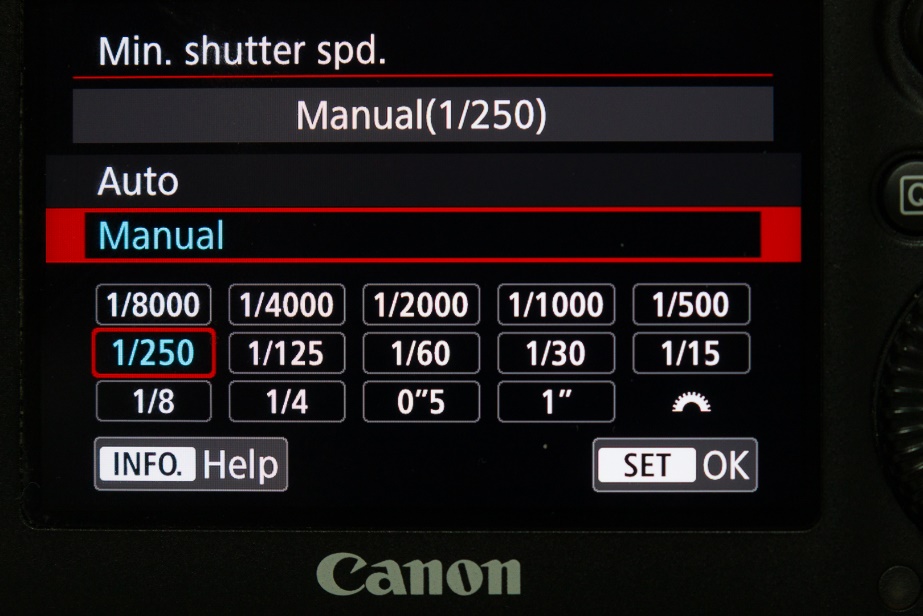
If you choose to let the camera select the minimum shutter speed automatically it will select the reciprocal of the focal length. So with a 100mm lens, it would select a minimum shutter speed of 1/100 sec. At least on my Canon, you can fine tune this to select faster or slower shutter speeds.