In an earlier article I described how to do an HDR Panorama. Back then it involved creating HDR’s from each set of brackets, then selecting each of those HDR images and merging to a panorama. Back in about October 2018 Adobe added a new feature in Lightroom called merge to HDR Panorama that makes it much more simple than before.
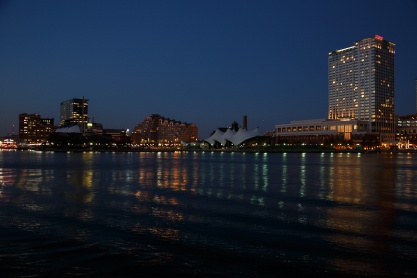
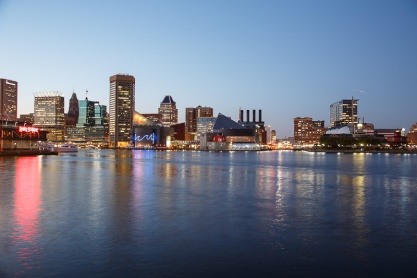
First shoot the images that will make up the panorama. I usually set my camera to auto-bracket at -2 stops, normal and +2 stops. In extremely contrasty light, I might use five brackets from -4 to +4 stops. It is important to shoot in manual mode so the exposures will be consistent. Otherwise there will be bands in the sky where the exposures vary and they are very hard to correct. It is also much better to shoot on a tripod that has been carefully leveled. But if there is enough light to allow handholding the slowest shutter speed shots, it is possible to shoot handheld. After shooting the first set of brackets pan your camera left or right and allow about 20% overlap and shoot the next set of brackets. Repeat the pan and overlap until you have everything you want in your panorama.
Here is the new technique in Lightroom. First select all of the bracket sets that will go into your panorama. I don’t do any editing at all until after the panorama is complete.
With all of the images selected, right click, choose photomerge, and then choose HDR Panorama.
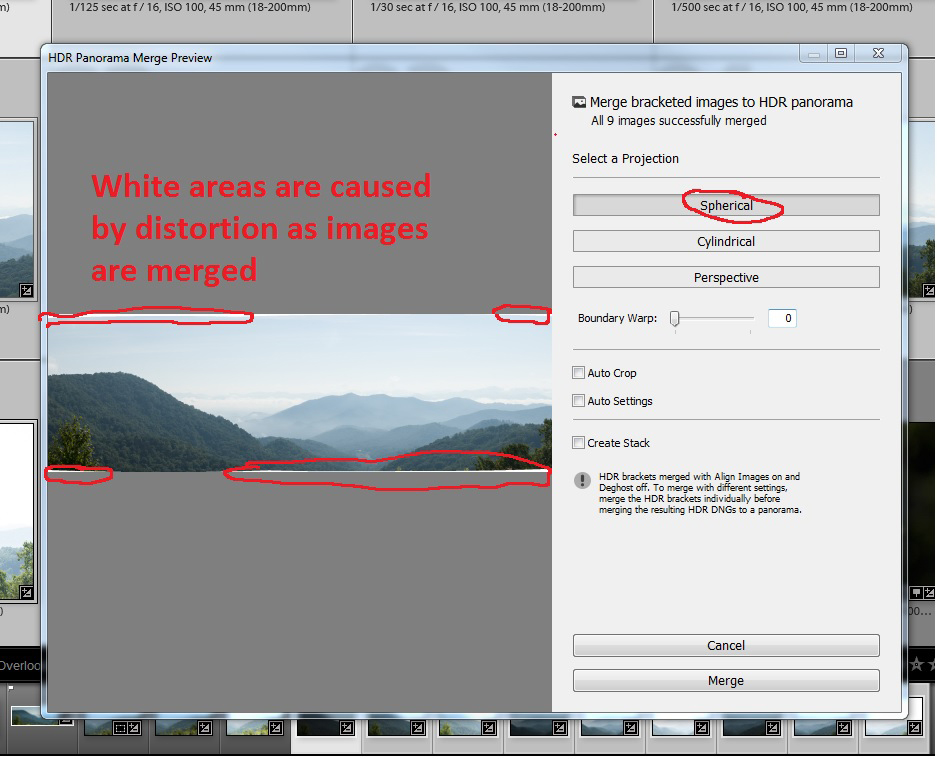
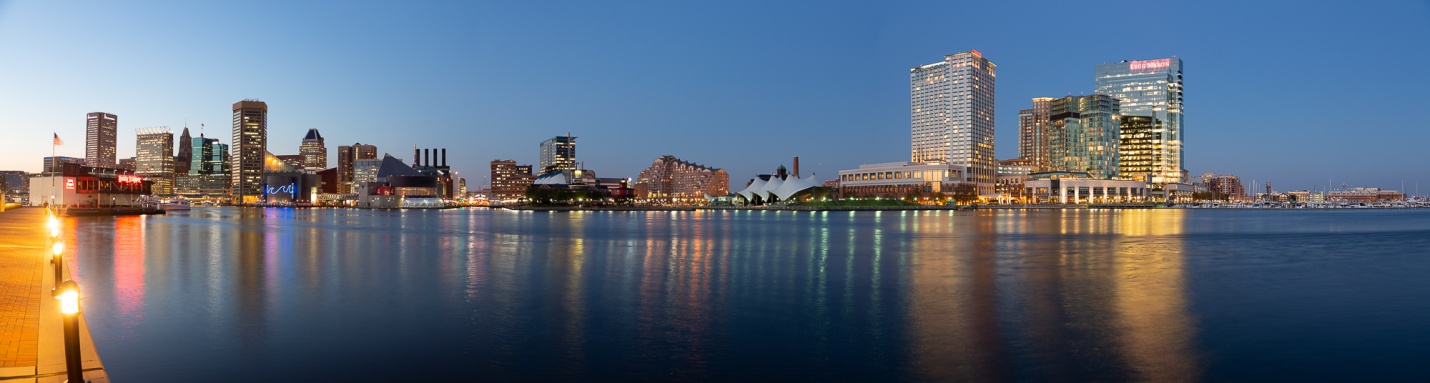
This will bring up the preview window. Generally I choose the spherical projection. You will notice some white areas along the borders of the image that are caused by the distortion of combing the images. These will probably be larger if you hand held or shot on a tripod that wasn’t leveled. In the old days, we would have to crop in to eliminate these areas.
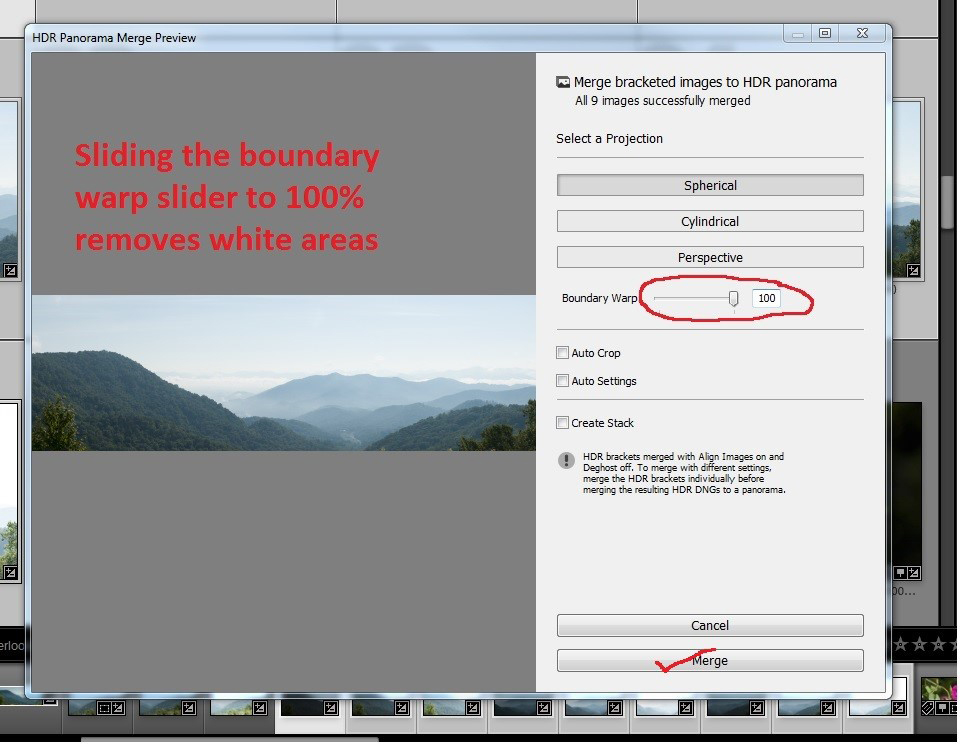
You can eliminate the white areas by sliding the boundary warp slider all the way to 100%. Click on merge and Lightroom will create an HDR Panorama in DNG format. This may take a minute or so depending on how many images you are merging, and the speed of your machine.
When it is complete you will see your panorama usually with the name of the first image plus HDR Pano and the DNG extension.
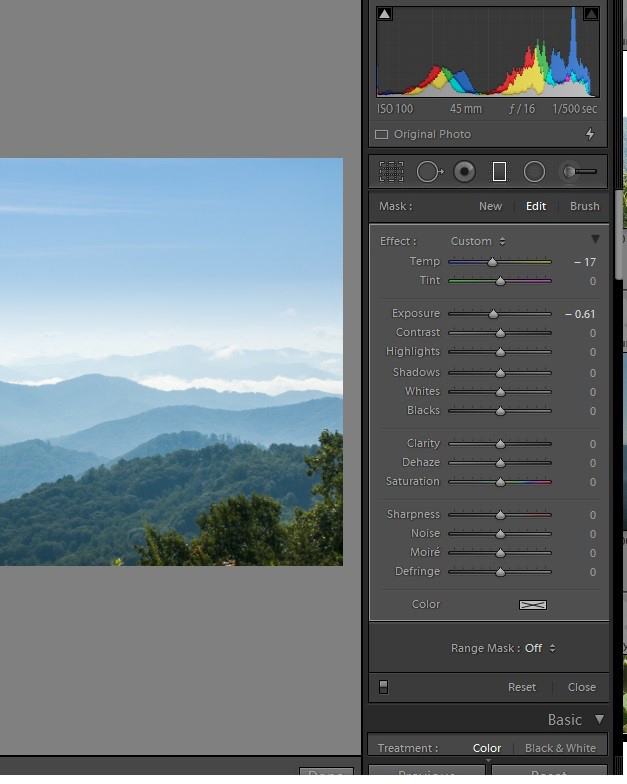
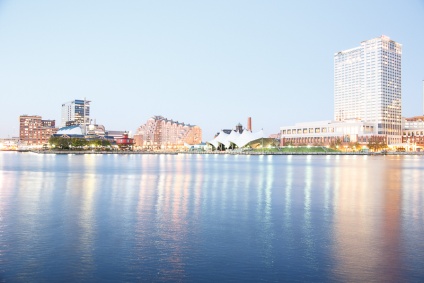
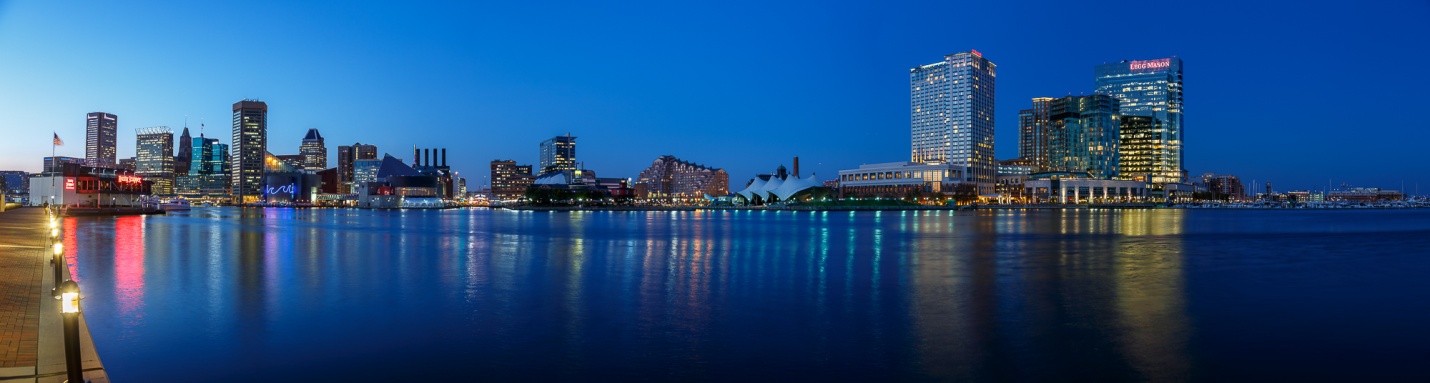
My preference is not to edit any of the files until the panorama is complete. In the develop module I make my basic local adjustments like white and black points, overall and highlight and shadow exposure, contrast vibrance and saturation. You can see my basic adjustments below.
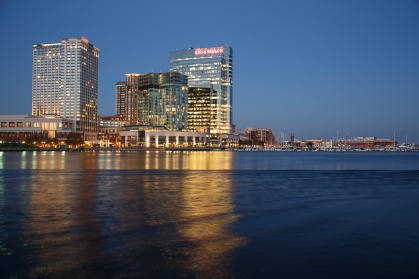
Since the sky was very light, I added a graduated filter to decrease the sky exposure and also increased the blue a bit.
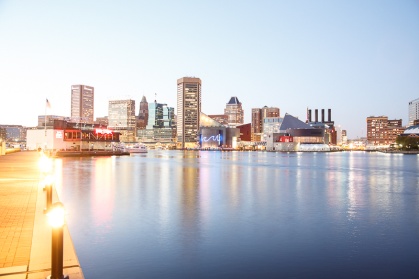
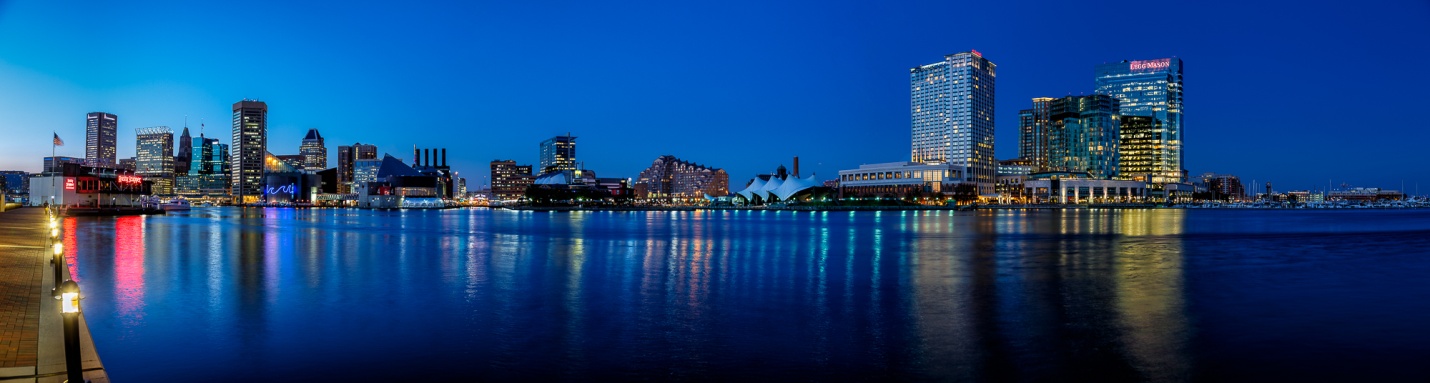
And here is our final HDR Panorama. It’s pretty good as is, or from here you could take it over to Photoshop for some further adjustments.