HDR Part 7: Creating an HDR Panorama
by Mickey Rountree
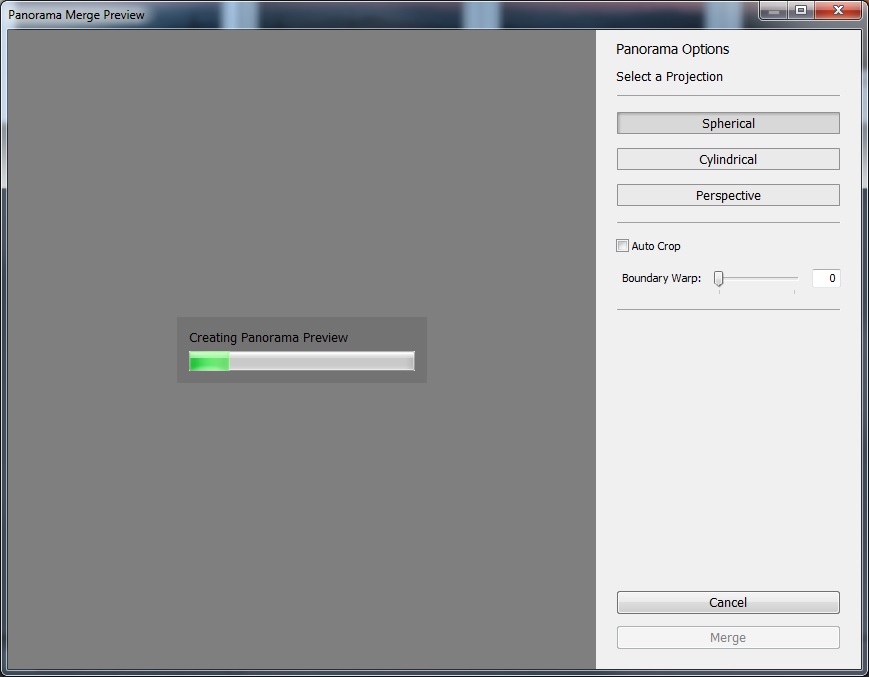
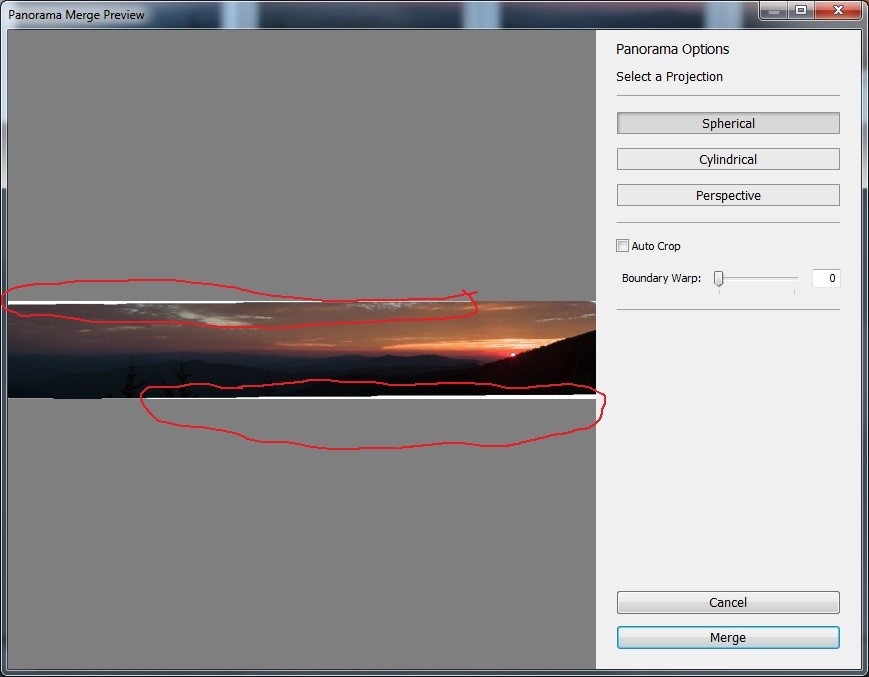
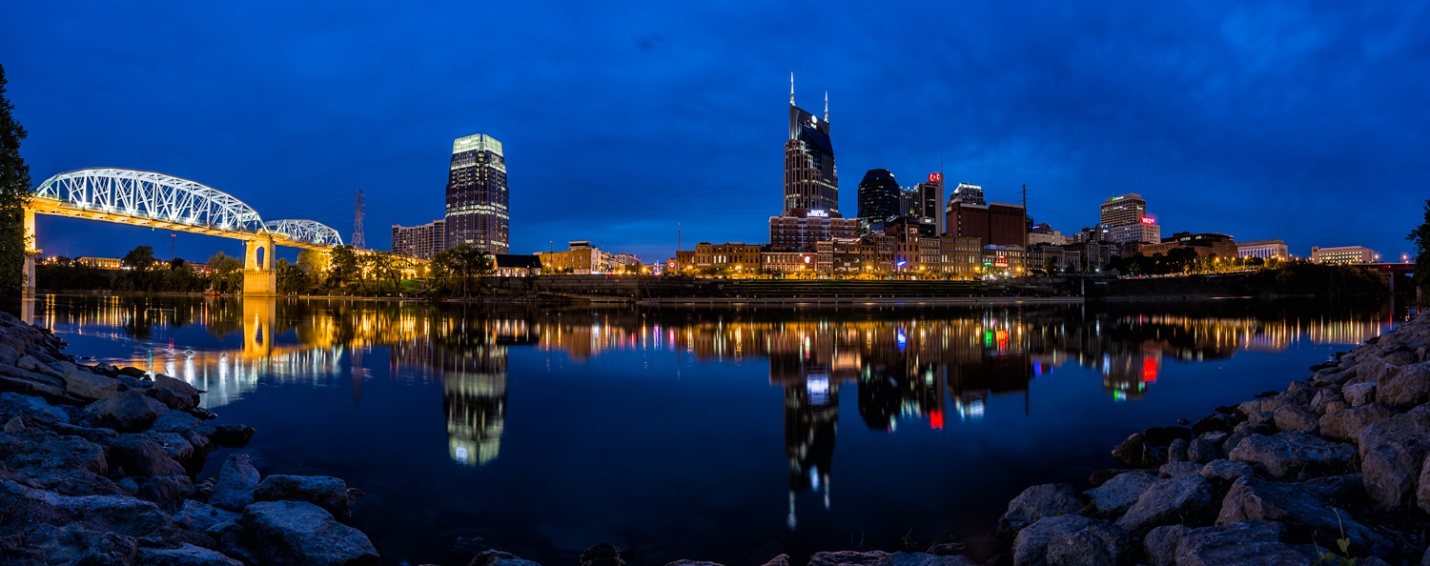
Panoramas are a great way to show a wider view in landscape and cityscape photography. A panorama is made by taking several overlapping images and stitching them together into one wide image. It’s easy to do a panorama in Lightroom or Photoshop, but I’ll concentrate on Lightroom in this article. And we can also do a panorama of HDR images. All of the principles are the same, we just have several bracketed images that we combine into single images and then combine them into a single panorama.
When you shoot your images for a panorama, start at one end of your scene and shoot an image (or in the case of an HDR Pano a bracketed series), pan over leaving about a 20% overlap, shoot and repeat until you have covered the view you want. I usually look for a feature near the edge of a shot, and make sure it is at the edge of the next image. I tend to shoot from left to right, but the software will work if you shoot right to left also. Also just as in HDR brackets, it is important that the aperture and focus stay constant. The software today is so good it can combine even hand held shots, but I think you will have the best results if shoot on a tripod that has been carefully leveled. That is especially important shooting an HDR panorama.
In addition to combining physical features, the software will attempt to match exposure and colors. That works best if you shoot your exposures in manual mode. If you shoot in an automatic mode like aperture priority, the exposure will change as you move through brighter and darker areas of the scene and there may be obvious bands in the sky where two pictures join. I try to pick an exposure in a part of the image that is not the brightest or darkest part, and bracket around that.
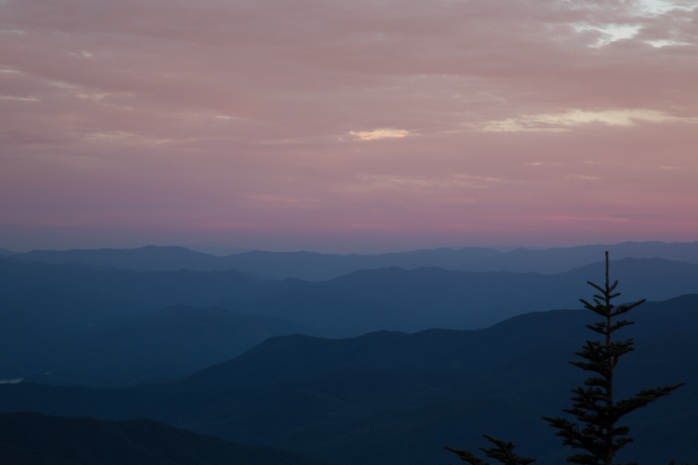
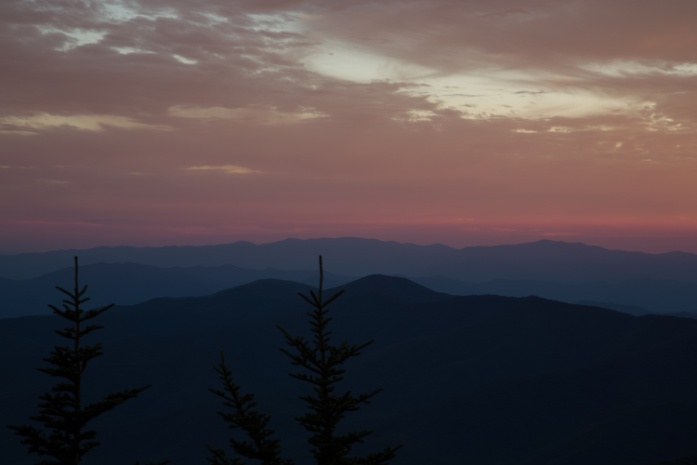
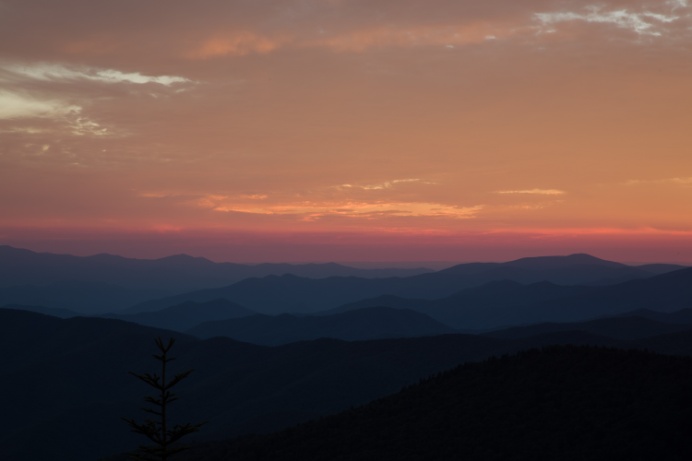
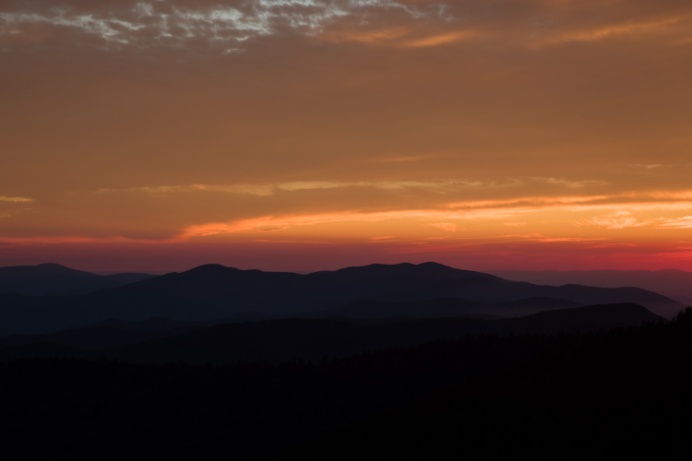
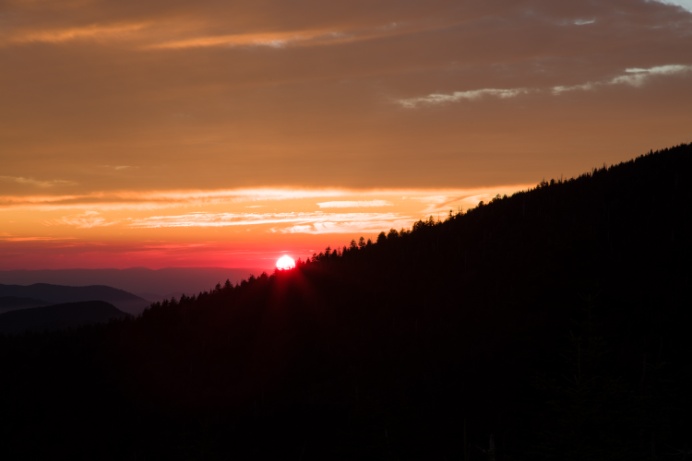
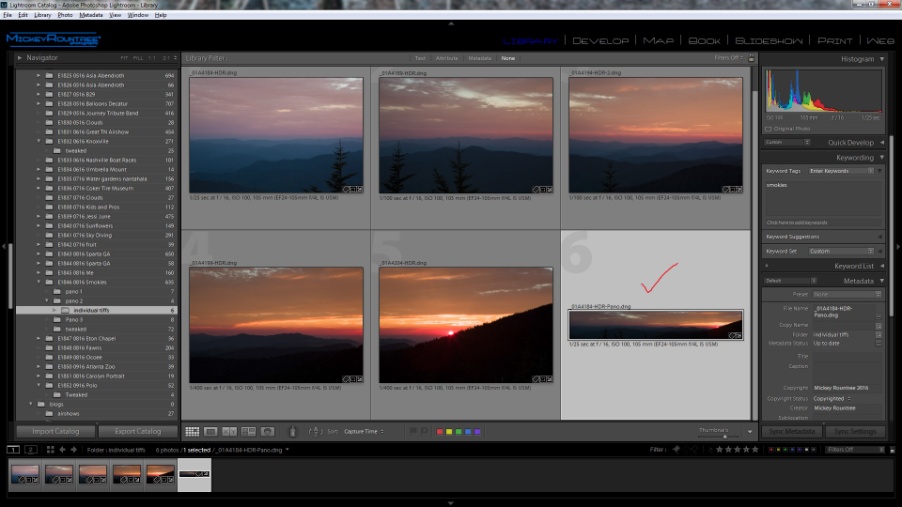
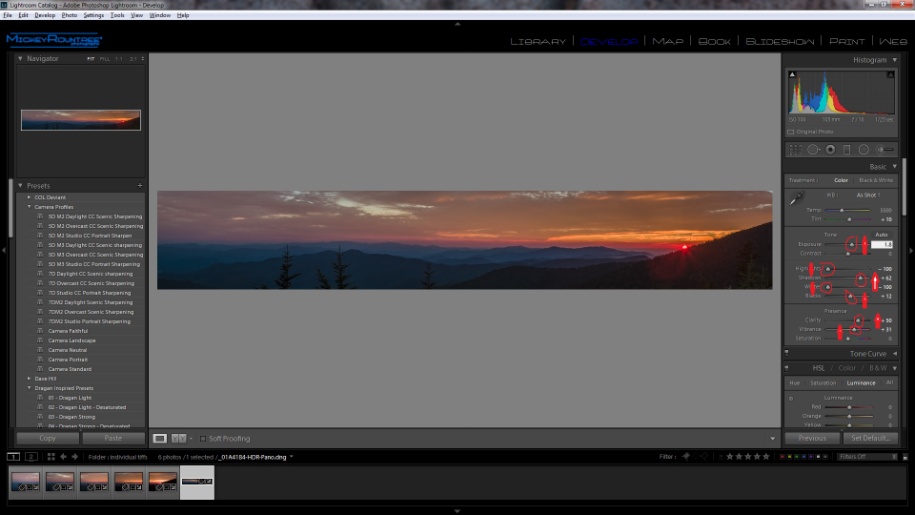
I’ll be showing you the steps in creating an HDR panorama. For this image I shot 25 total images, 5 scenes with 5 brackets (From -4 to +4) each. I set my camera to manual mode and took a meter reading from the center of the scene which was neither the darkest or lightest area. My metered exposure was 1/25 sec at f16 at ISO. My brackets then were 1/400 sec, 1/100 sec, 1/25 sec, 1/6 sec and .6 sec. I combined each set of brackets into an HDR image in Lightroom as I covered in part 3 of my series. I made no edits whatsoever, I only created the HDR DNG files. Again that’s important so that the tones in the sky match up well.
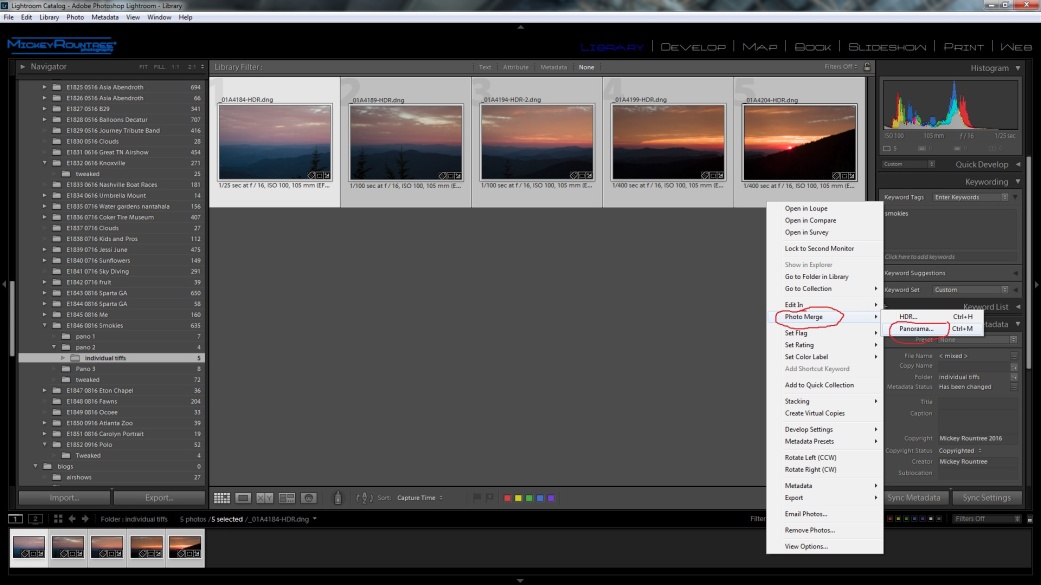
Below are the five HDR files I’ll use for the panorama.
More