Slightly Beyond Photography Basics – Intro to Photoshop Brushes Part 2
by Mickey Rountree
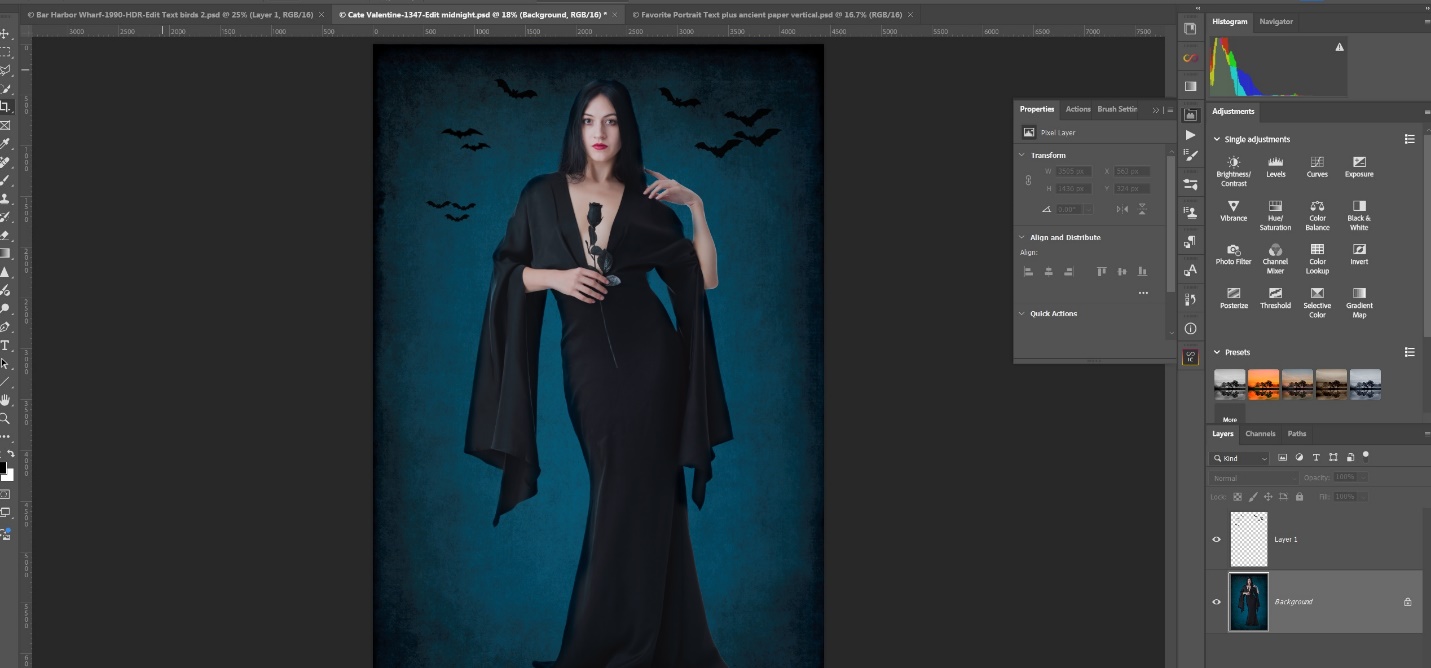
As I usually do, I’m calling this article beyond basic because it involves Photoshop rather than Lightroom or other basic editing programs.
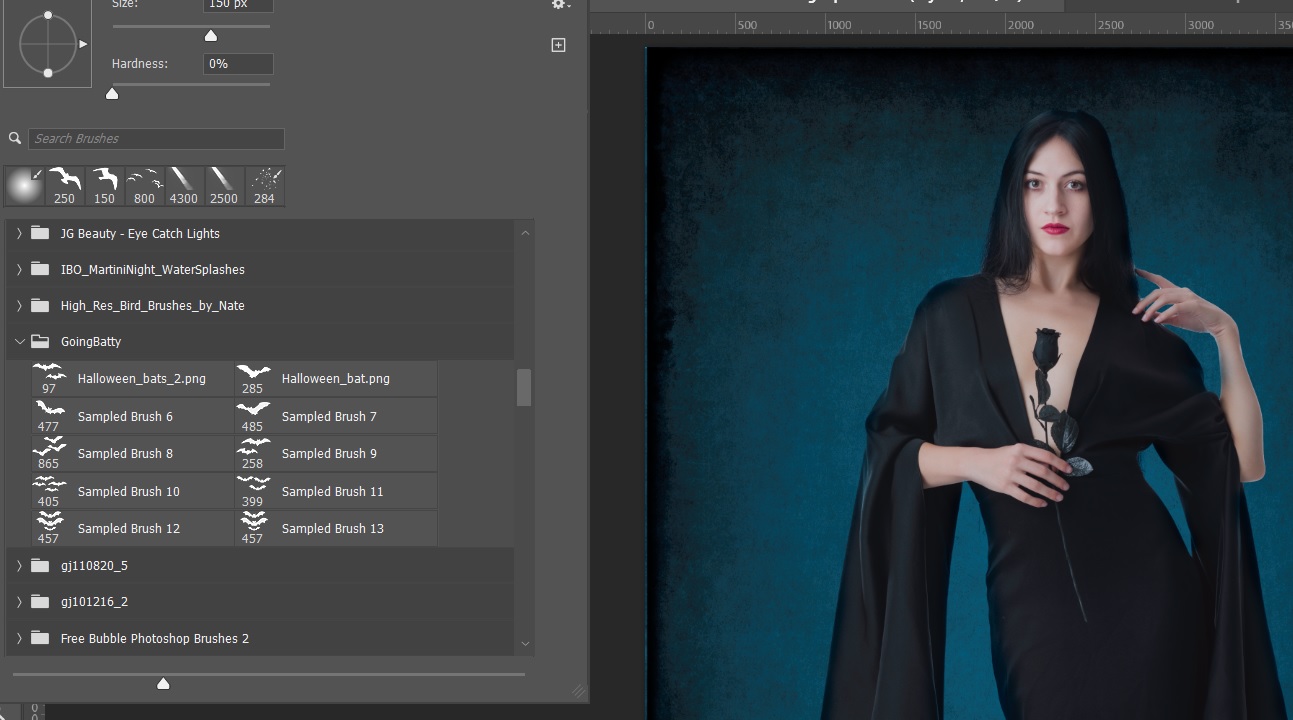
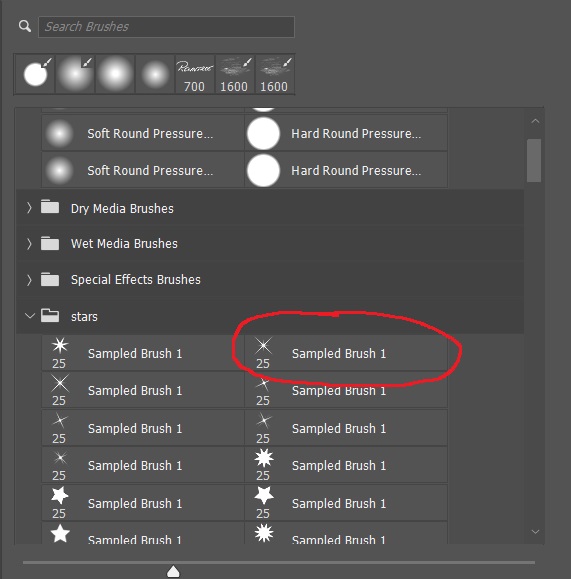
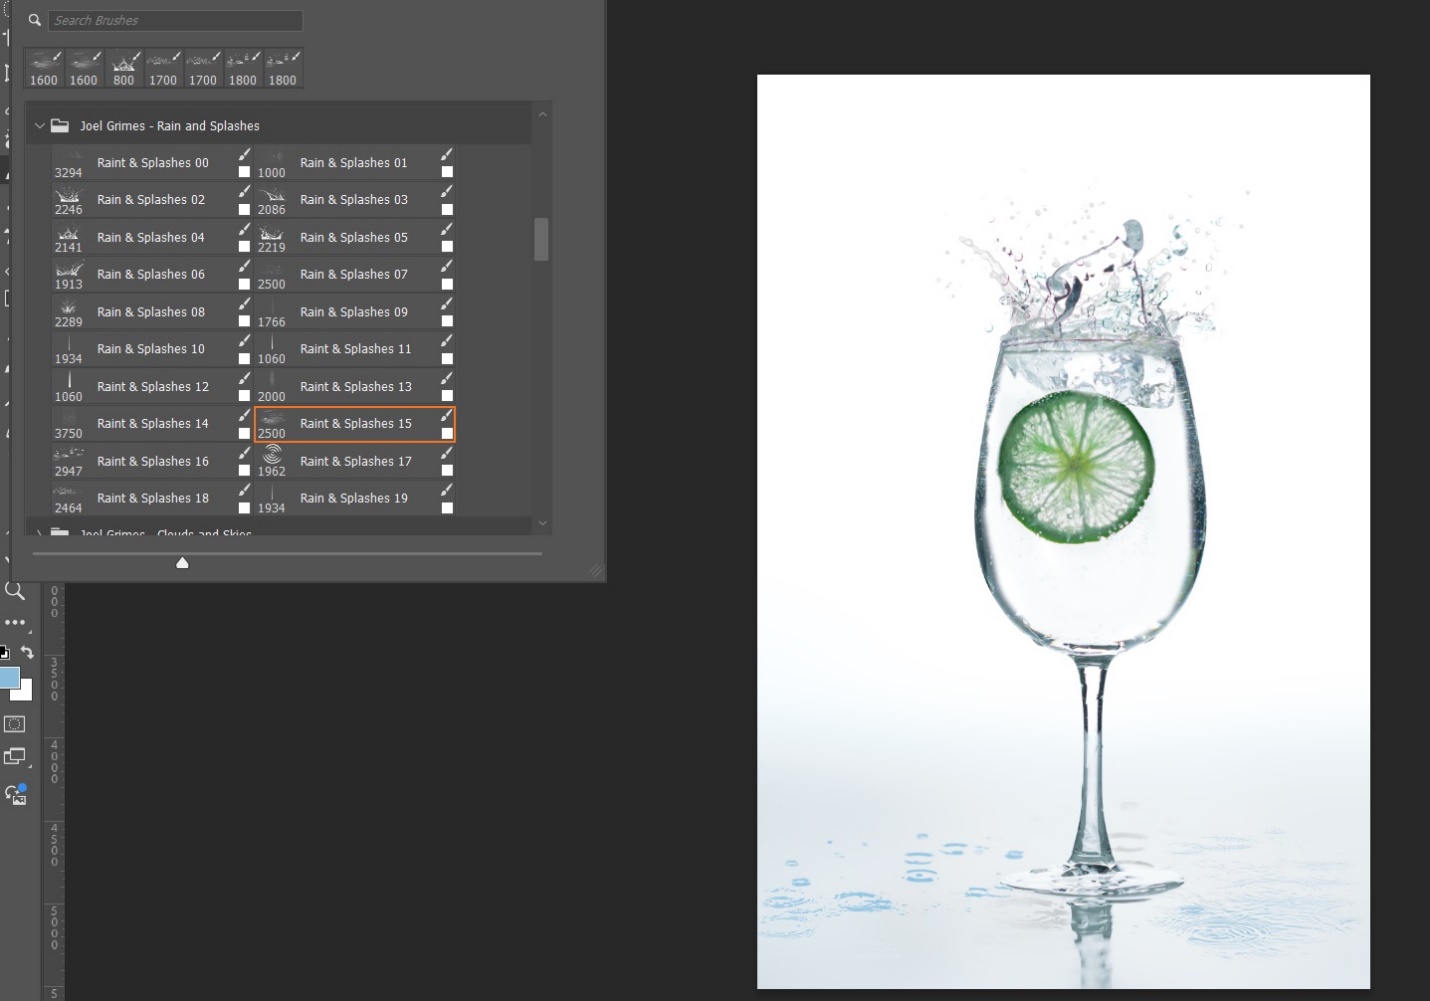
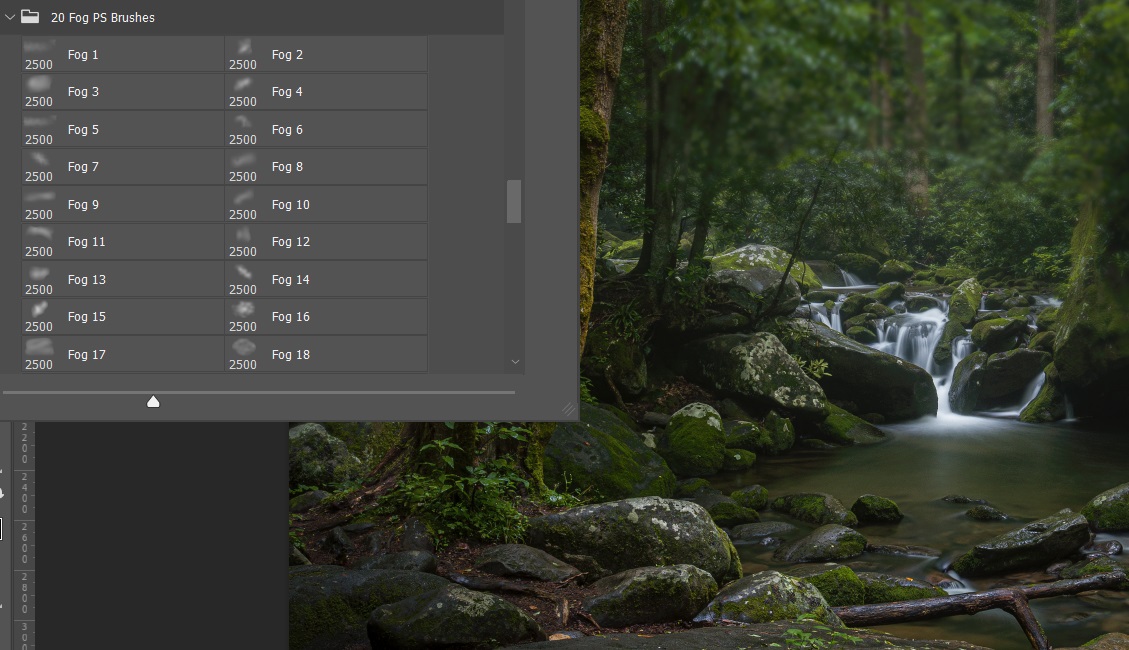
So, as I mentioned in the last article, one of the great things about Photoshop brushes is the ability to add new brush sets, often for free.
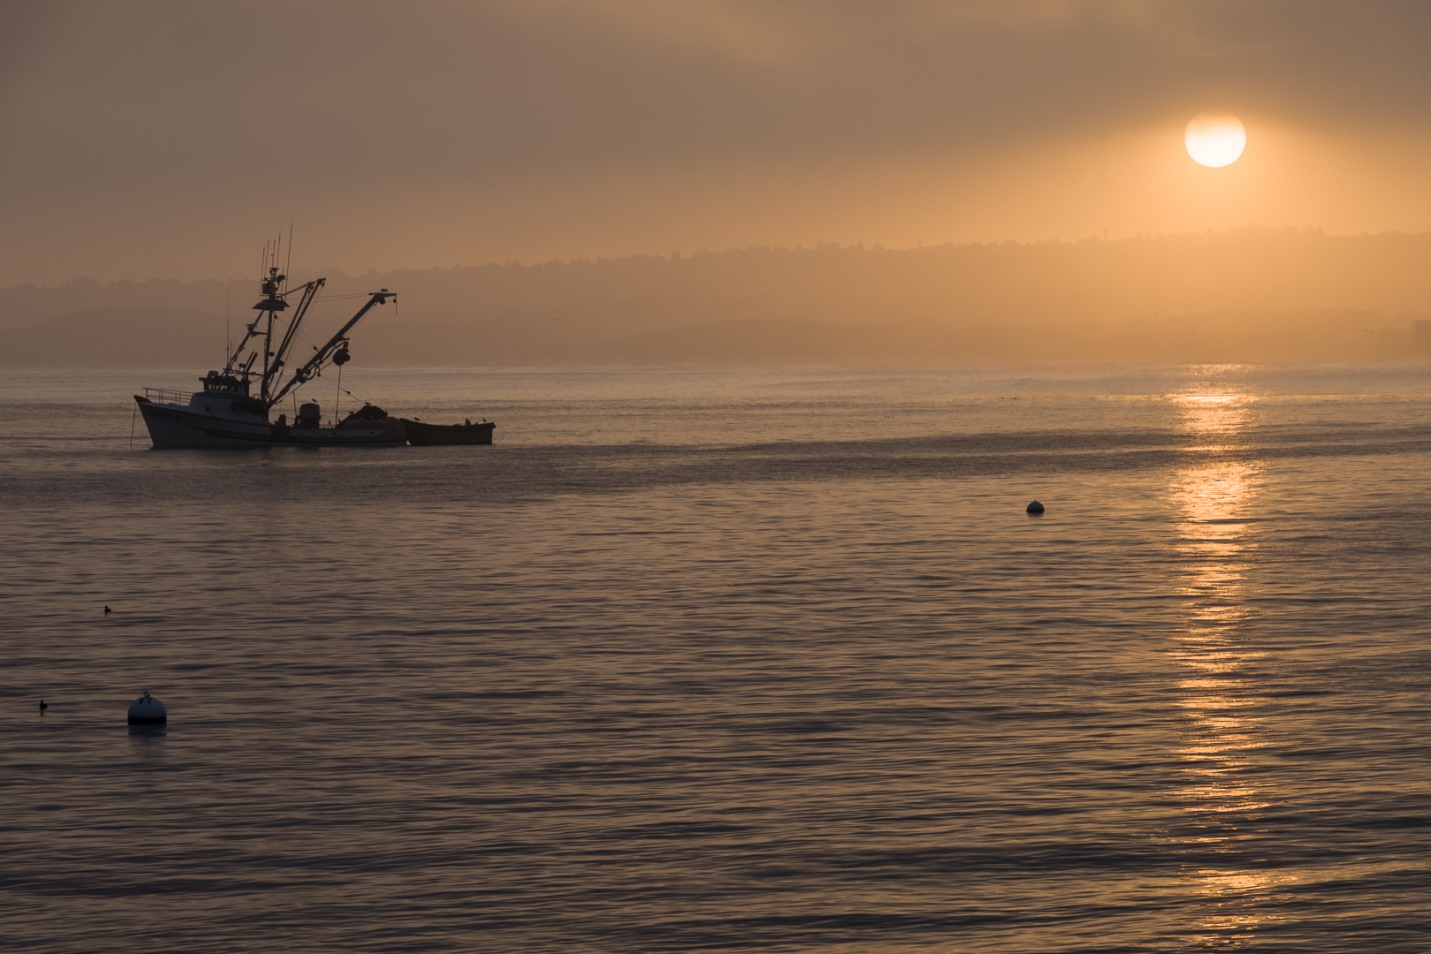
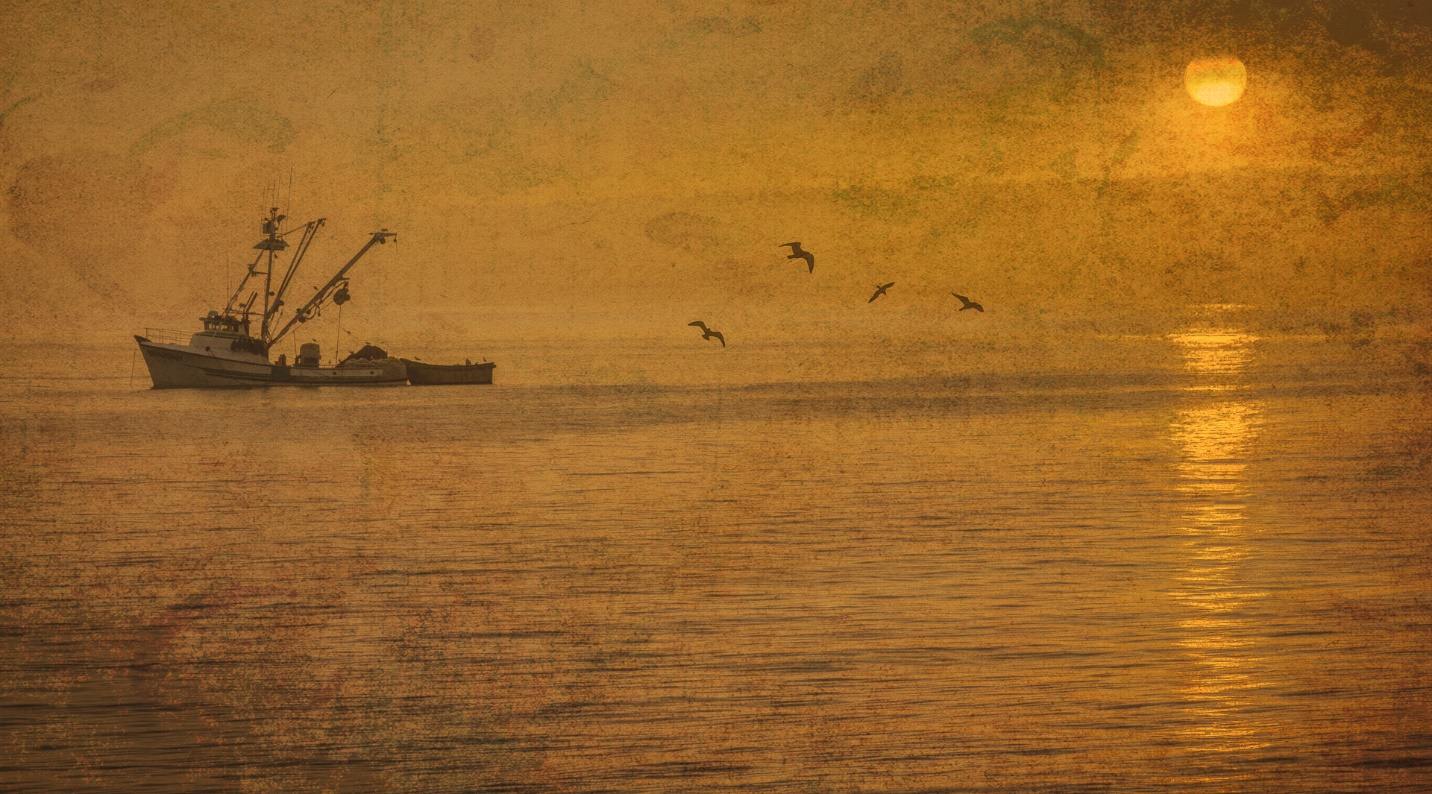
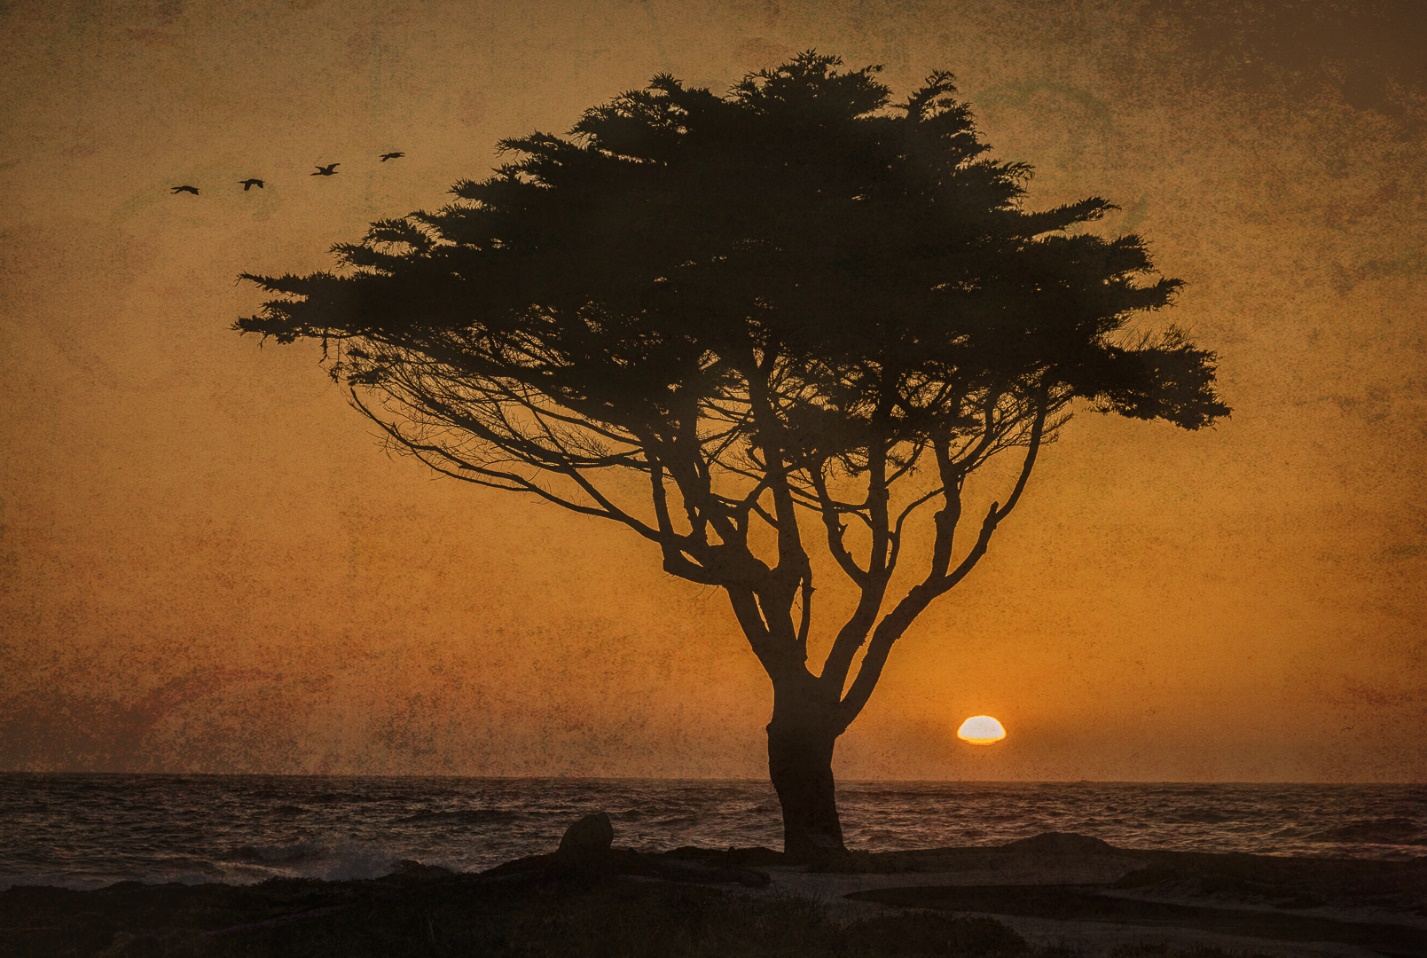
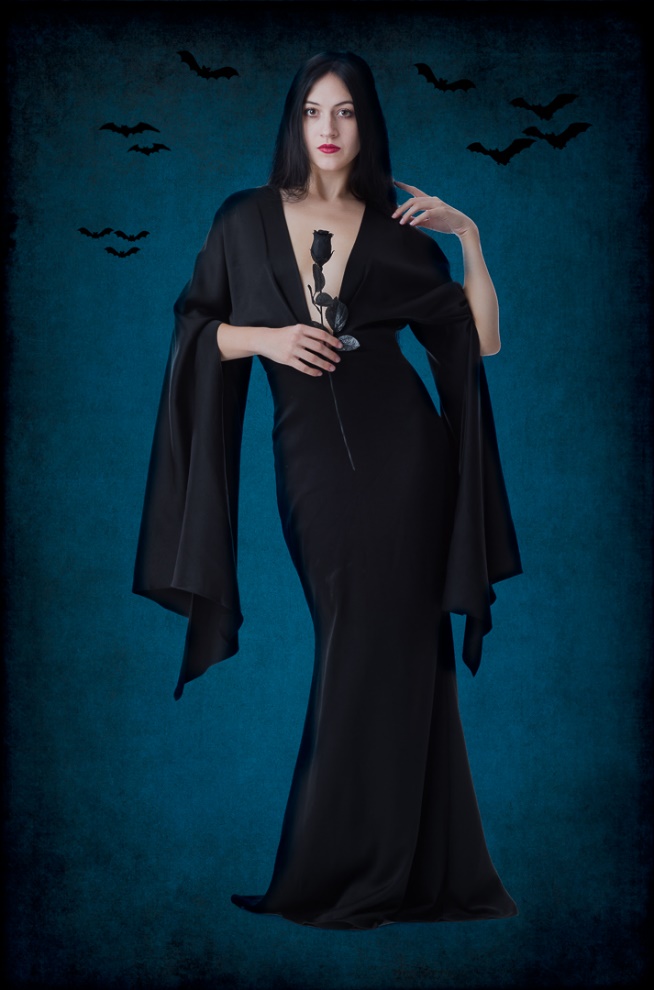
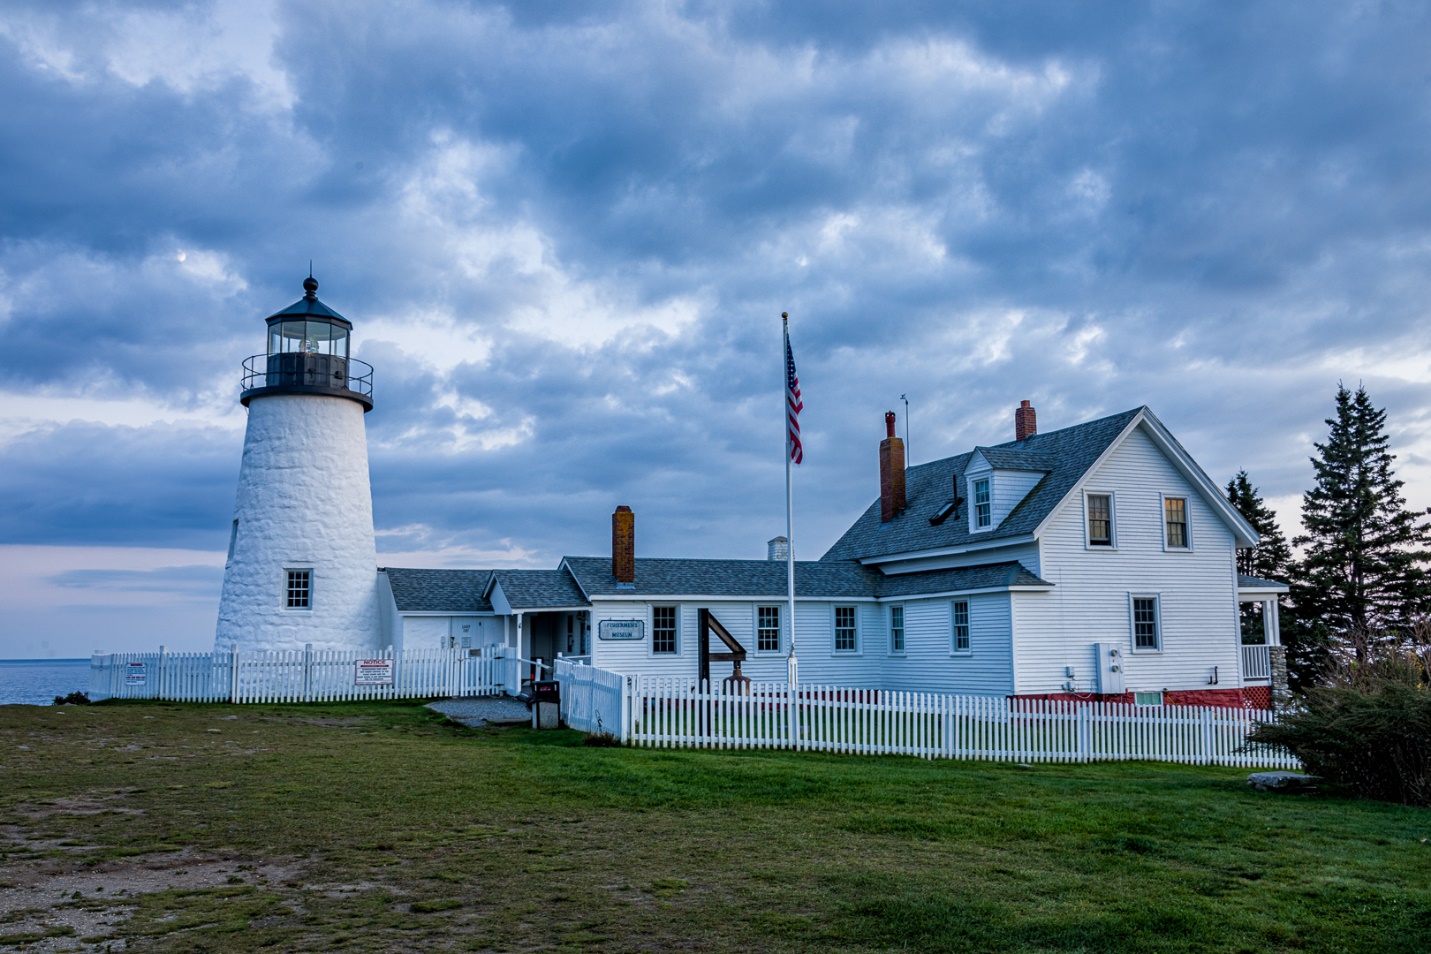
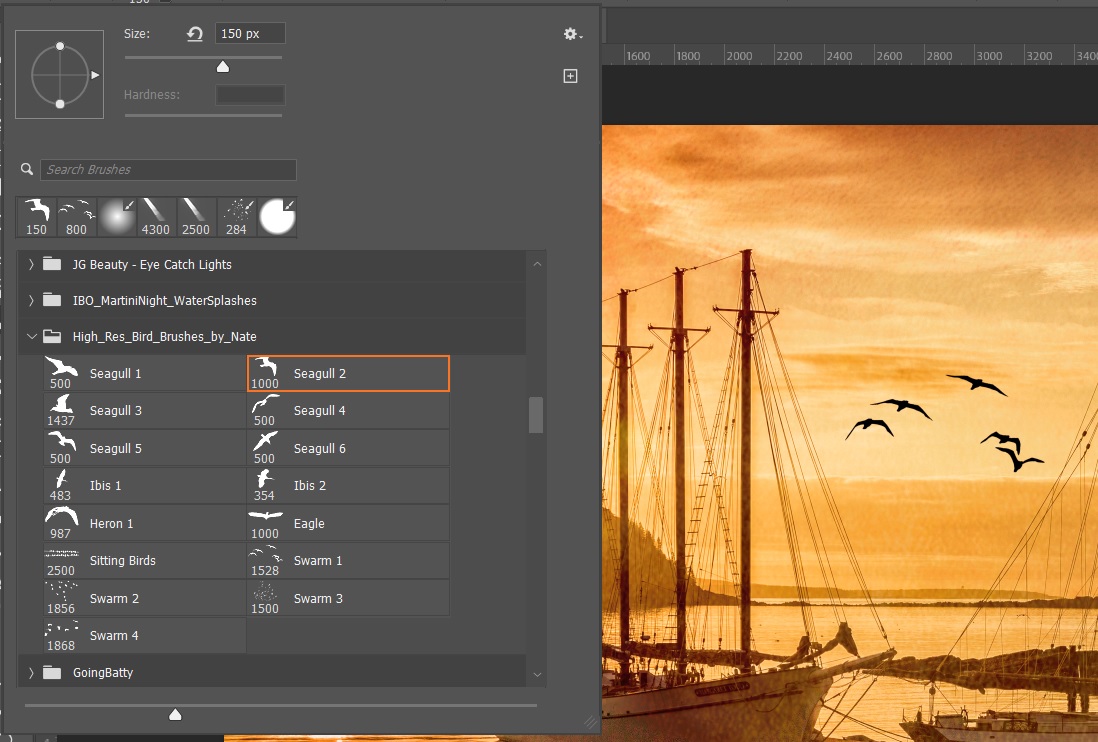
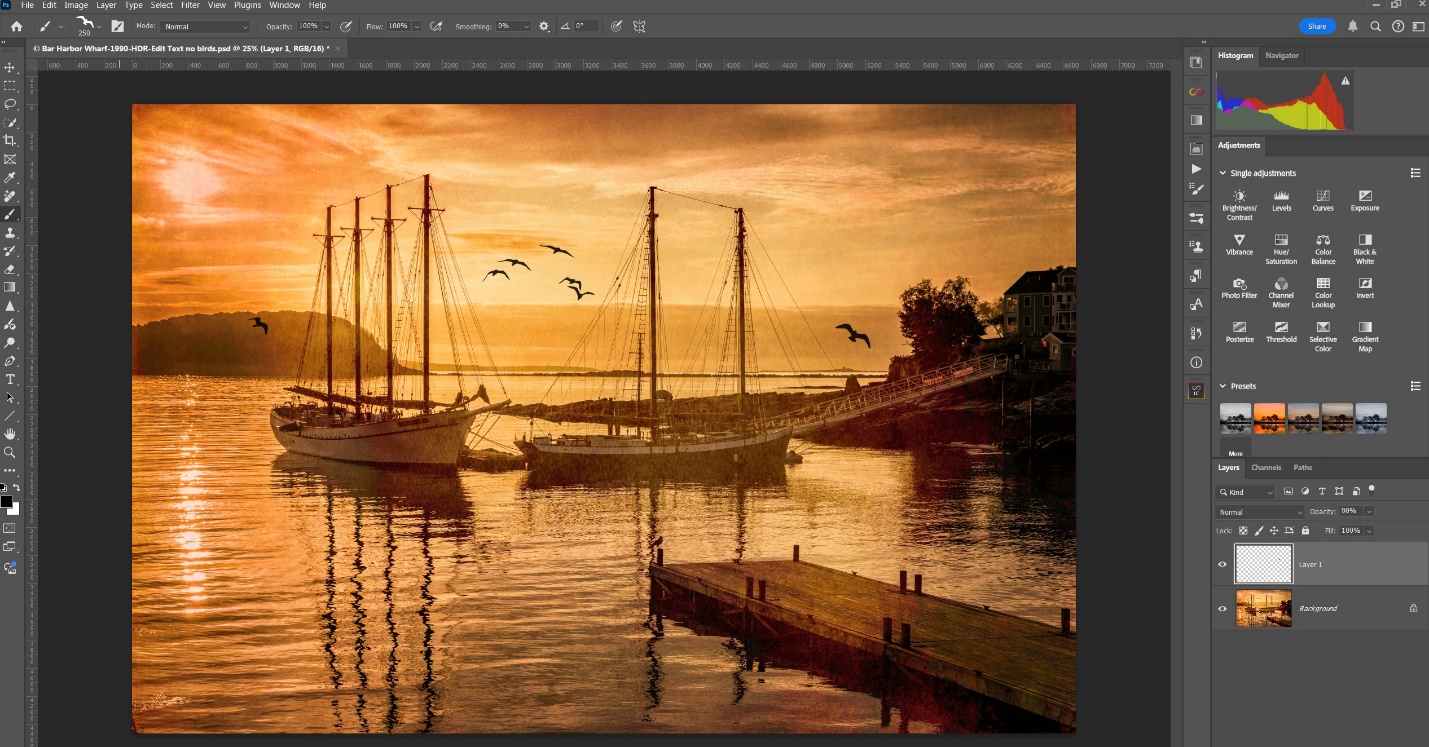
Birds – Sometimes you just want some birds in the sky to add balance, fill blank space or just add visual interest.
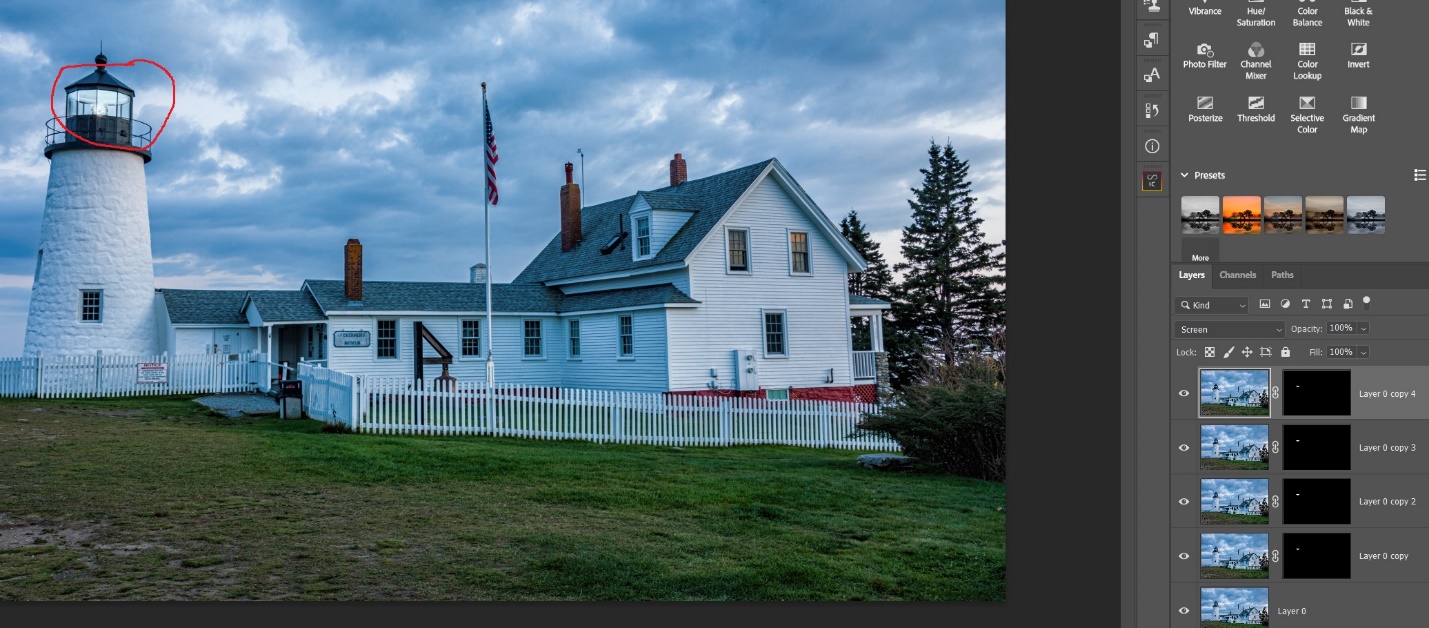
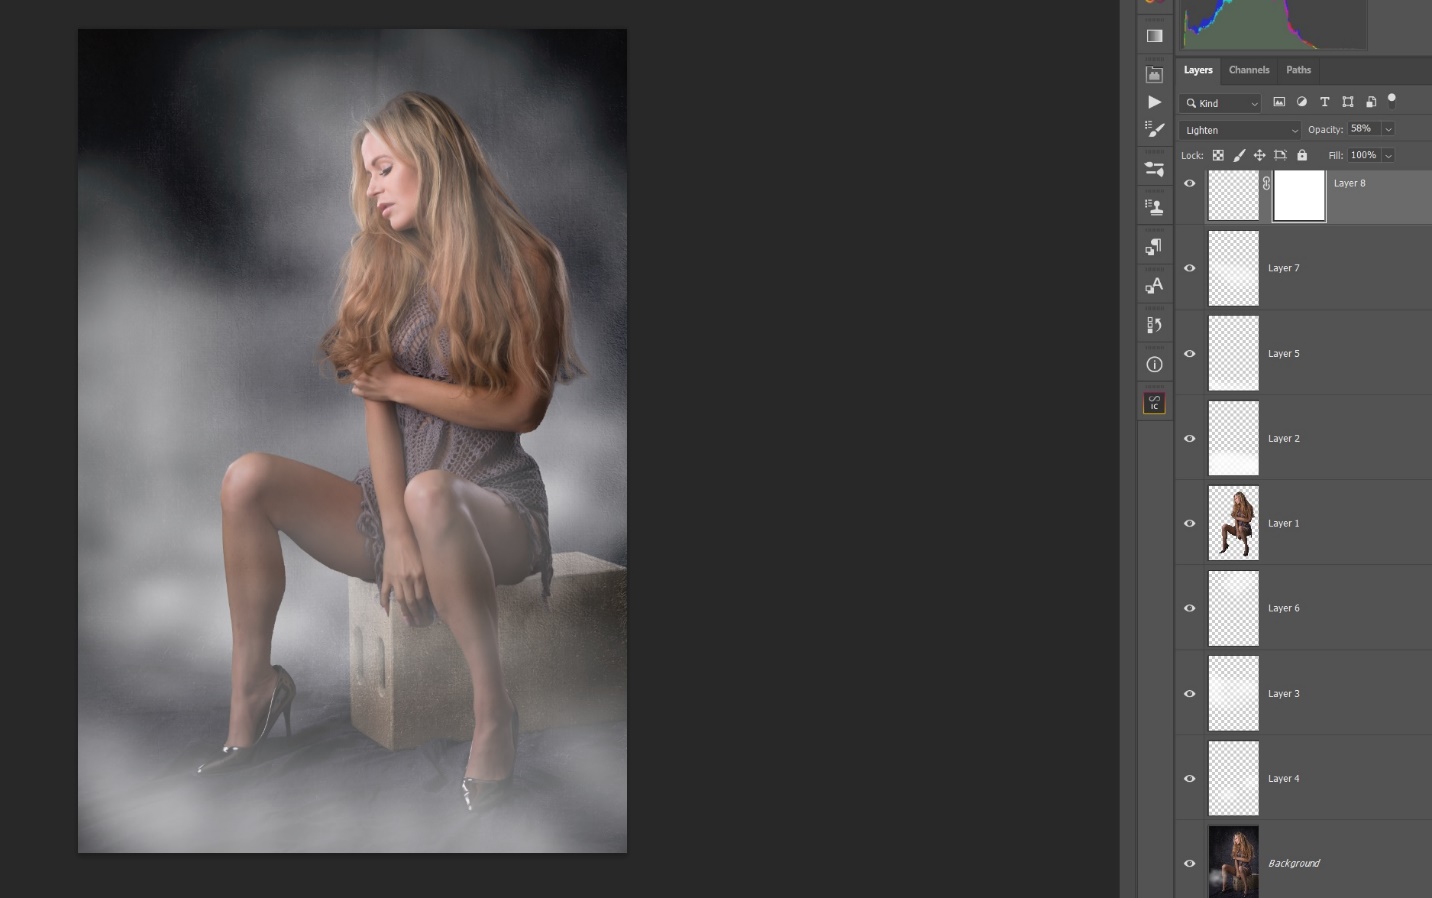
Here I used several different bird brushes with individual seagulls and flocks of gulls. You can adjust the size of the brush to suit the image. I also usually put each bird on its own new layer. That way I can move each bird or group of birds around, or use Free Transform to change the size and angle later on. You save the image with layers, but when everything looks right to me I usually flatten the image before saving.
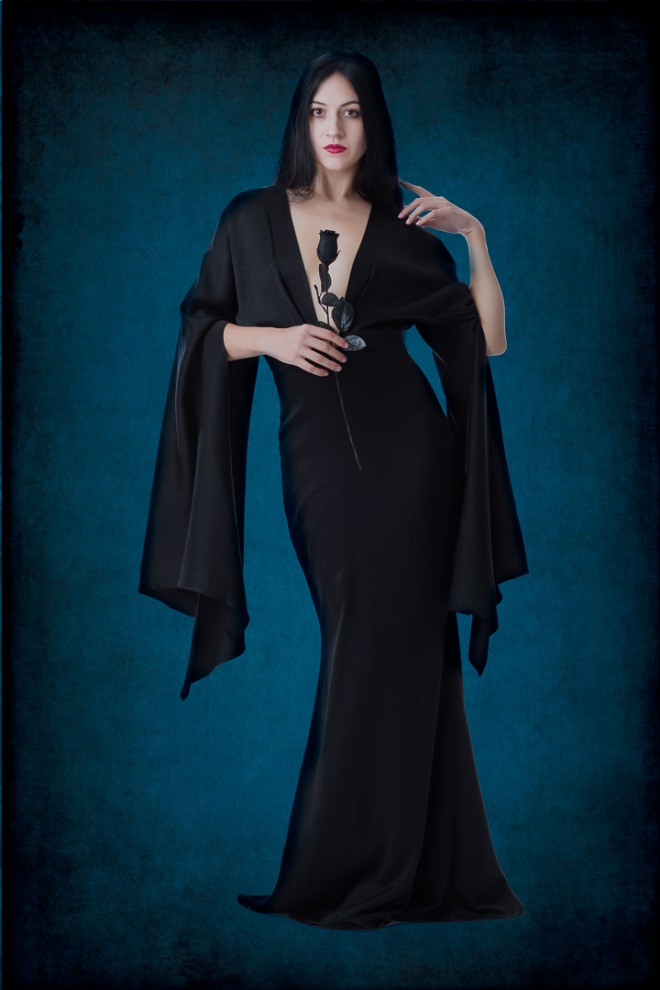
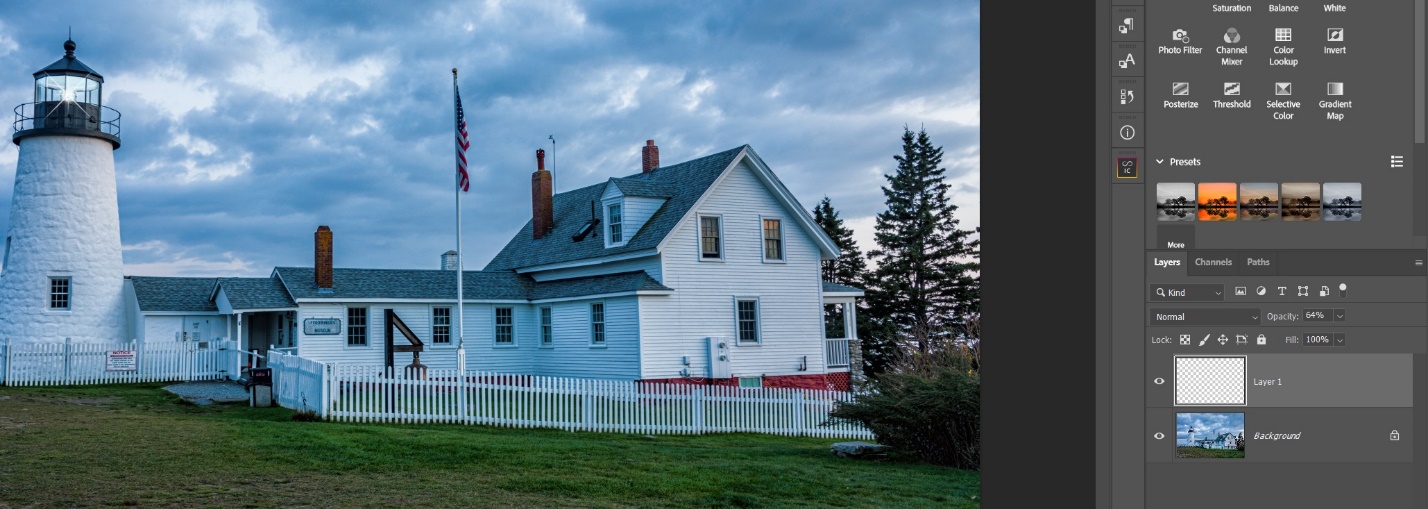
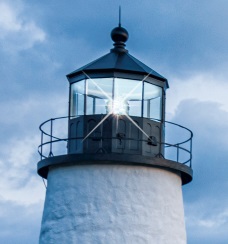
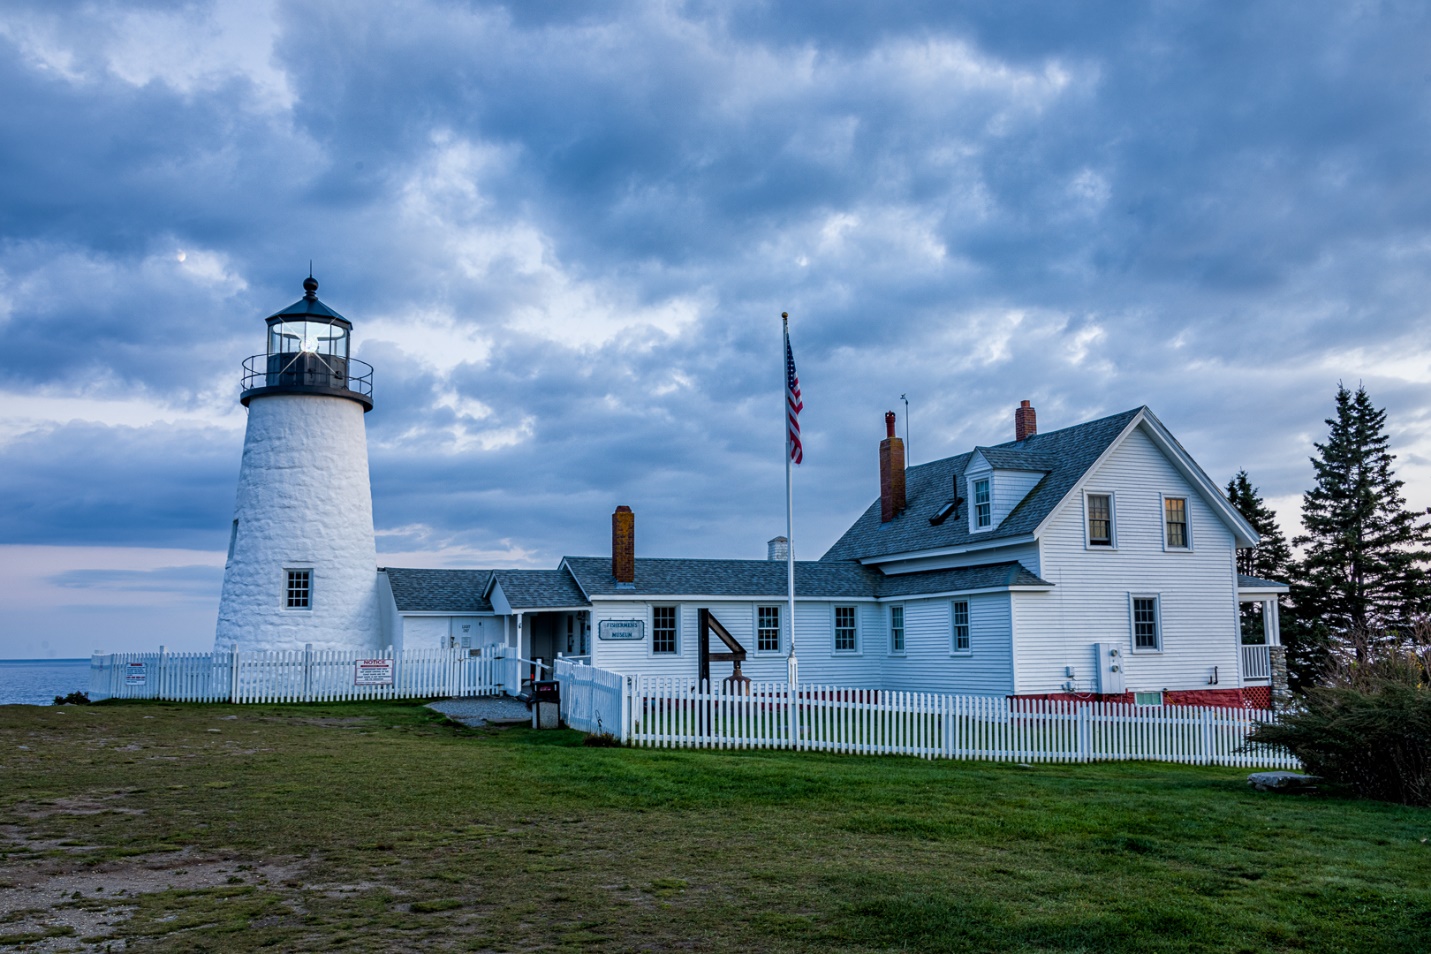
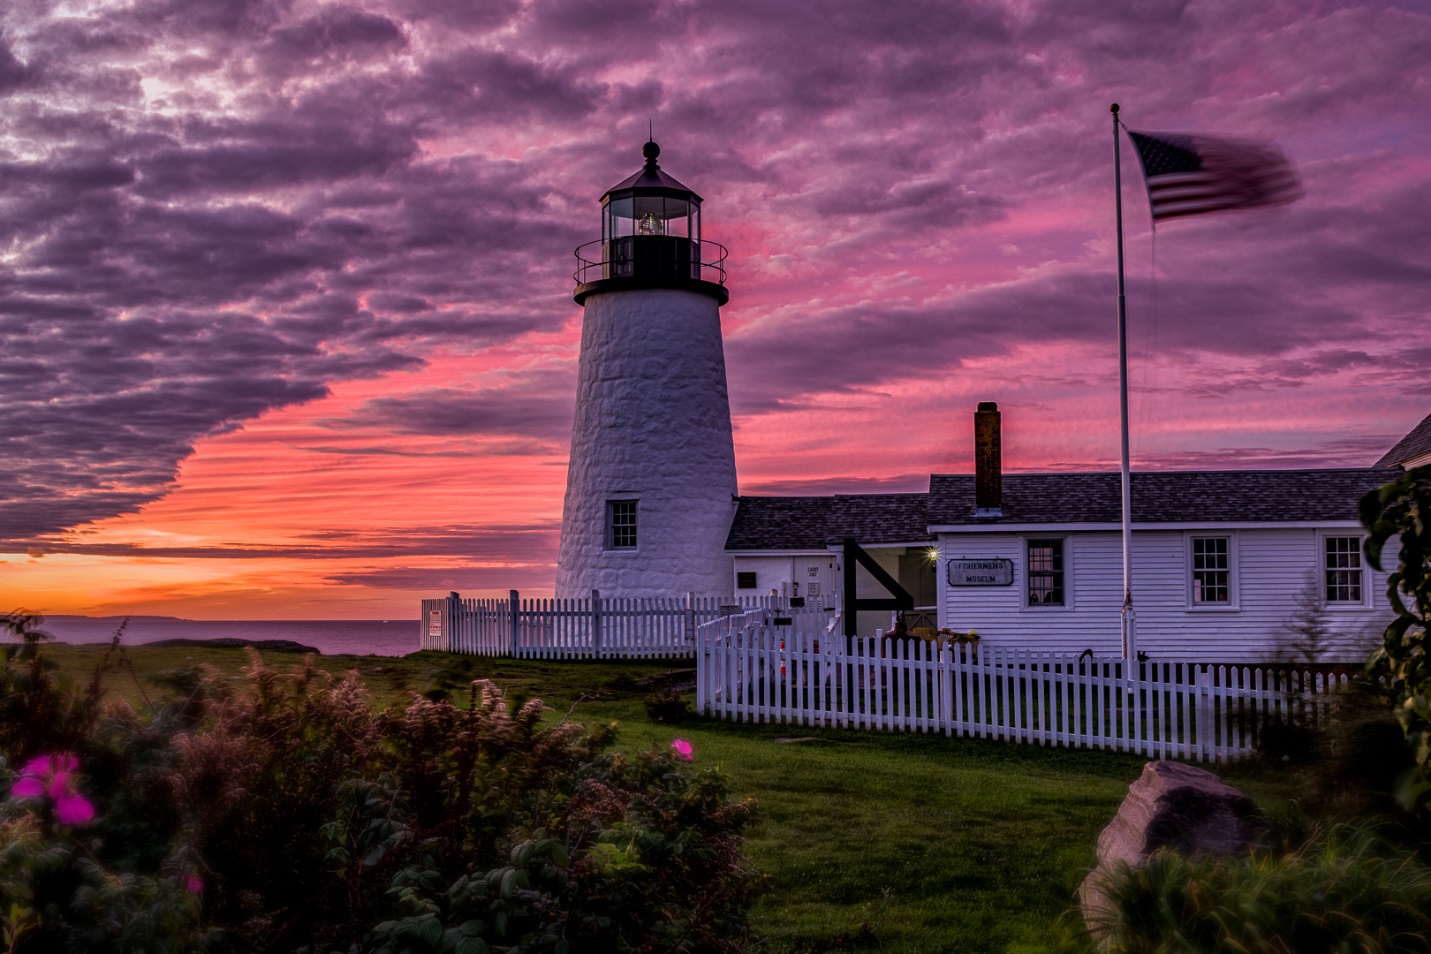
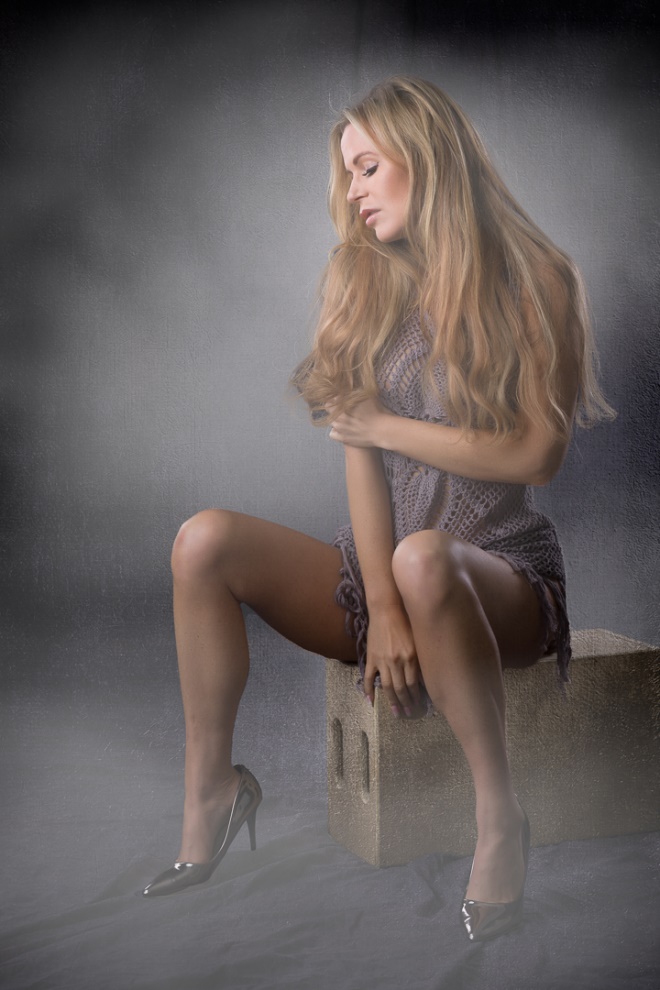
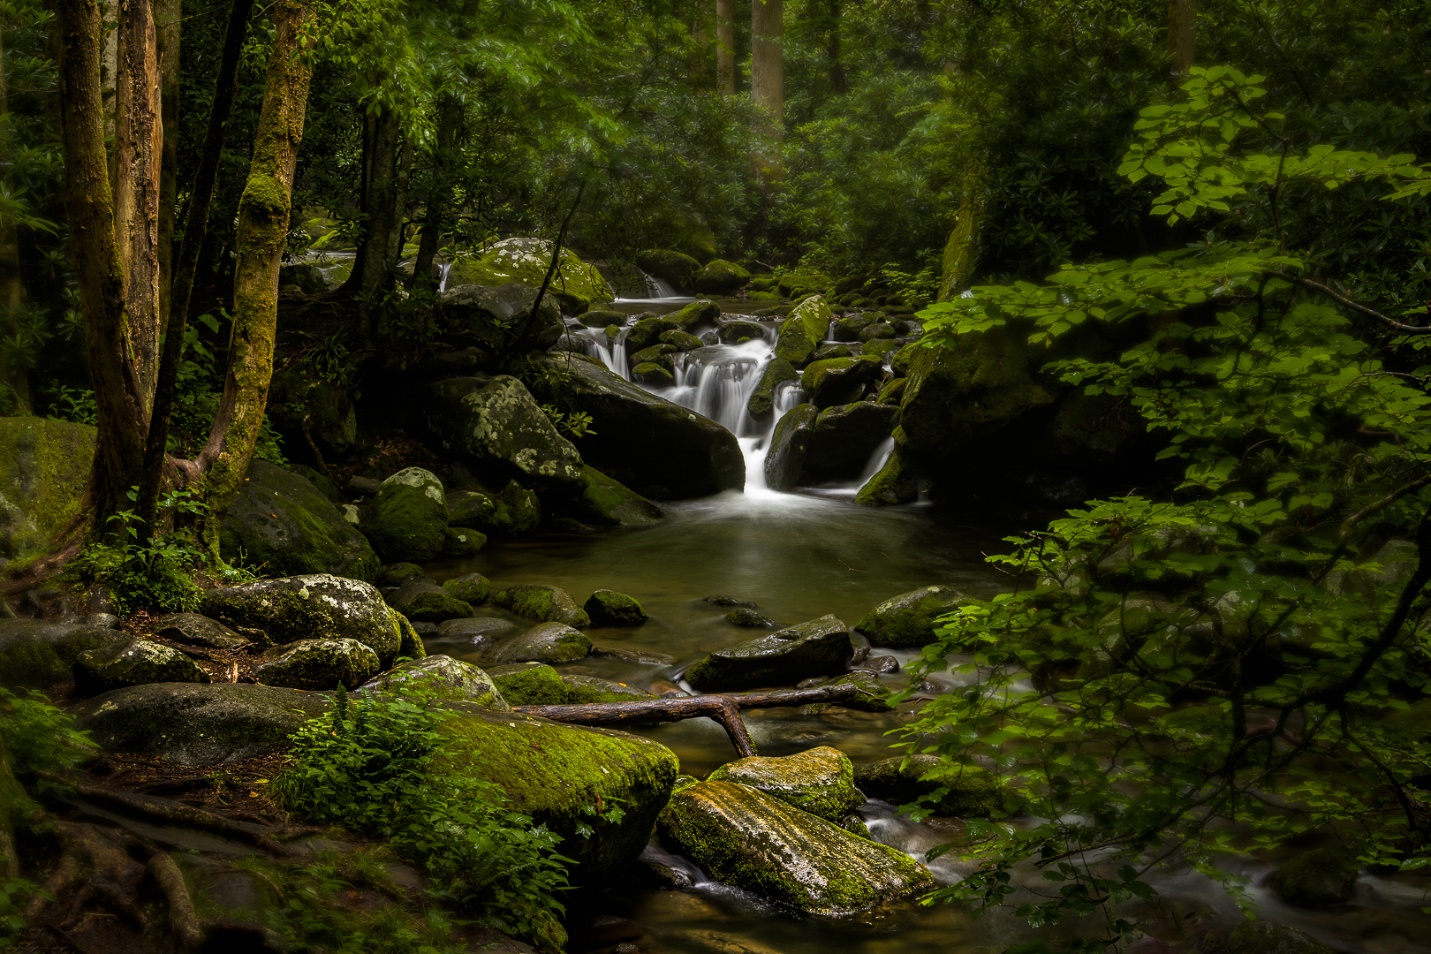
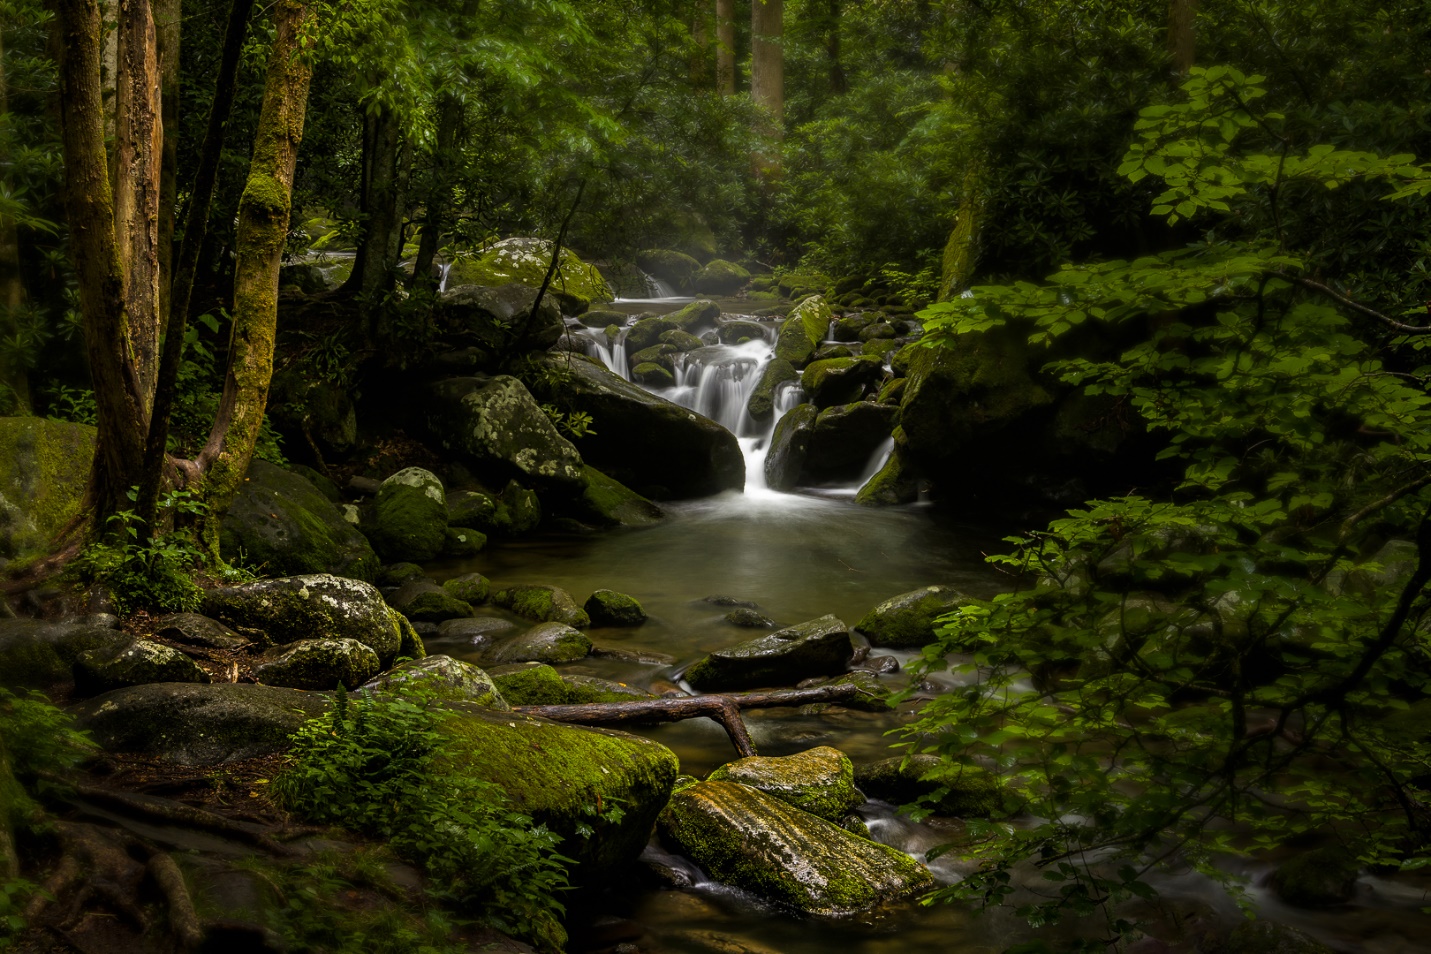
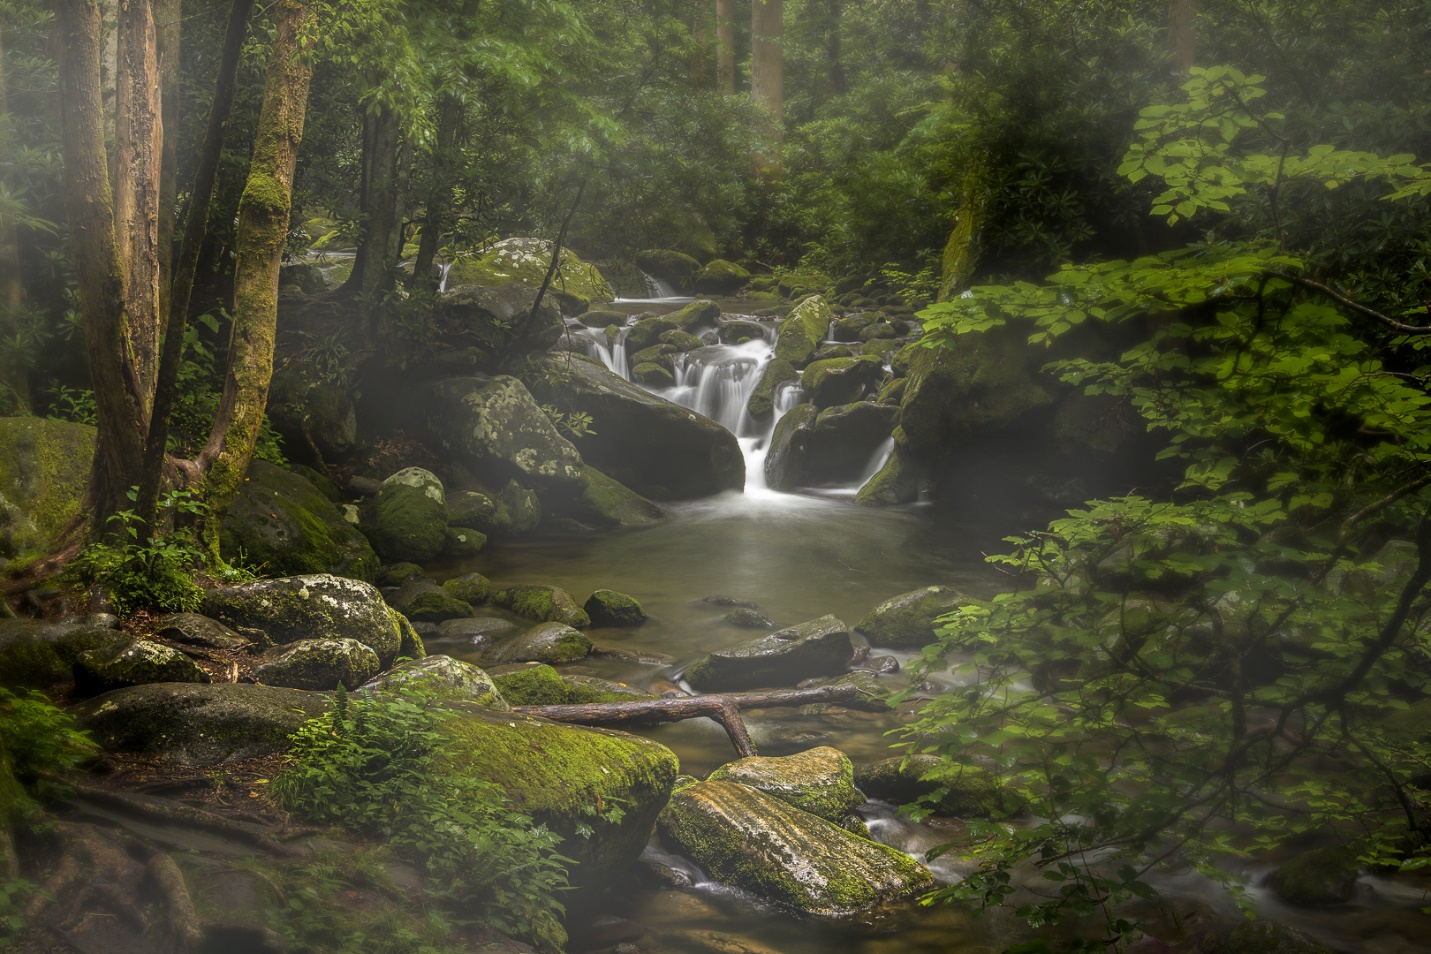
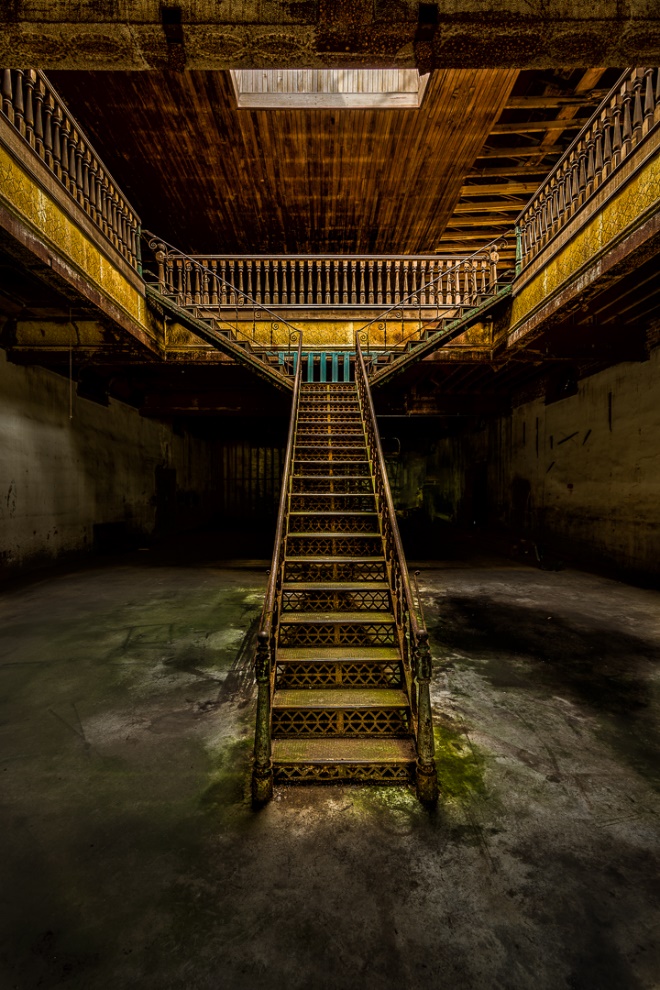
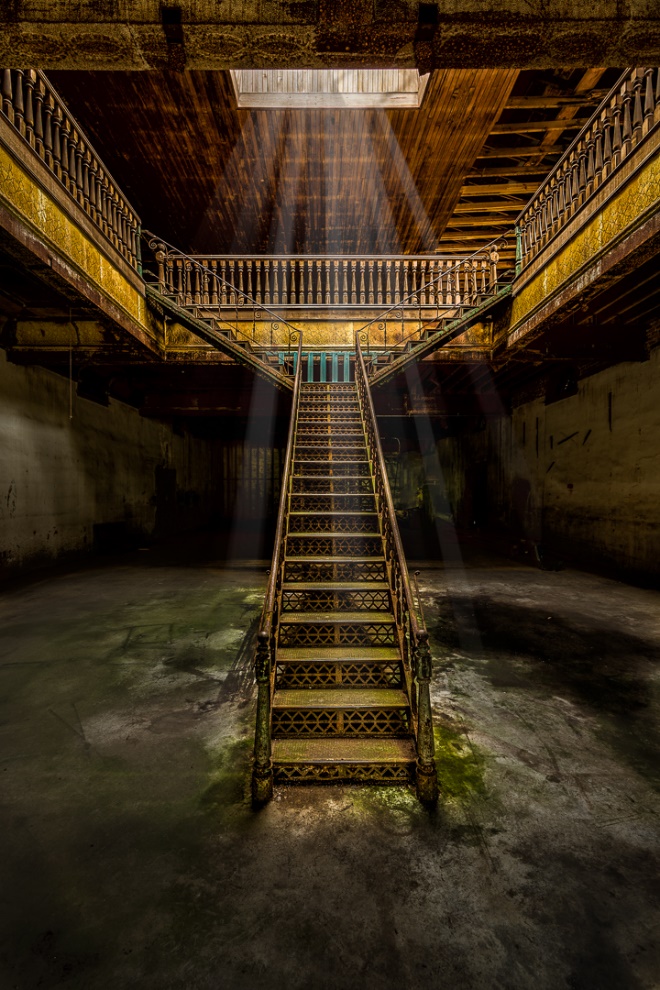
Here is another before and after.
Perhaps the biggest downside to using brushes is that no one believes you when you actually don’t add items to your image. This flock of pelicans flew by at just the right time and place, but everyone assumes I put them there.
Bats – Maybe sometimes plain old birds just don’t send the right message and you need Bats. To me they were perfect for this Halloween image. Here I put the bats on their own layer and merged the image when everything looked right.
Stars – I often use various star brushes to emphasize lights. It’s the digital answer to the star filters we used in the 70’s and 80’s. Here’s the Pemaquid Lighthouse in early evening before the light was activated.
I’ll turn the light on in a couple of steps. First I duplicated the layer, set it to screen mode and added a black mask. I painted just the inside of the light in white on the mask and that lightened the light. I repeated this layer until it looked bright enough.
Then I selected a four-point star brush, resized it, and painted in white on a new layer. This allows me to tone down the effect by decreasing the opacity if I need to.
And here is the final effect.
Here is another example using the same steps. Again this is the Pemaquid Lighthouse at sunrise, and I had been helping a friend time the lighthouse pattern to get the light in his shot. But I managed to time it wrong in my shot.
Here I’ve lightened the inside of the light using the technique above.
And here I’ve added the star effect.
Water Drops– I shot this image for an earlier article on splash photography, used some water drop filters around the base of the glass for extra interest.
Fog – If you’ve ever worked with a fog machine in the studio, you know it has to be the last shot of the day, because once you’ve done a few blasts of fog, it takes forever to clear. And the fog is unpredictable, often blocking your subject, or not filling the areas you want. Here is a shot that thought would look good with fog, but my fog machine was broken. So I thought I’d try adding the fog later.
As you can see, I used several fog brushes on several different layers. This allows me mask the fog to make some fog appear to be in front of the model, and some behind the model. I can also change the opacity of each layer and blur each layer to get the effect I like.
And you can add fog to your scenic shots as well. This Smoky Mountains Cascade was shot in a light rain, and all that was missing was some fog.
Here I’ve opened a panel with a group of fog brushes.
Here I’ve added just a subtle touch of fog above the falls. And again it’s on a separate layer so I can control opacity and blur.
Here I’ve gone wild with several layers of fog. Which one is right or better totally depends on your taste as an artist. But with the fog brushes you are in control.
Light Rays – There are numerous light ray brush sets available. Here are a couple of before and after shots. As usual the light rays are on separate layers so I can control the opacity and blending mode.