Photography Basics – Creating the Shallow Depth of Field Look in Lightroom
by Mickey Rountree
Several articles ago, I did an article on faking the shallow depth of field look in Photoshop. It involved selecting and copying the subject, and creating blurred layers and masking. It worked, but it was time consuming. You can see the original article at:
When these articles are converted to PDF and sized for the newsletter, the resolution and quality of the images is seriously degraded. If you would like to read the article and see the images as I did, you can see this article on my website at this link.
https://mickeyrountree.smugmug.com/Articles/Basic-Photography-Series/
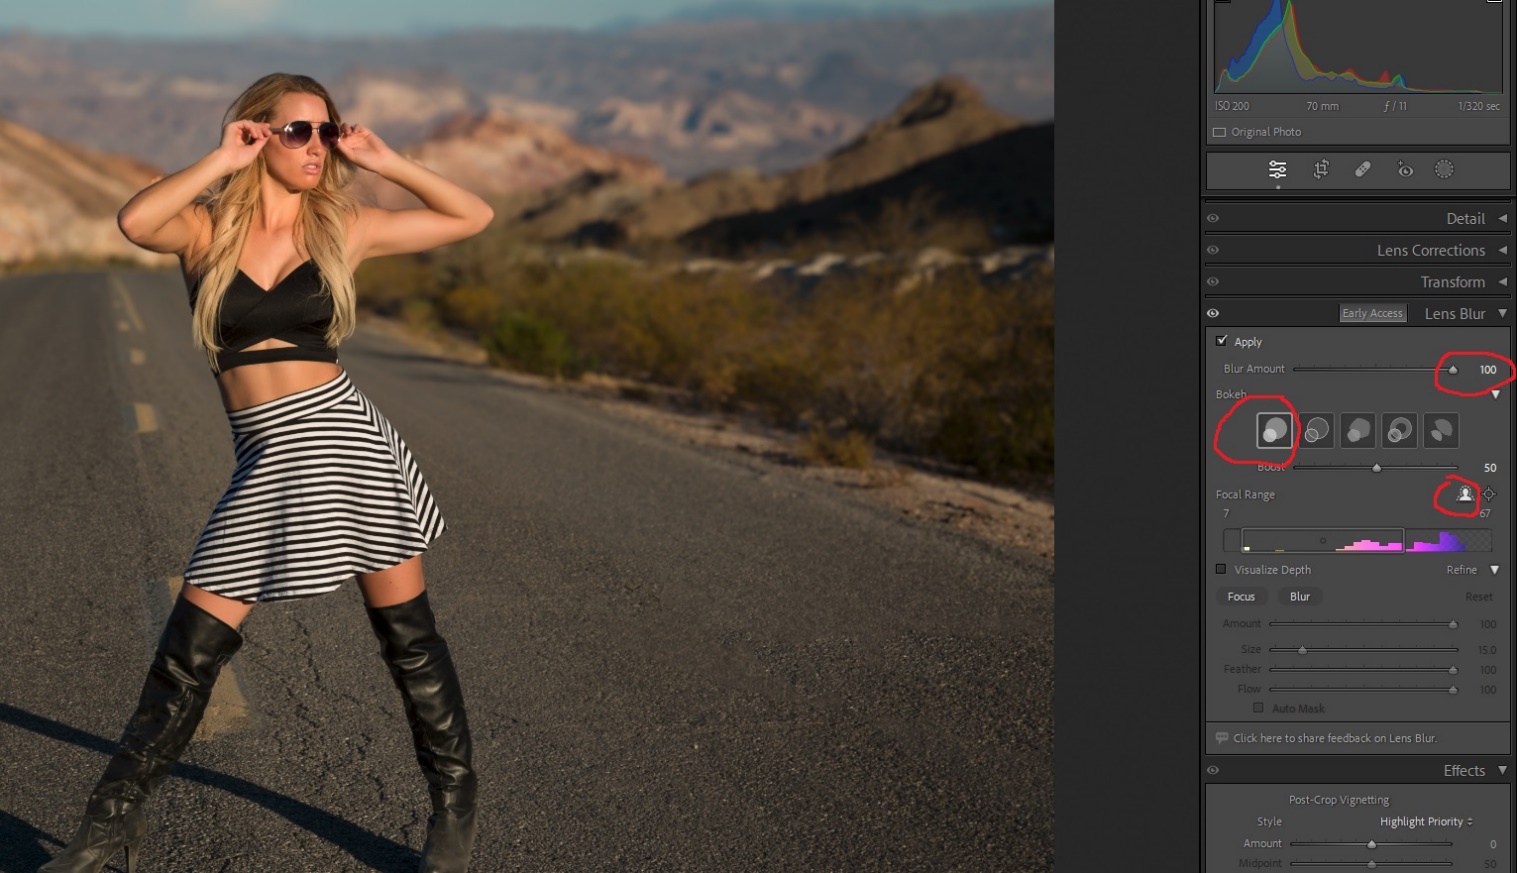
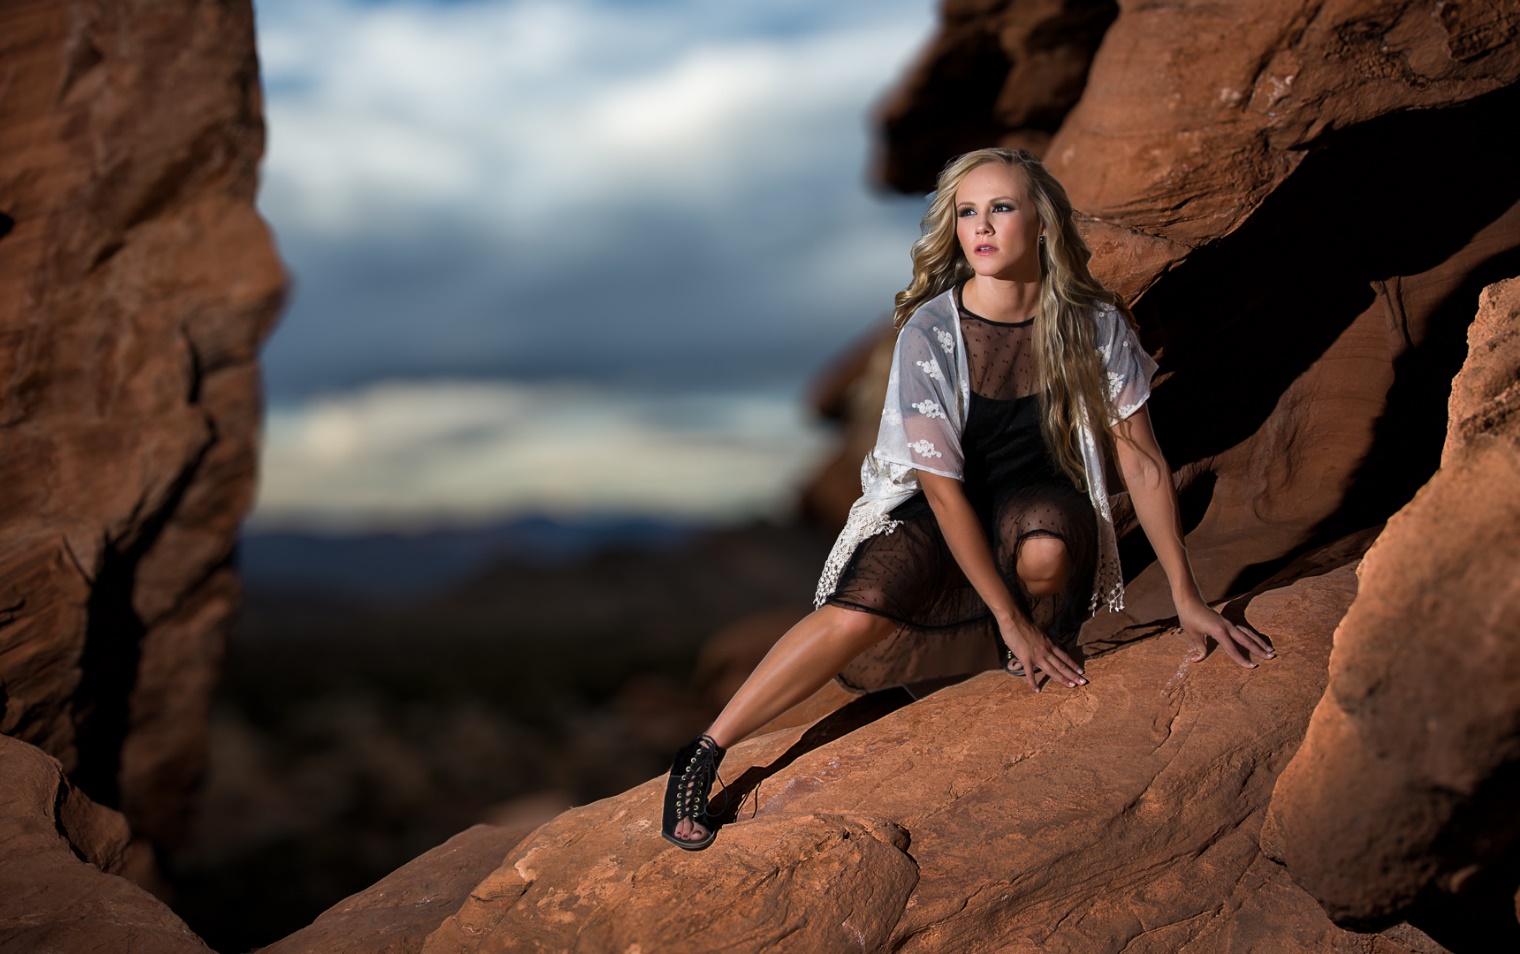
With the October 2023 update of Lightroom to version 13, this is now easily done with just a couple of clicks in the new lens blur panel in the develop module. This is a “early access” or Beta Test feature, which means that we’ll see improvements and changes to it over time. Since I like it a lot already, I can’t wait to see how they make it even better. The lens blur panel is located below the transform panel. And since Lightroom is essentially Camera Raw with a nicer interface Lens Blur is available in Camera Raw just below the optics panel, and works exactly the same as in Lightroom.
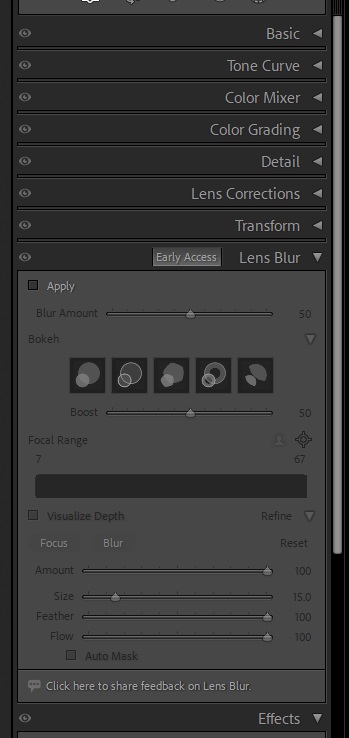
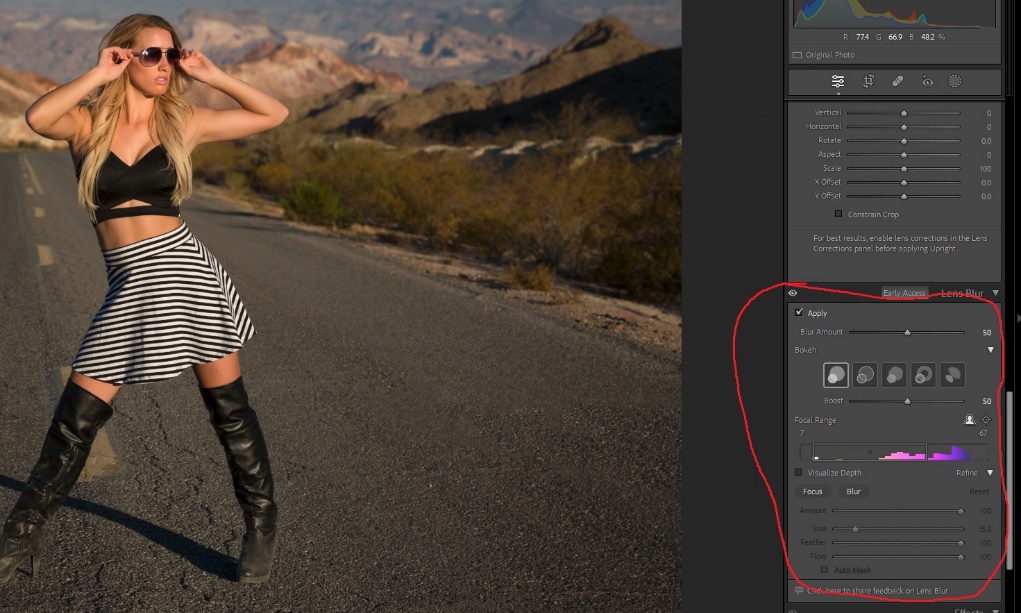
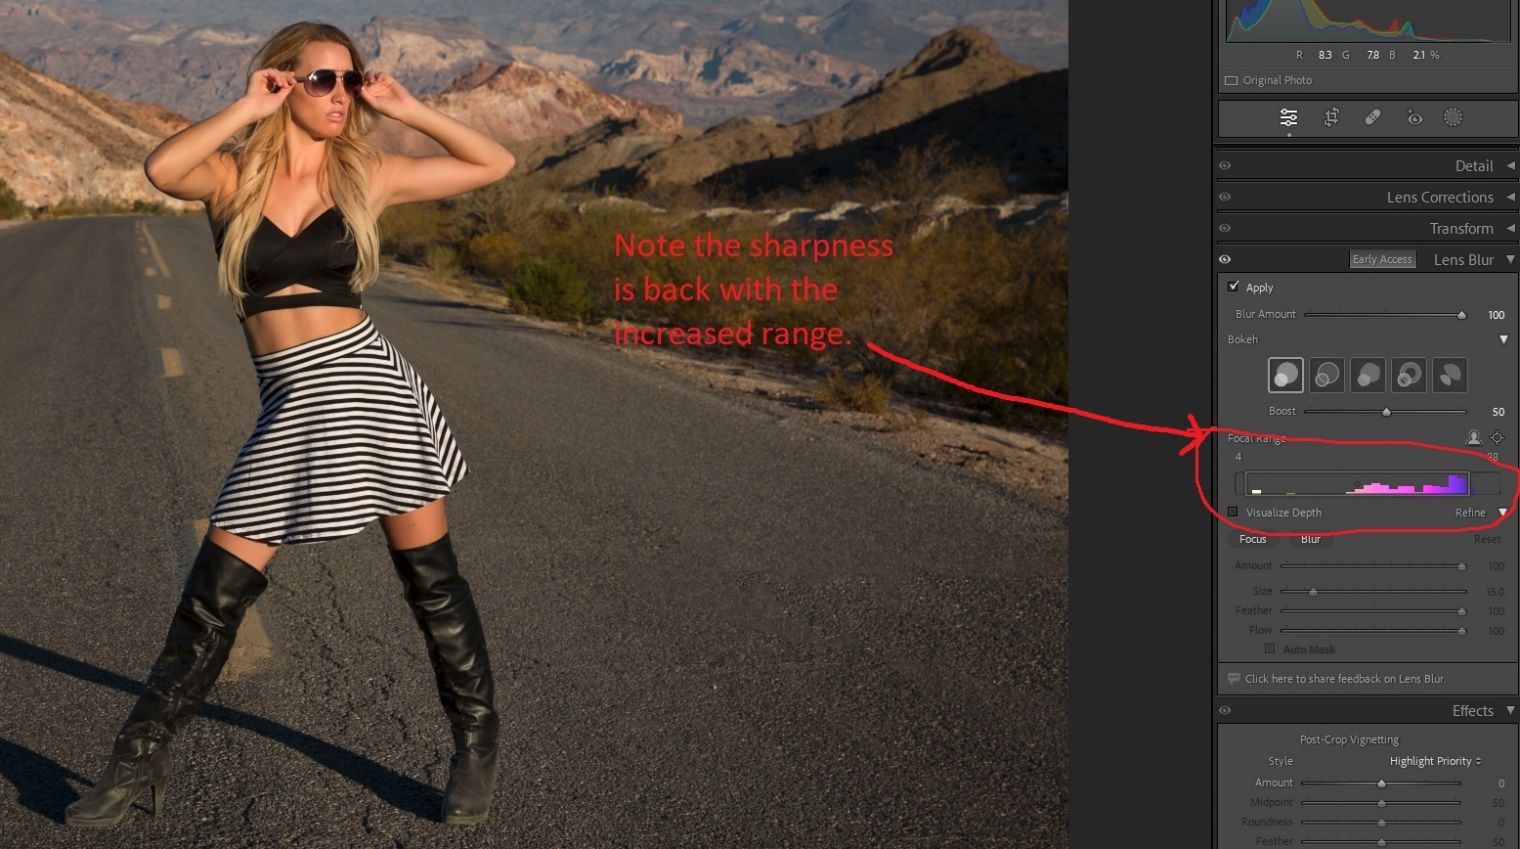
To use lens blur check apply at the top left. Then use the slider to adjust the amount of blur. There are five types of blur (or Bokeh if you want to sound fancy). The first is soft creamy round blur like you might get with a modern lens with a really wide aperture, and a really high price tag. The second has bubble like highlights. The third is more like older lenses with fewer aperture blades and a pentagonal shape. The fourth creates donut shaped out of focus hightlights like a mirror telephoto. The fifth has vignetted highlights. I find myself liking the first style the most.