Photography (Slightly Beyond) Basics – My Most Used Photoshop Plugins – Plugins for Portraits
by Mickey Rountree
In this article, I’ll show you a couple of the plugins I use for retouching skin in portraits, female portraits in particular. Two of the most widely used plugins for portrait retouching are Imagenomic Portraiture, and Anthropics PortraitPro. Both have their advantages, and both can give you good results. Both are available at their websites below.
https://imagenomic.com/Products/Portraiture
https://www.anthropics.com/portraitpro/
When these articles are converted to PDF and sized for the newsletter, the resolution and quality of the images is seriously degraded. If you would like to read the article and see the images as I did, you can see this article on my website at this link.
https://mickeyrountree.smugmug.com/Articles/Basic-Photography-Series/
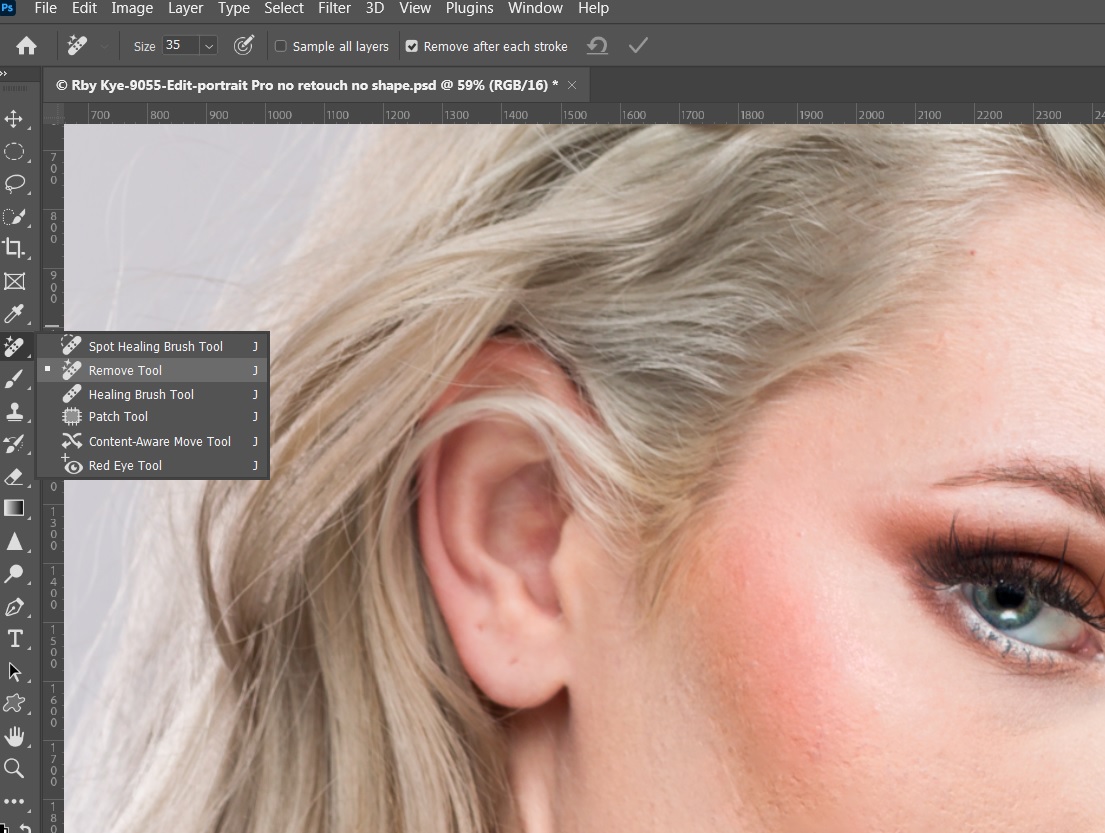
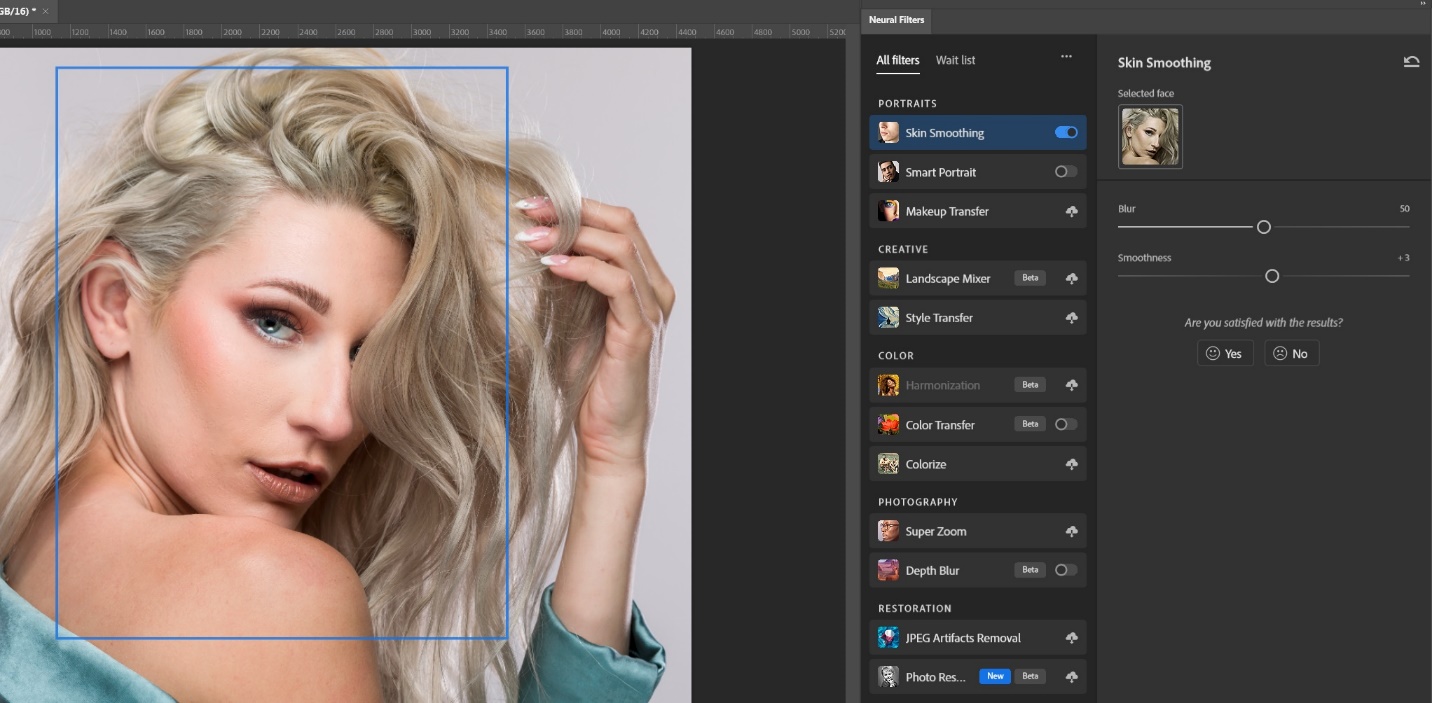
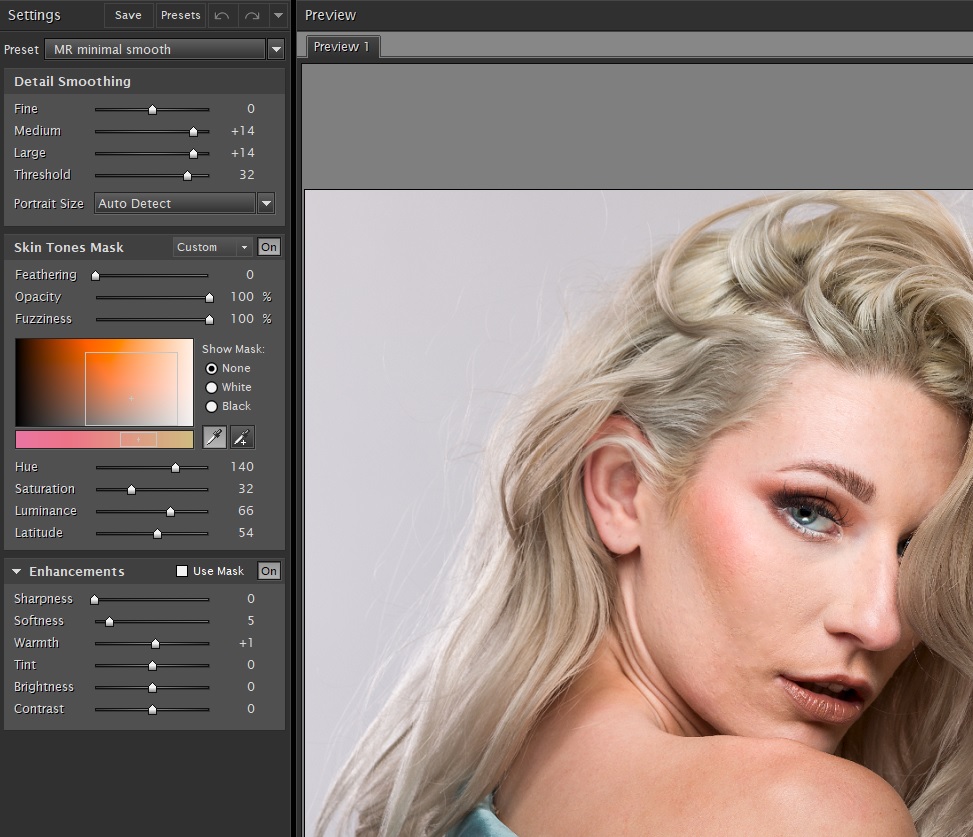
My most used retouching plugin is Imagenomic Portraiture. This one is fairly expensive, in the $250 range. I’m still using version 2, and although version 4 is out with a lot of improvements, I’m used to version 2 and most importantly happy with my results.
Portraiture can be set to output to a new layer which I always select, so I can vary the opacity and apply masking if necessary. There are several presets, or you can adjust settings with the sliders and save your own presets. I have several presets I have created for various situations. At the heart of the interface is the eyedropper tool which you use to select the various skin tones that you want to modify. With skin tones selected apply a preset or adjust the sliders for the amount of retouching you want.
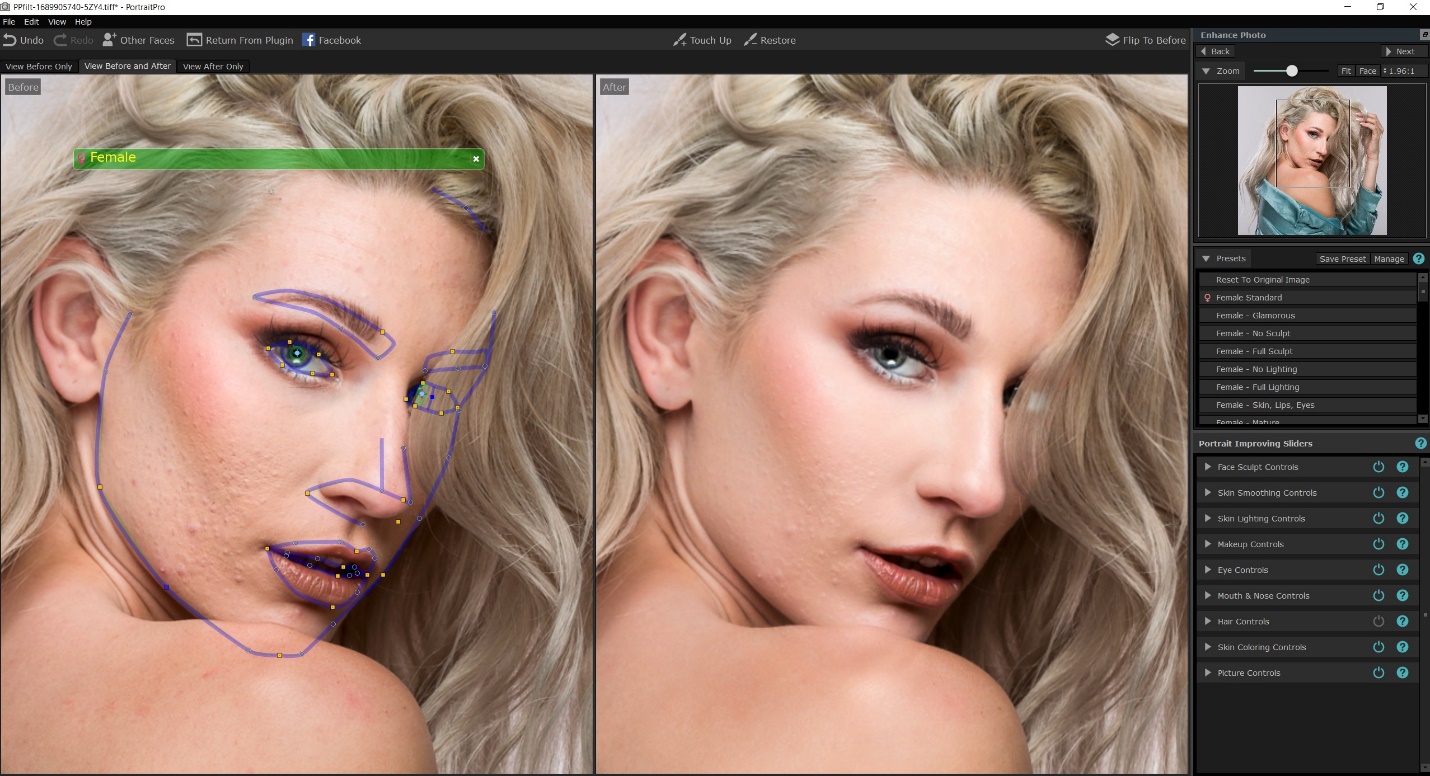
Anthropics PortraitPro is another popular program, which does much more than just skin softening. It can sculpt faces, add makeup, lengthen neck and several other tasks. I don’t use it often, but it is much cheaper, at around $90. I’m still using version 15, and the current version is 23. I would upgrade, except that I don’t use this plugin often.
This plugin does not offer the option of saving to a new layer, so I always first create a copy layer and then run the plugin so I can adjust opacity and masking. When you first open the plugin it will attempt to recognize the face and place markers over key features. There are points you can drag to refine the selection. In the right hand column are all of the adjustments available, and each one opens further into individual adjustments. Again there are presets, and you can save your own.
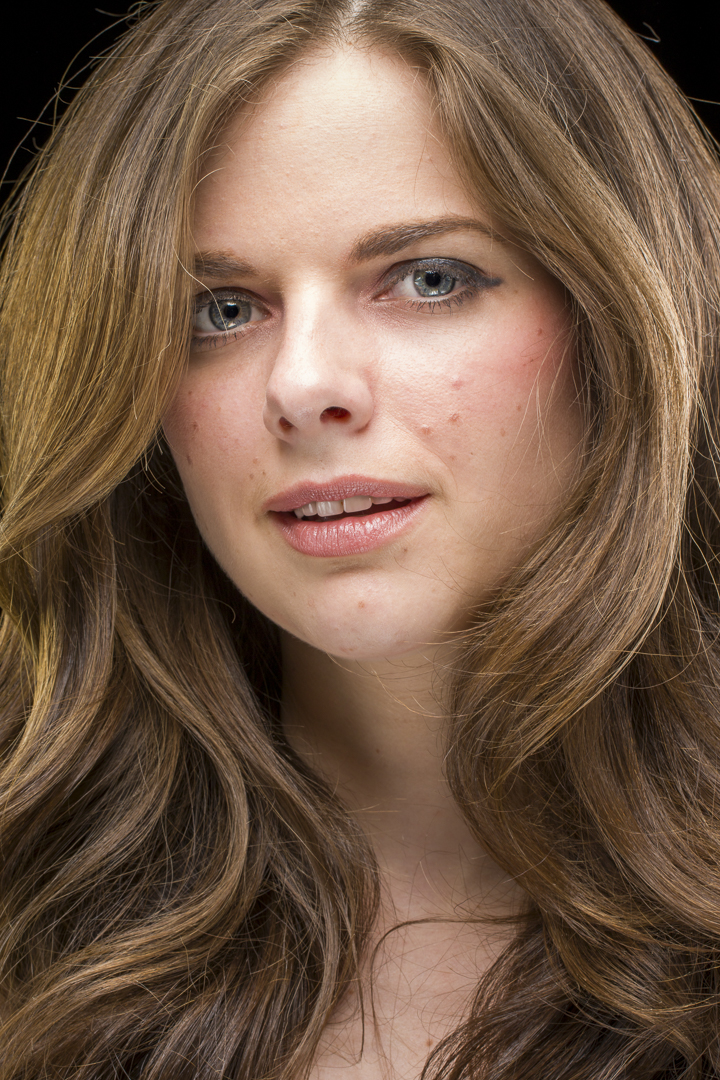
I thought the best way to compare these two programs would be to work on the same image. We’ll start with this unretouched image, and see how the programs do with no other retouching. This is actually pretty unrealistic, since normally I would remove larges blemishes first, but let’s see what happens. Our goal is a nice complexion, free of major blemishes and blotchy skin. At the same time, we don’t want to go overboard, and create skin that looks totally plastic with no texture.

Without retouching the blemishes, here are the results with Imagenomic Portraiture and one of my saved presets. It’s much improved, although the larger blemishes are still obvious.