Photography Basics – Air Show Photography
by Mickey Rountree
I have shot several air shows back in the film days and now about 20 in digital. I’m certainly not the top authority, but here are a few tips I have found through trial and error.
When these articles are converted to PDF and sized for the newsletter, the resolution and quality of the images is seriously degraded. If you would like to read the article and see the images as I did, you can see this article on my website at this link.
https://mickeyrountree.smugmug.com/Articles/Basic-Photography-Series/
Don’t sit in bleachers or areas with tight packed seating. Take a folding chair, arrive early and stake out a location as close as possible to the fence line and near show center. Or skip the chair and roam around. If there is a special photographer’s option, it’s definitely worth the extra money.
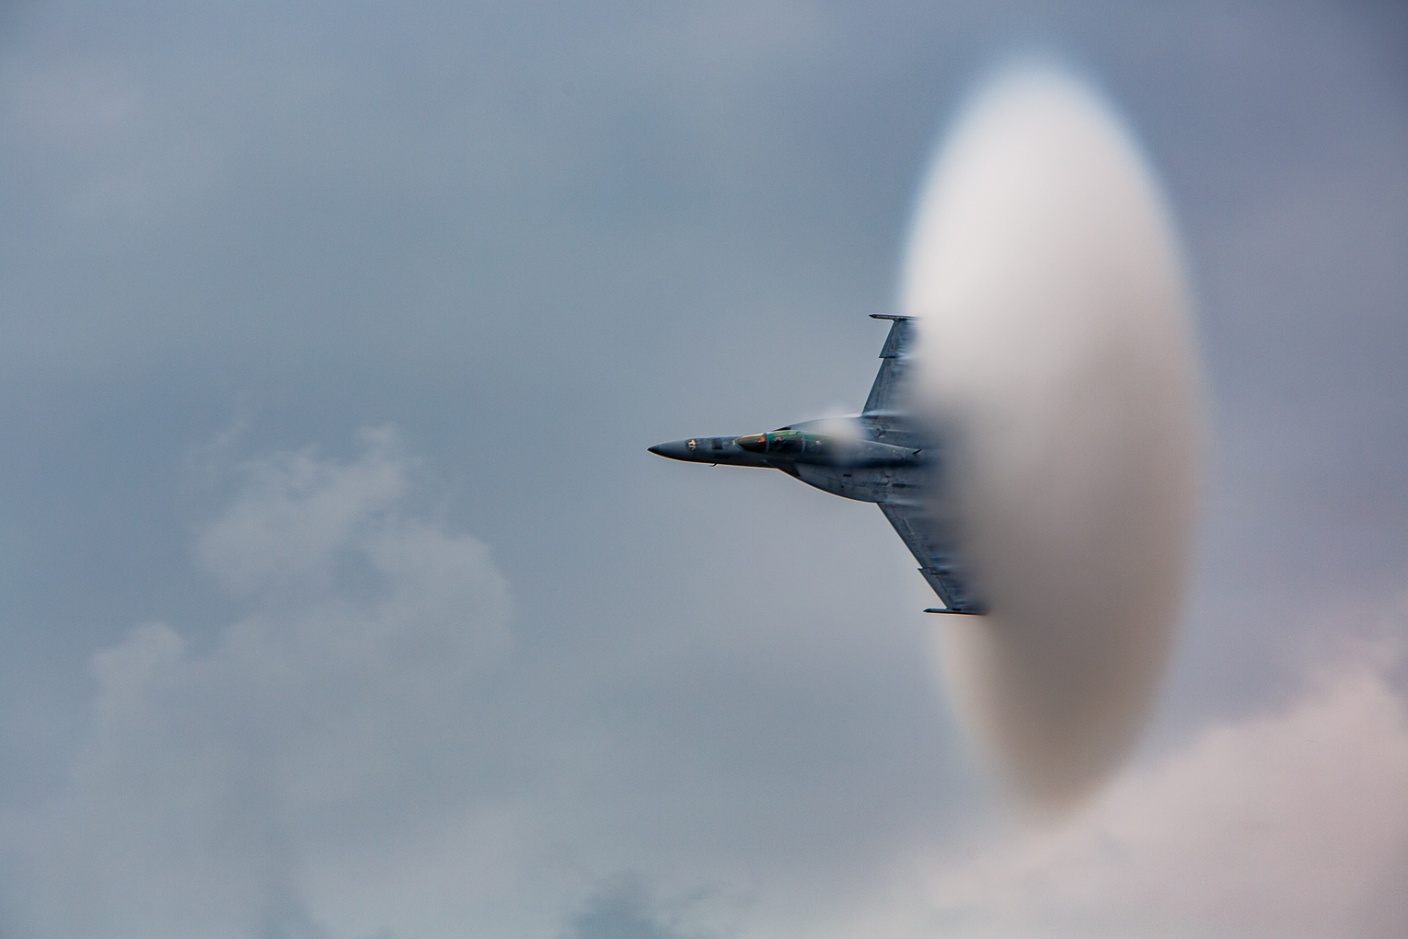
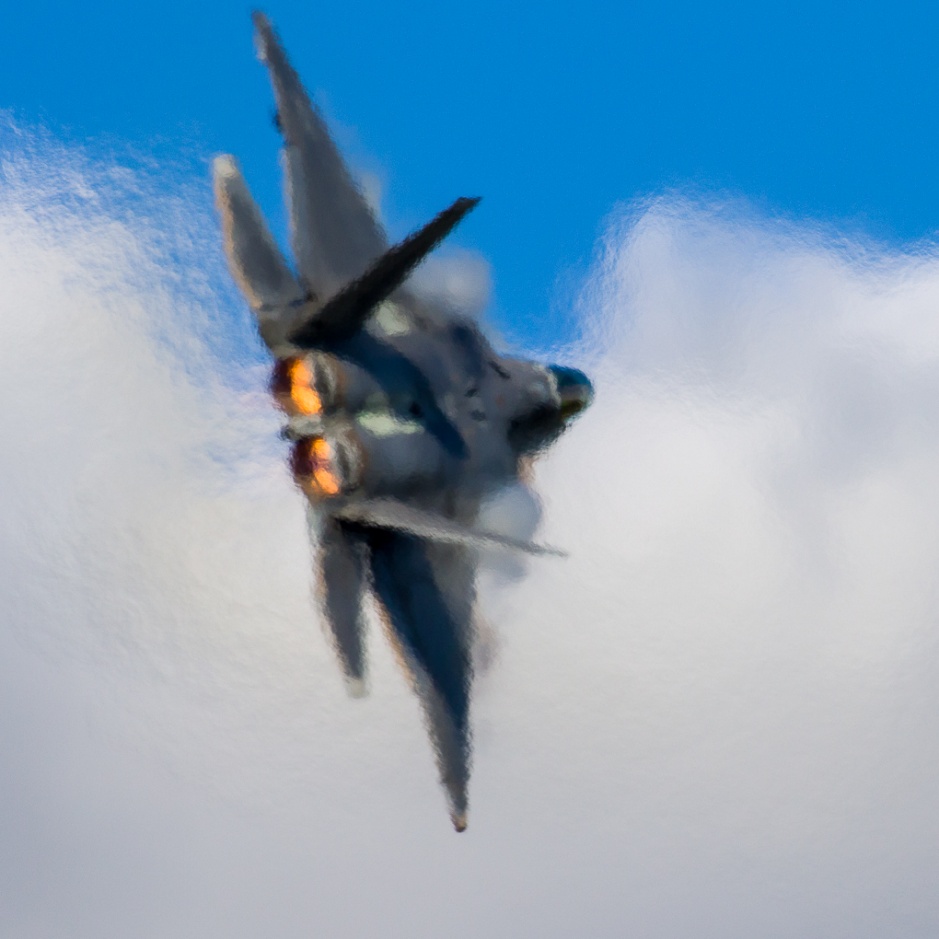
If the air show is scheduled for 2 days, plan on attending both days. At night review your work from the first day, so you can correct your mistakes or get the shots you missed on day one. Also one day may have better weather than the other, or prettier skies. Even bad weather can work to your advantage. High humidity or even light mist can create visible cone shaped “vapors” as a jet approaches 700 MPH. They last a split second, so shoot at a high frame rate when conditions are right for this effect.
Panning is a critical skill for air show photography and you need to practice beforehand by shooting moving cars, bikes, birds or animals. Remember to pan smoothly with the aircraft, and don’t stop your panning movement as you shoot. Shooting at your camera’s highest frame rate will make it more likely that least one shot out of a sequence will be acceptably sharp. There will be lots of blurred shots, so remember it only takes one good shot.
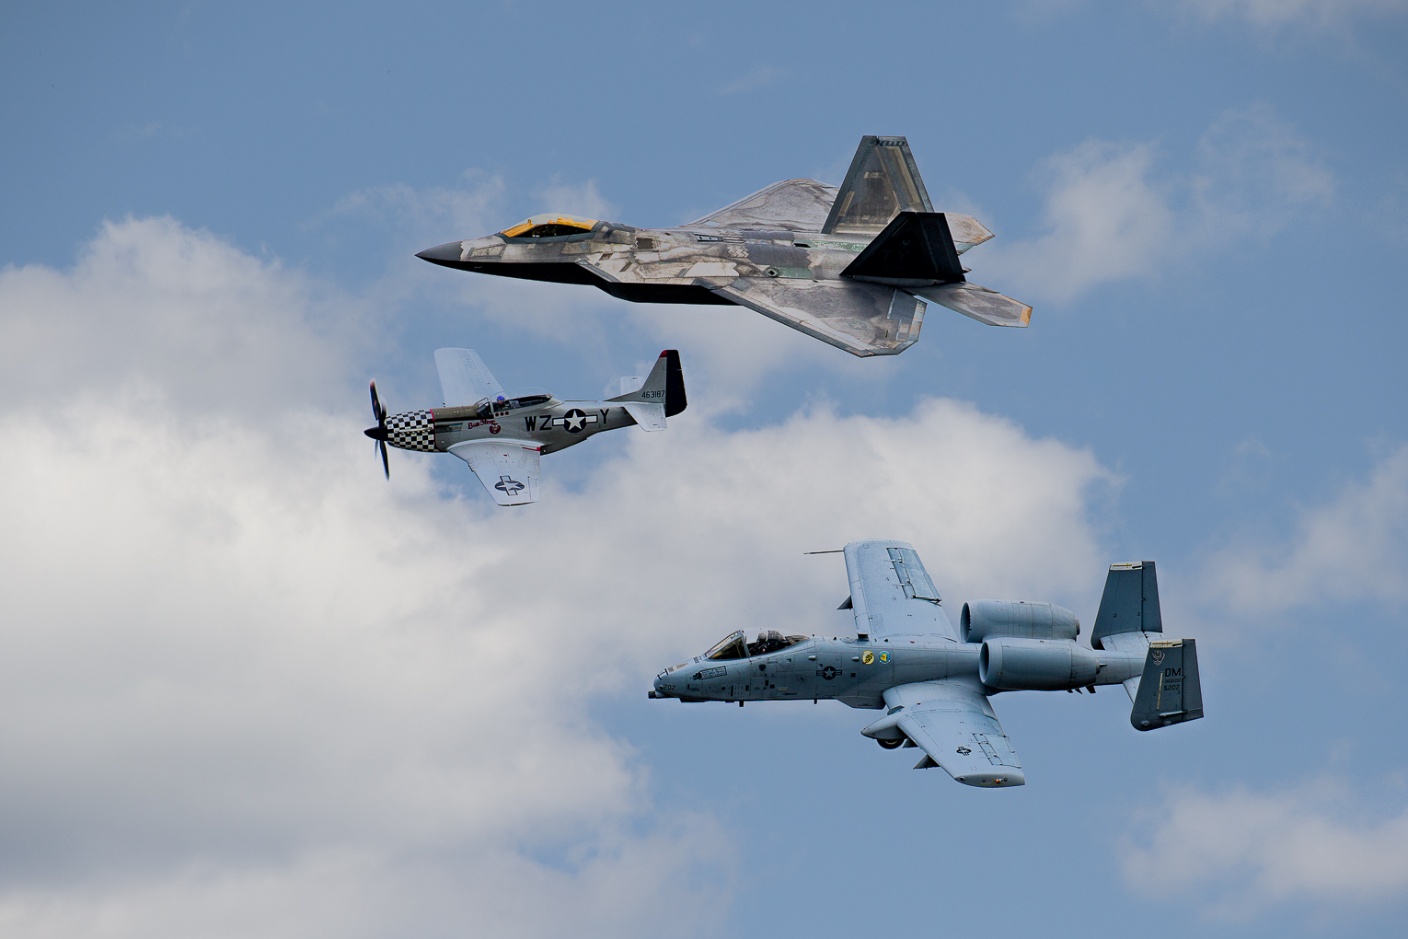
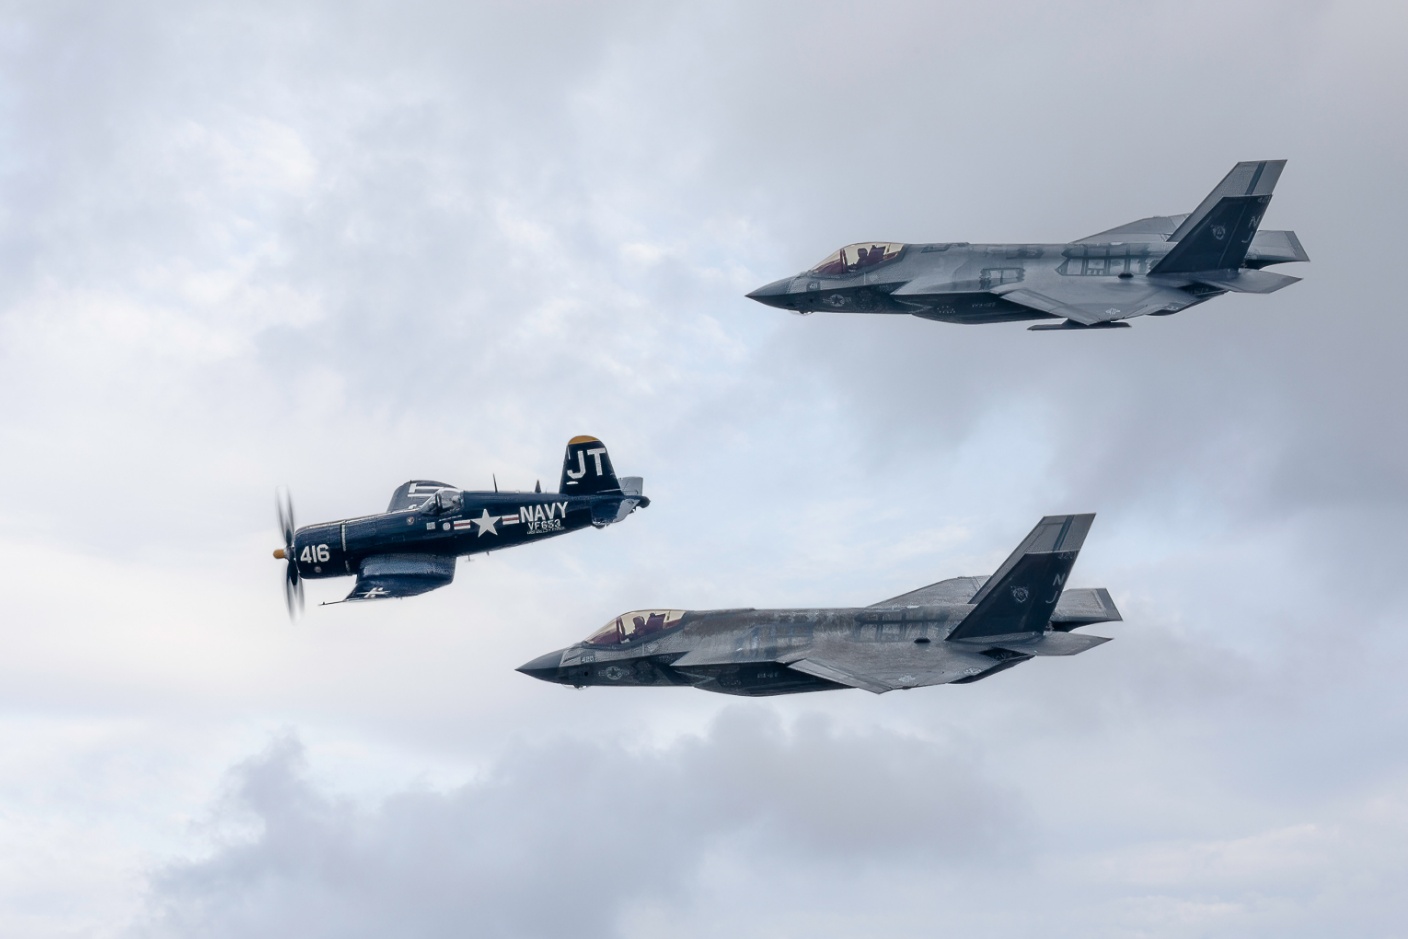
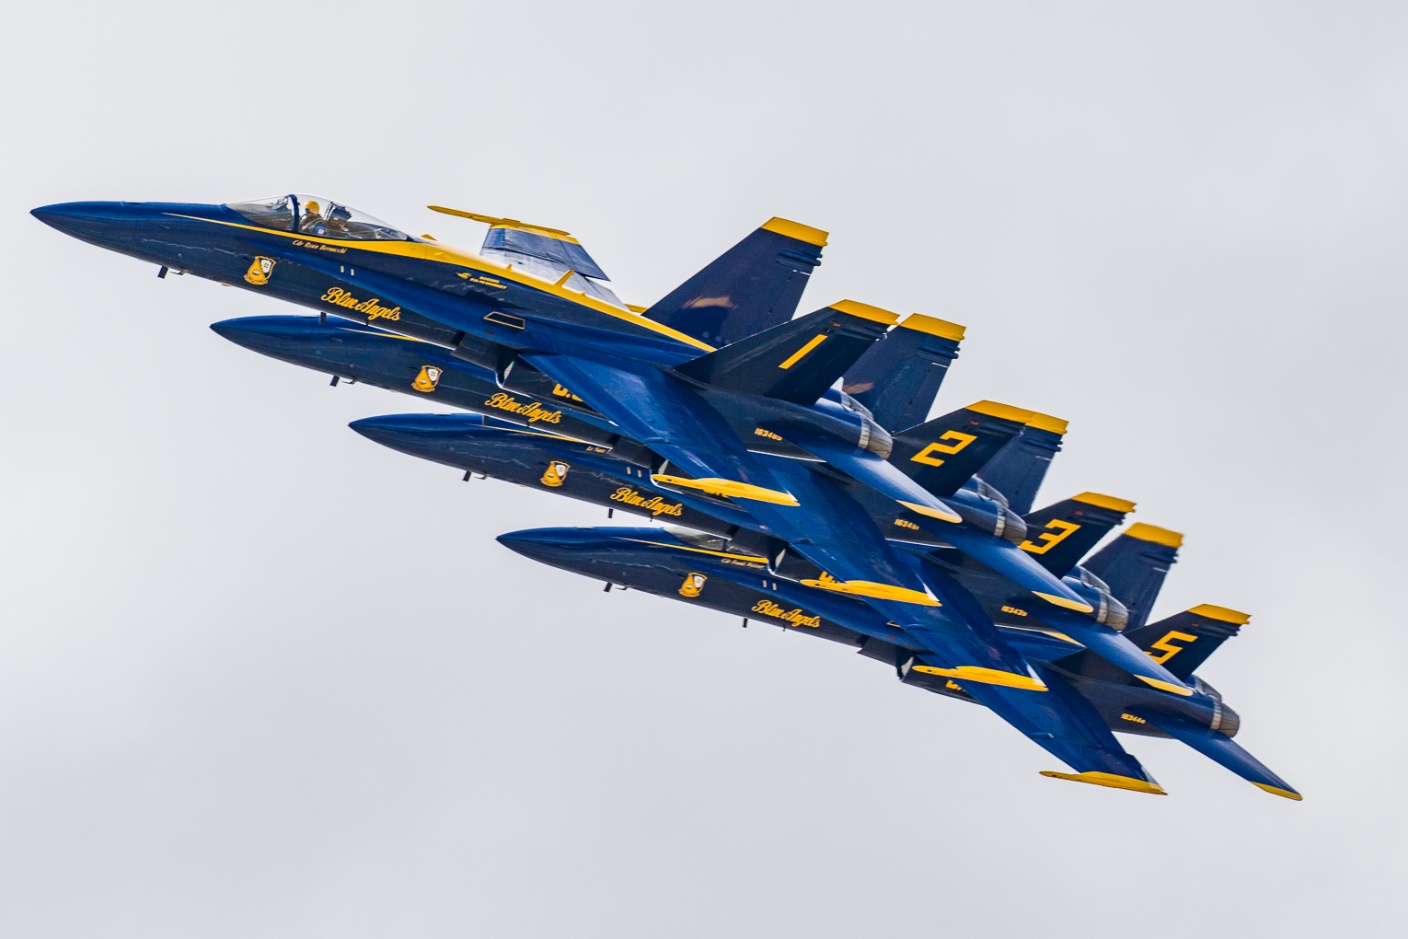
For most photography, you’ll want a long lens, particularly for solo acts. A 100-400mm or 150-600mm lens is a good zoom range. For formations of three or more planes, a 70-200 on a crop sensor or with a 1.4 teleconverter may work. Image stabilization or vibration reduction can be a real help. Some lenses have a setting for image stabilization while panning. Forget the tripods and even monopods for planes in flight. You’ll be panning so quickly that hand held is the way to go. For static displays you may want wider angle lenses. If you have access before the crowds you may be able to use a tripod, but for safety don’t attempt to use it in a crowd.
Make sure your camera’s autofocus is set for moving subjects. On Canon cameras this is AI Servo and on Nikons it is AF-C. Make sure you are not on single shot focus mode, and double check that autofocus is not turned off on the lens. Every professional I know uses back button focus, where the focusing function is reassigned from the shutter button to a rear button. Check your manual for how to do this.
Make sure your camera and sensor are clean, your battery is fully charged, and your card is empty and formatted. Large capacity cards like 64 GB or 128GB can be very useful. Make sure you have extra cards and batteries. Many air show prohibit backpacks and camera bags, so make sure you can carry what you need on your person. A photo vest might be a good option.
For jets, you will want a fast shutter speed, 1/1000 sec or faster. Even at this shutter speed, you need to practice panning smoothly to minimize blur. At 600 MPH a jet is moving almost 1000 feet for second. At 1/1000 shutter speed it will move 1 foot and be blurred without smooth panning. I usually use shutter priority, 1/1000, and set an ISO that will allow f/8 or f/11. On a clear day this is usually ISO 200 or 400.

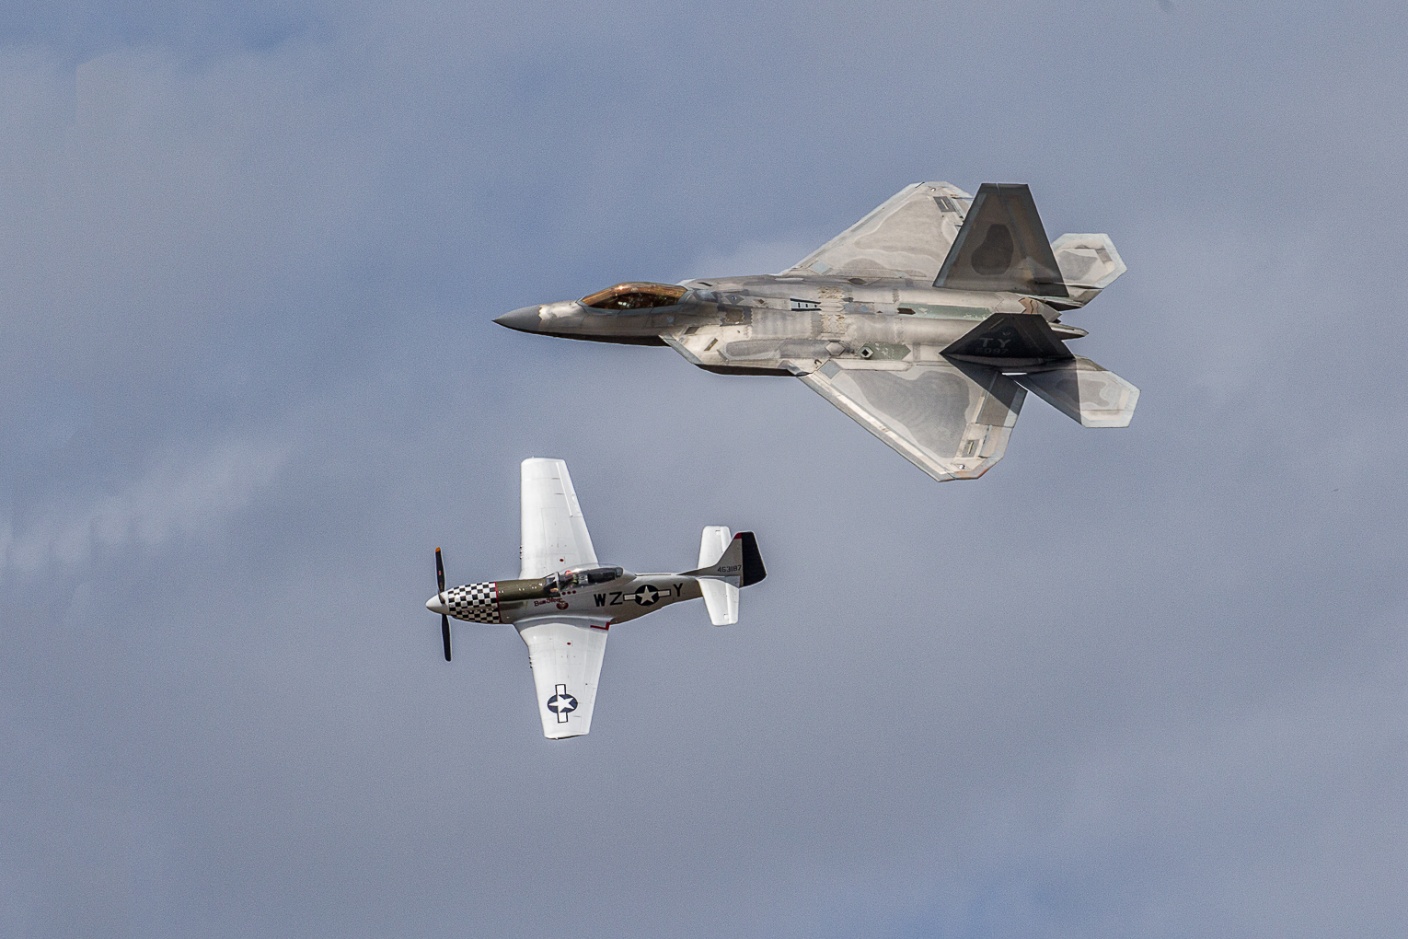
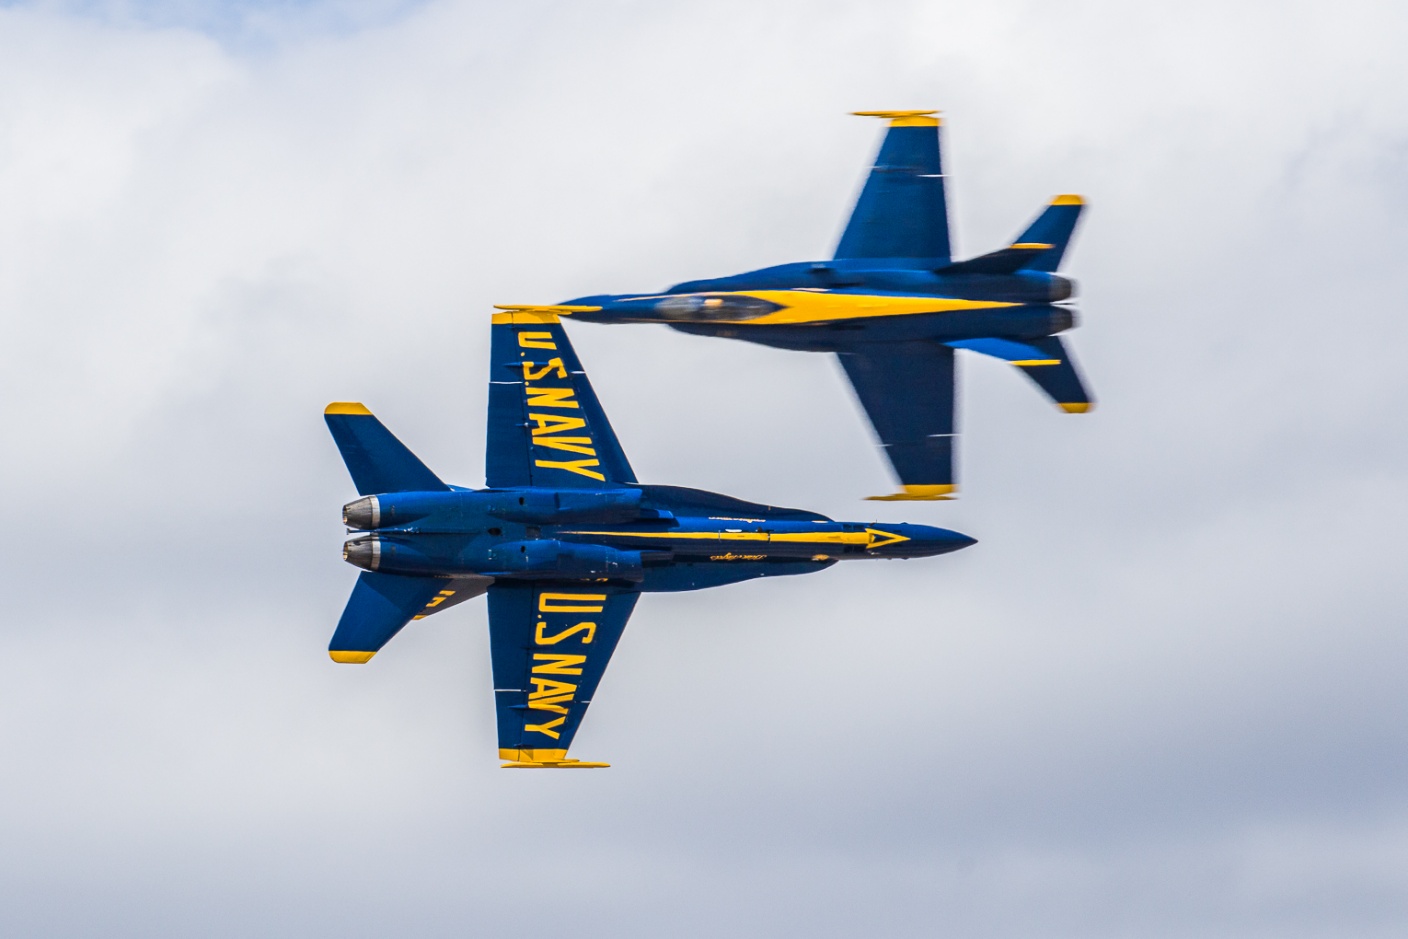
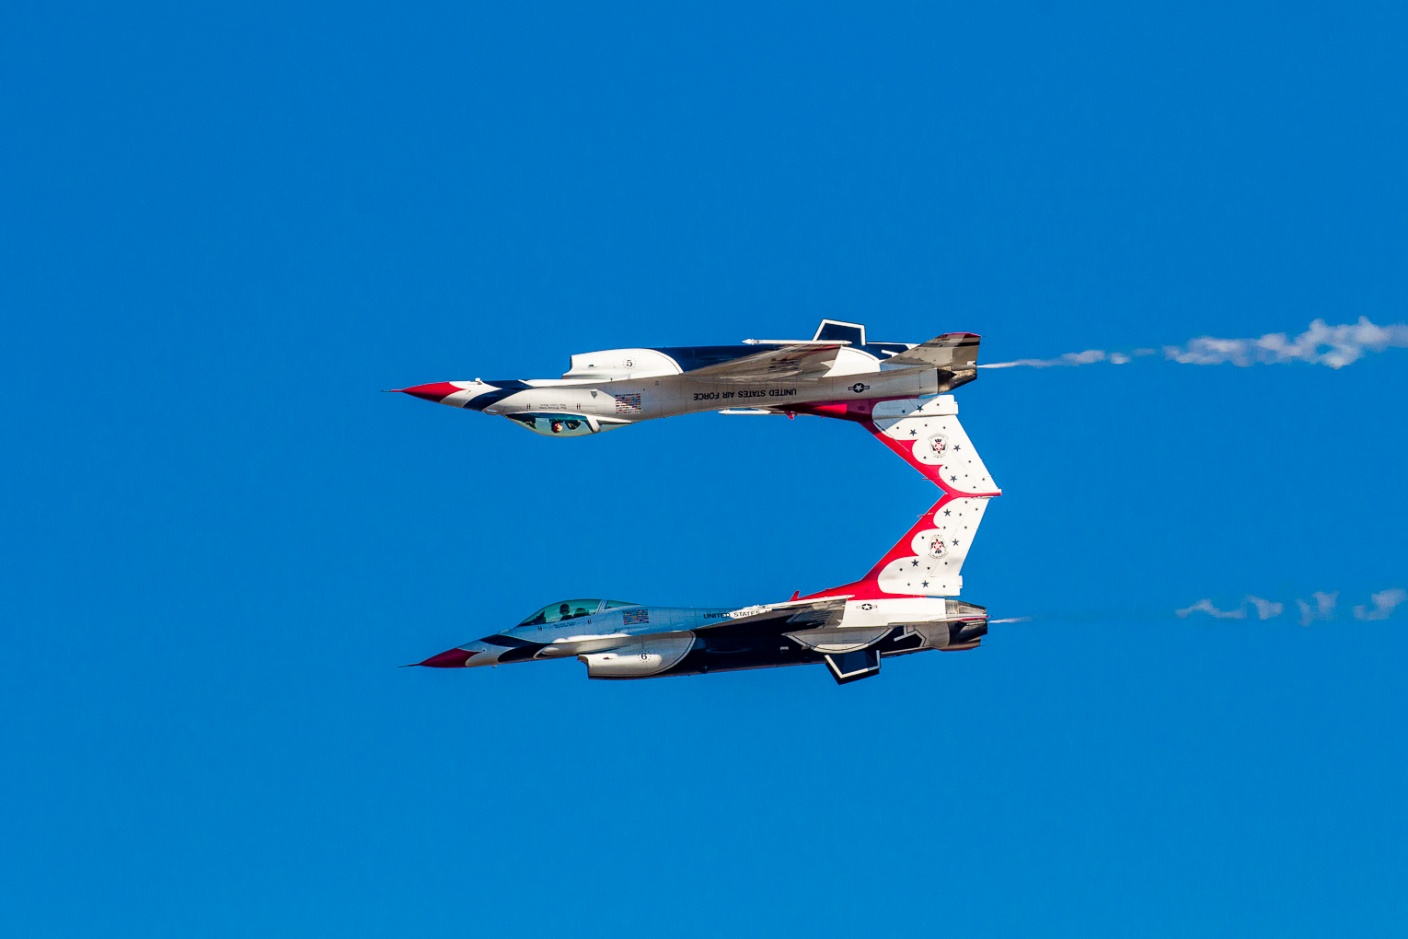
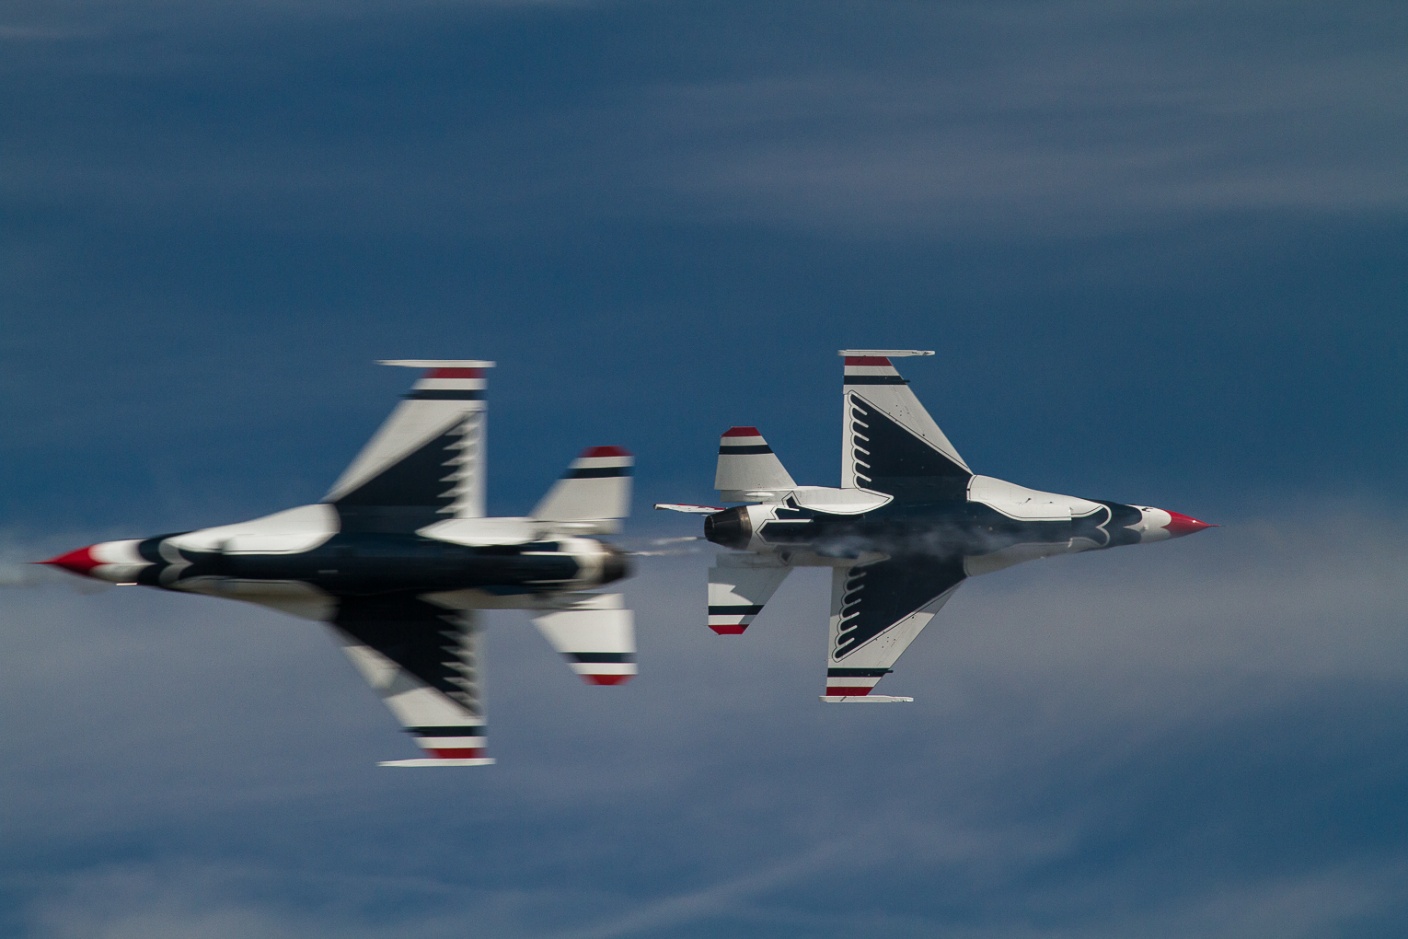
On a cloudy day I may even need ISO 800. For crossing shots where two jets are each flying 600MPH toward each other, closing speed is 2000 feet per second. You must be panning on one plane and begin firing on burst mode as they approach each other. If you wait until you see both planes in the viewfinder, you have probably already missed the shot. If you try to anticipate where the aircraft will cross and hold steady on that point both will be blurred. I will say that even with a fast frame rate, there is lots of luck involved.
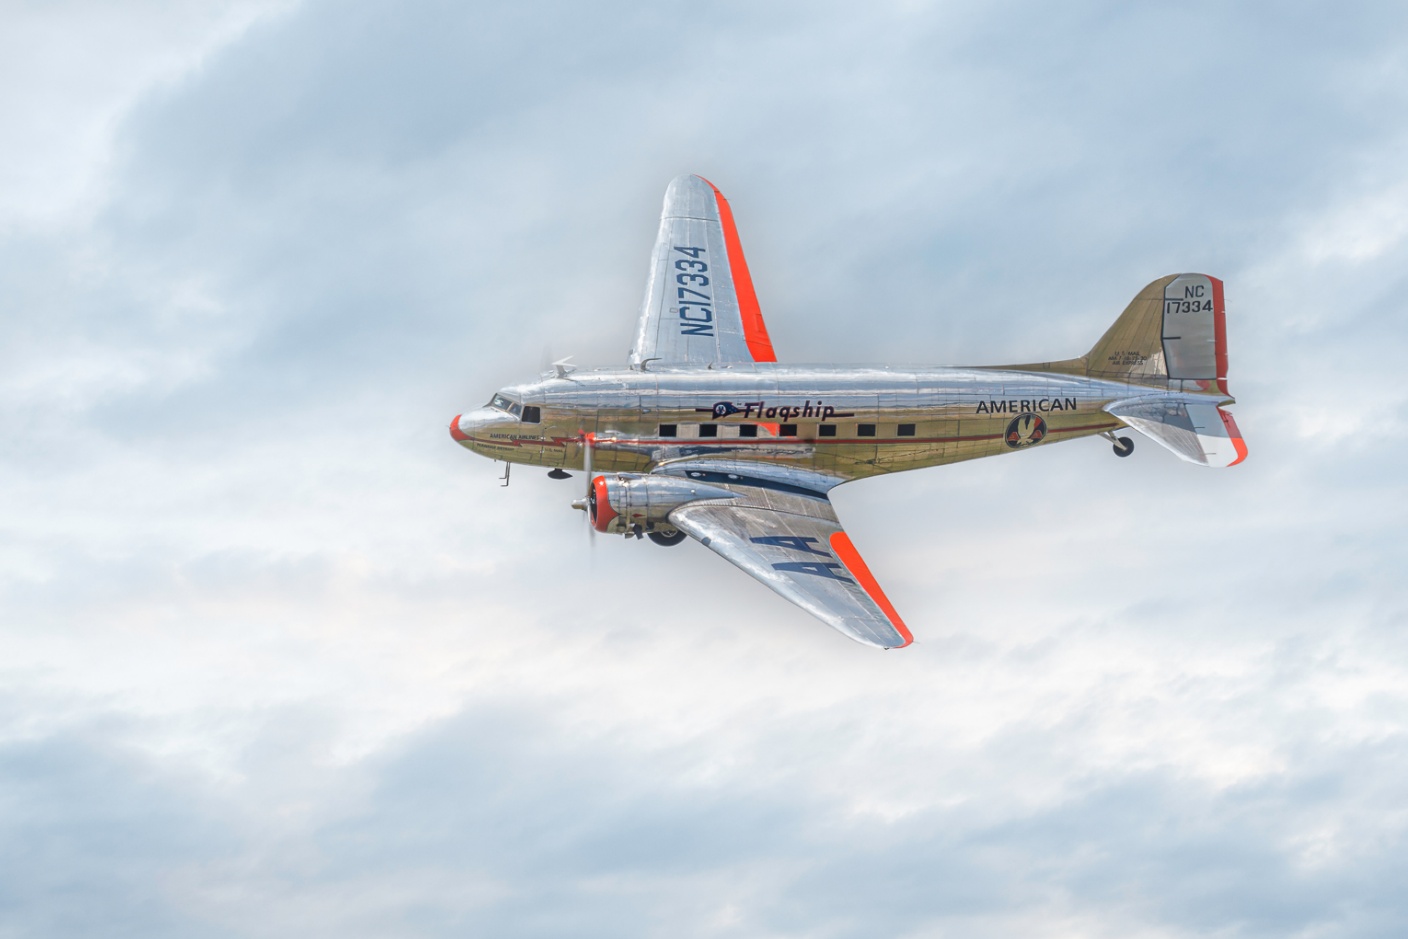
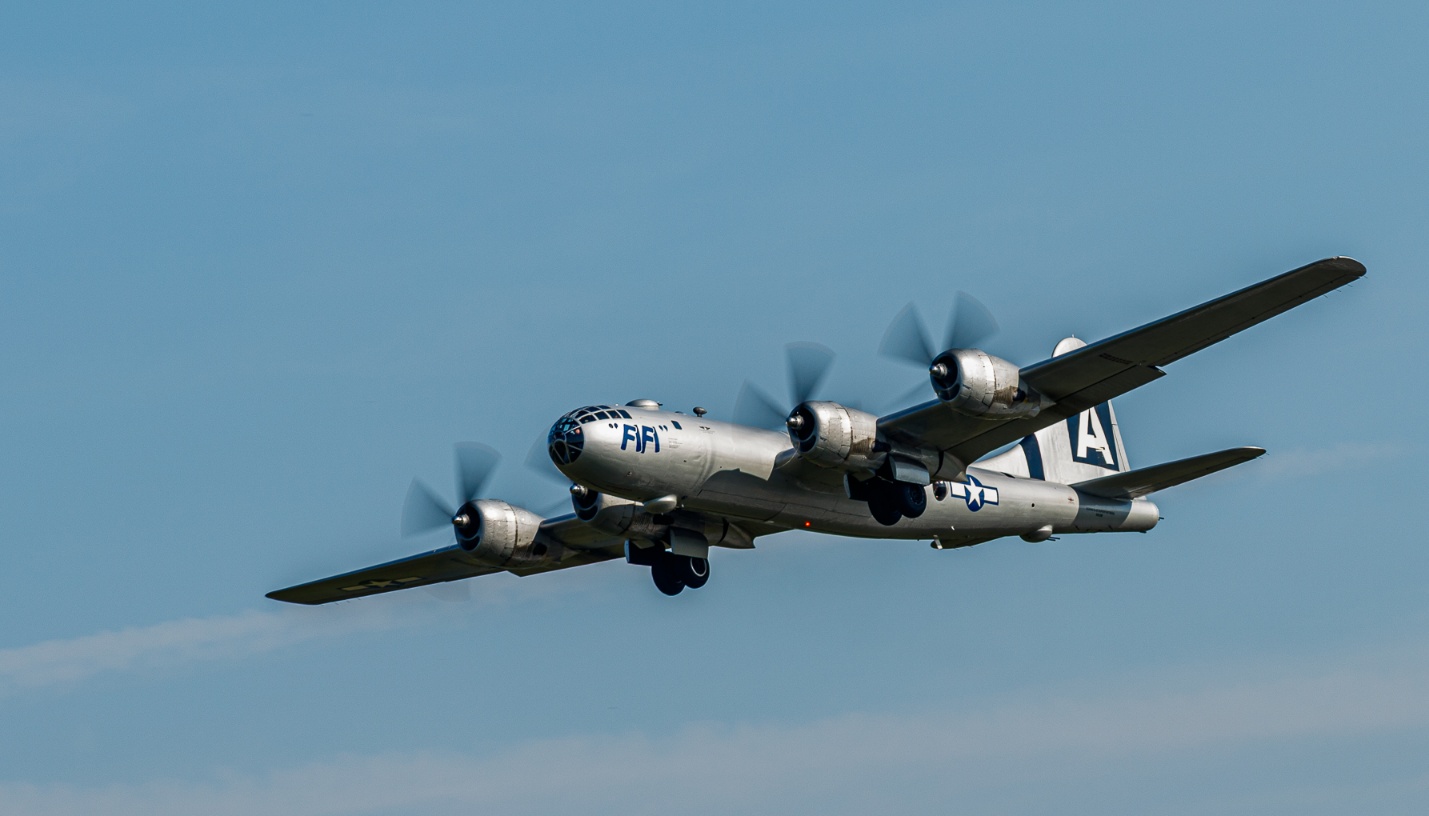
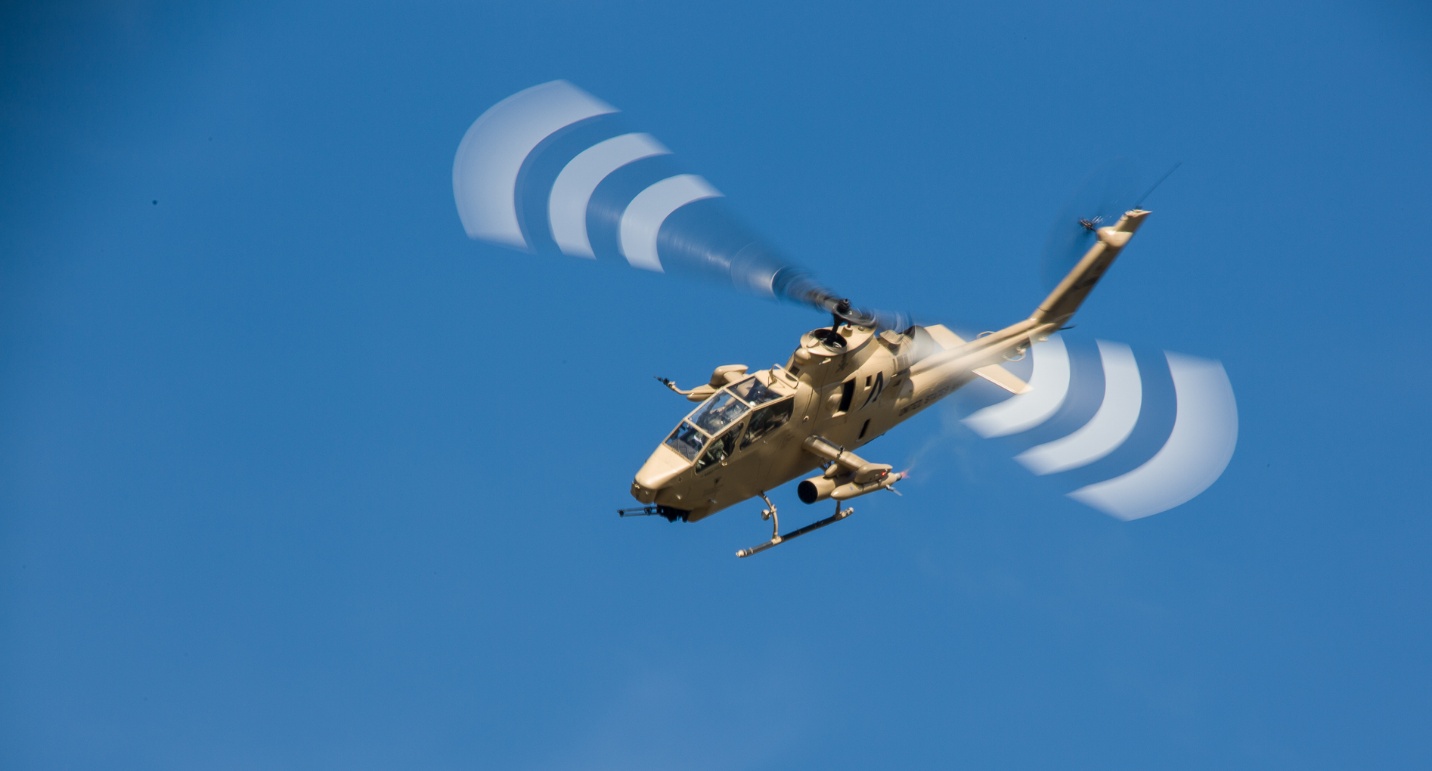
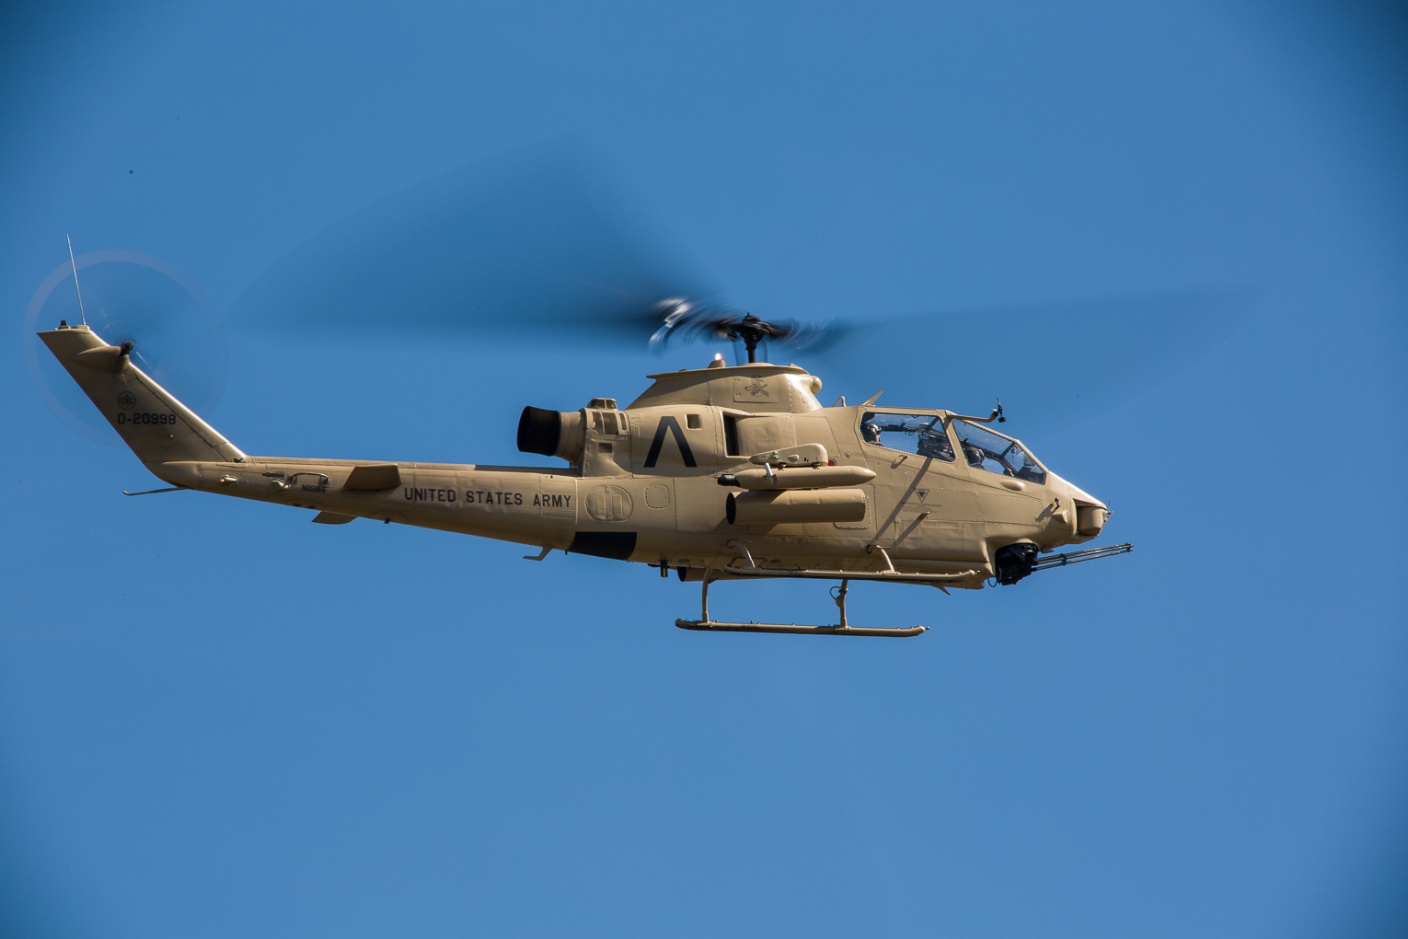
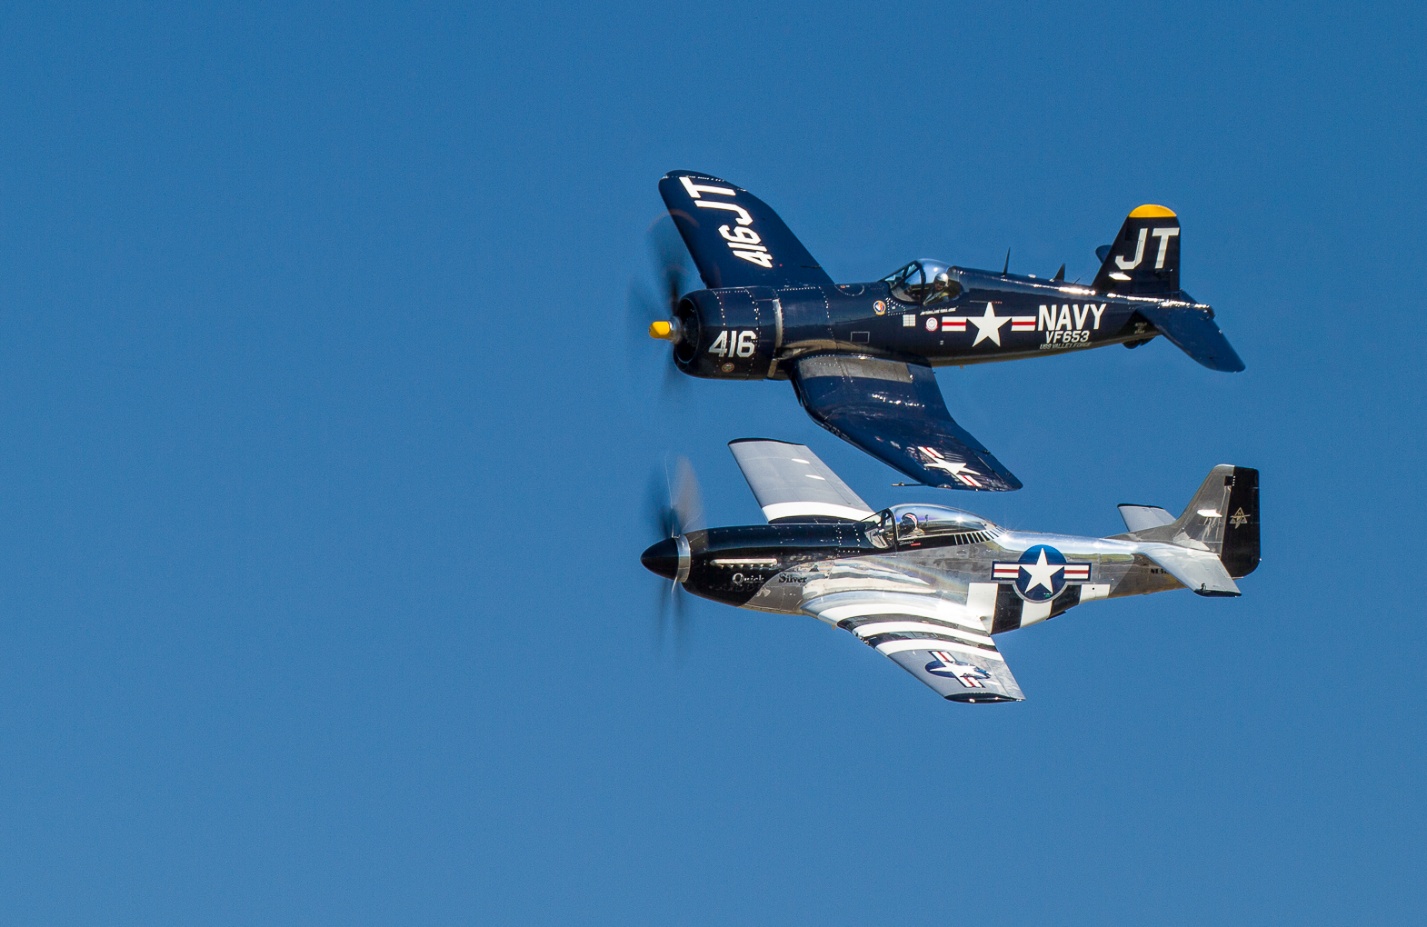
For prop planes, you do not want a fast shutter speed, as it freezes all propeller movement and looks very unnatural. Something between 1/30 and 1/80 will create a full prop circle or close to it. At these speeds panning is essential, and even with practice you will still have lots of blurred shots. 1/100 to 1/200 will still show enough prop blur to be believable. I usually use shutter priority, 1/60 to 1/125, and set an ISO that will allow f/8 or f/11. On a clear day this is usually ISO 100 or 200. On a cloudy day I may even need ISO 400.