Monitor Calibration
by Mickey Rountree
For our March 2021 PSC program, Knoxville professional photographer Colby McLemore did a presentation on why to enter photography contests, and as part of that he did several image critiques. Several times while critiquing images, Colby mentioned color balance that didn’t look quite right. In some of my earlier articles I discussed the use of a gray card (see March 2020 newsletter) and creating and using camera color profiles (see April 2020 newsletter). These two steps will get your images into your editing software with good color balance. Today we’ll talk about step three which is calibrating your monitor so that your computer monitor actually reflects the accurate colors that steps one and two produced in your editing software. If you print, step four is using color profiles for your printer that fine tune your prints to match your monitor. If you don’t do your own printing or, if like many of us, your work is mainly shown onscreen, the first three steps are all you need.
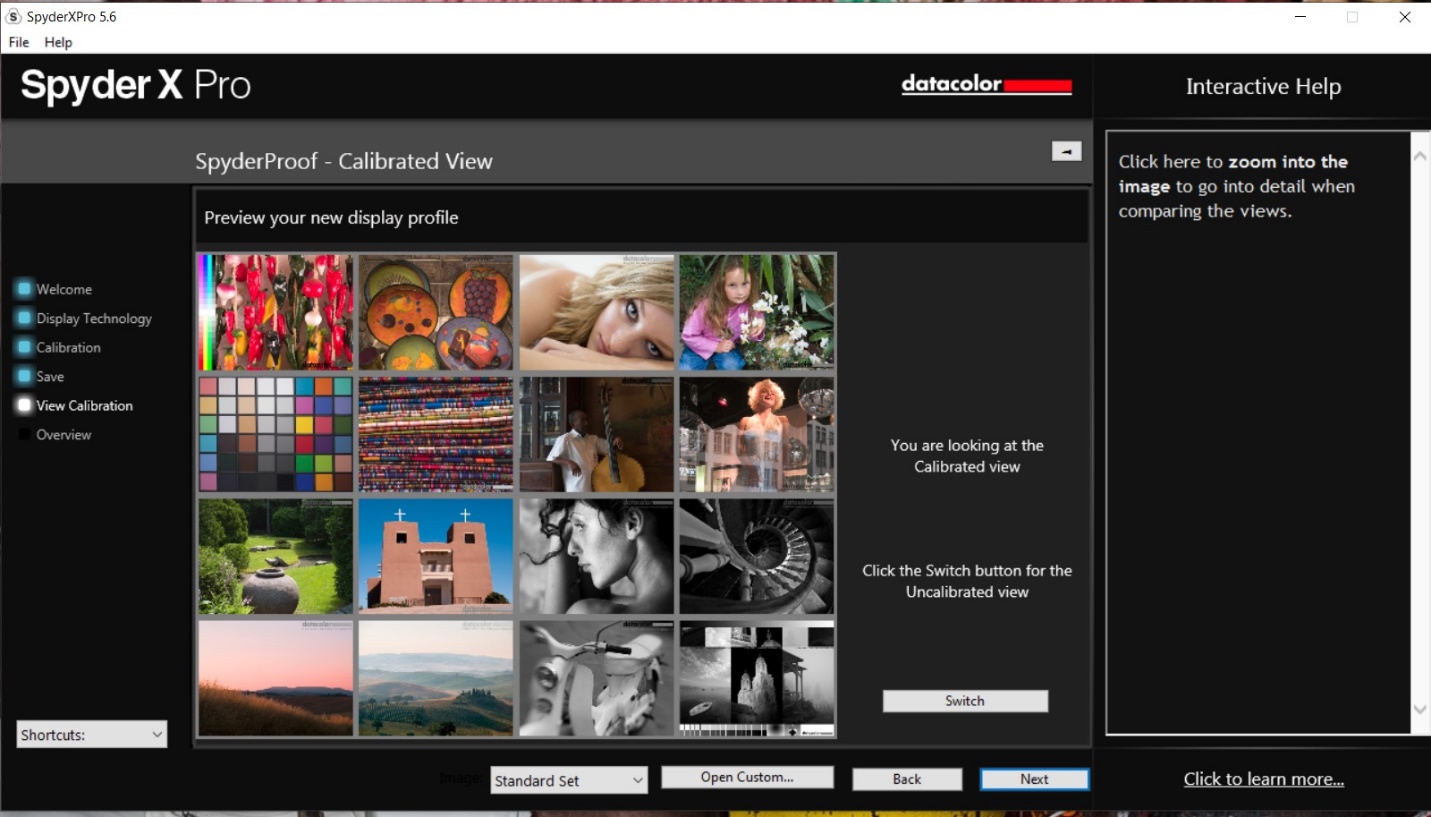
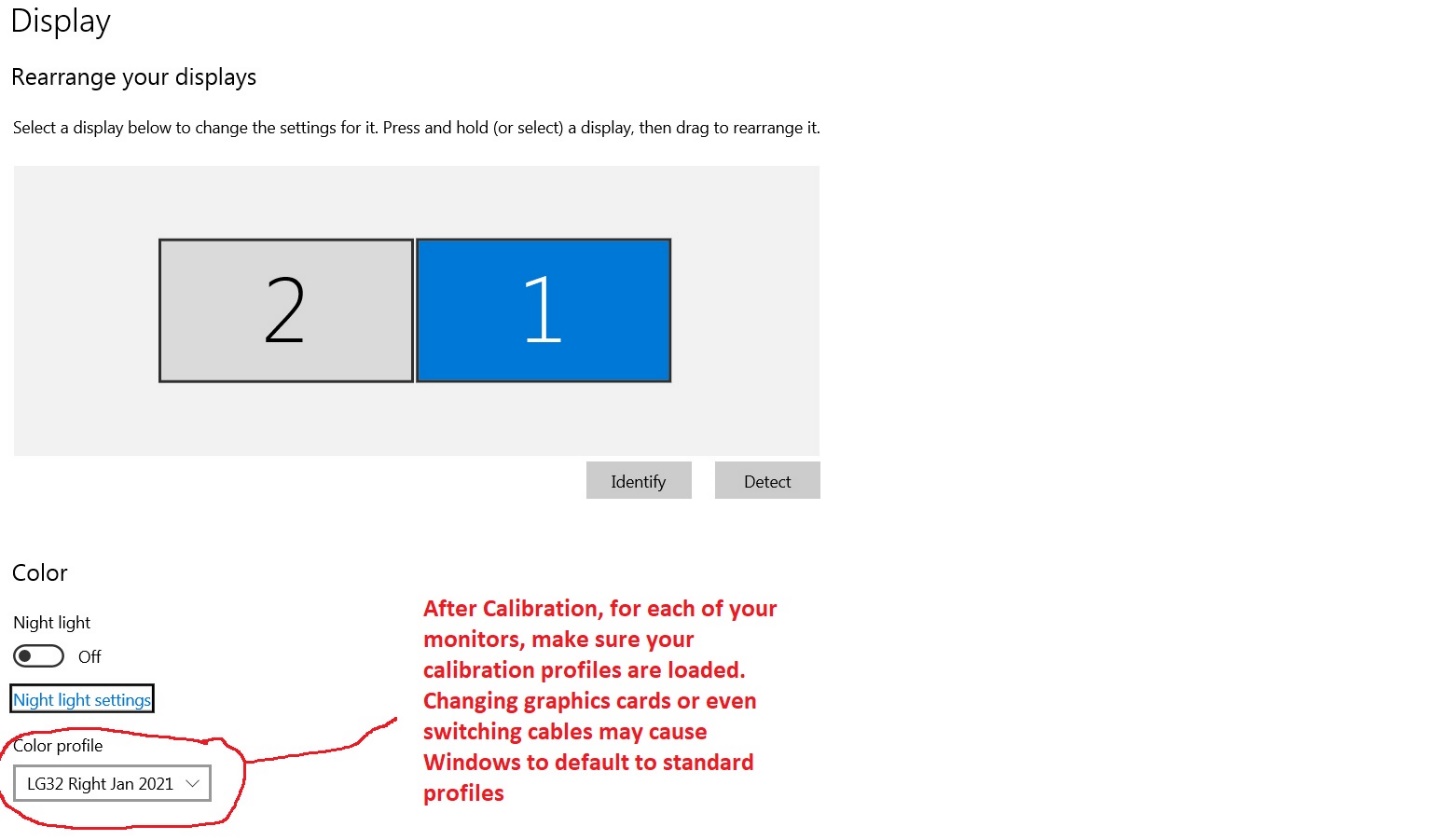
There are two monitor calibration tools in common use. I use the Datacolor Spyder X and the other is the X-Rite i1 Display Pro (its older version was called the Color Munki). Both of these come with software for both Windows and Mac computers. Basically both of these units use their software to create images of known color onscreen and the sensor reads it, compares it to what it should be, and after sampling a large range of colors, it creates a monitor profile that your computer loads at startup to create accurate colors. As monitors change with age this calibration needs to be repeated every few months (I recalibrate every three months). A calibrator is under $200, and closer to $100 if you find a good sale. That’s a bargain when you consider it will help every picture you take.
One of the first questions people ask is “Why should I calibrate my monitor if other people seeing my images may not be using a calibrated monitor?” First, that may be true. Someone may be looking at your image on a monitor with horrible color balance and brightness. There’s not much you can do about that, but at least you know you sent out the best possible image. Second, truly serious photographers, and that includes photo judges, will be using calibrated monitors. So if your color balance is off, they will know it.
The next question is “I already use camera profiles and a gray card, so why do I need to calibrate my monitor?”. Even with profiles and gray cards, if your monitor is not calibrated, your color balance will look wrong to you on screen. If you then make adjustments by eye, you will be undoing the accuracy of the profiles and gray cards. And it’s not just the color balance, but the exposure that can suffer.
Whichever calibrator you use it is important that you calibrate and edit with consistent ambient lighting. Most calibrators have an adjustment for the ambient brightness, but if you edit in light that is too bright or direct light hits your screen, the software will have you increase the brightness of your monitor (just as you have to turn up your phone’s screen brightness in bright sun). So then an image that looks good on your monitor will look dark on a calibrated monitor in properly dim ambient light. Also prints you send to a lab will probably be a bit too dark. My editing computer is in my studio with very bright fluorescent lighting. To edit, I turn off the overhead fluorescents and use two tabletop LED lamps positioned so that no light hits the monitors. Don’t overlook this ambient light part of the equation; it’s critical.
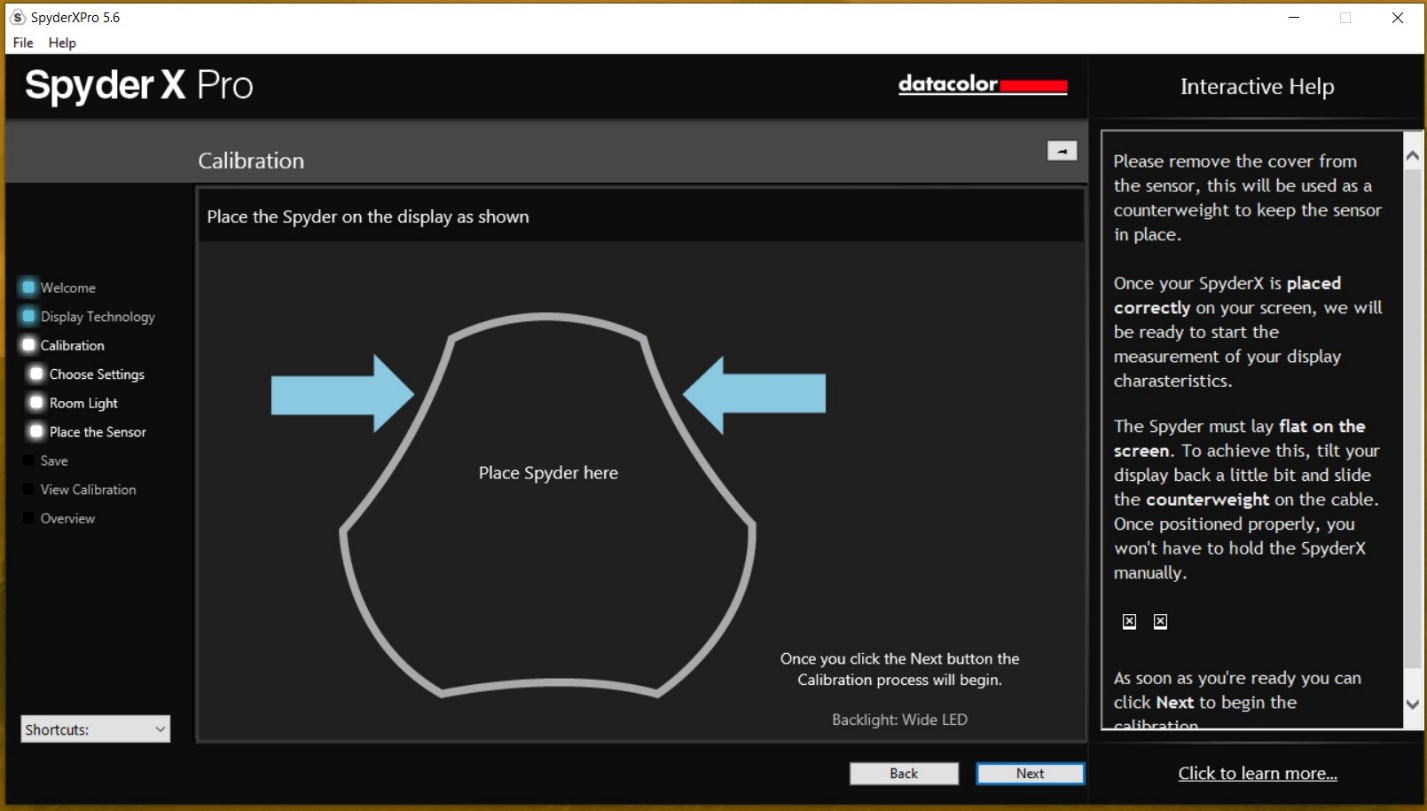
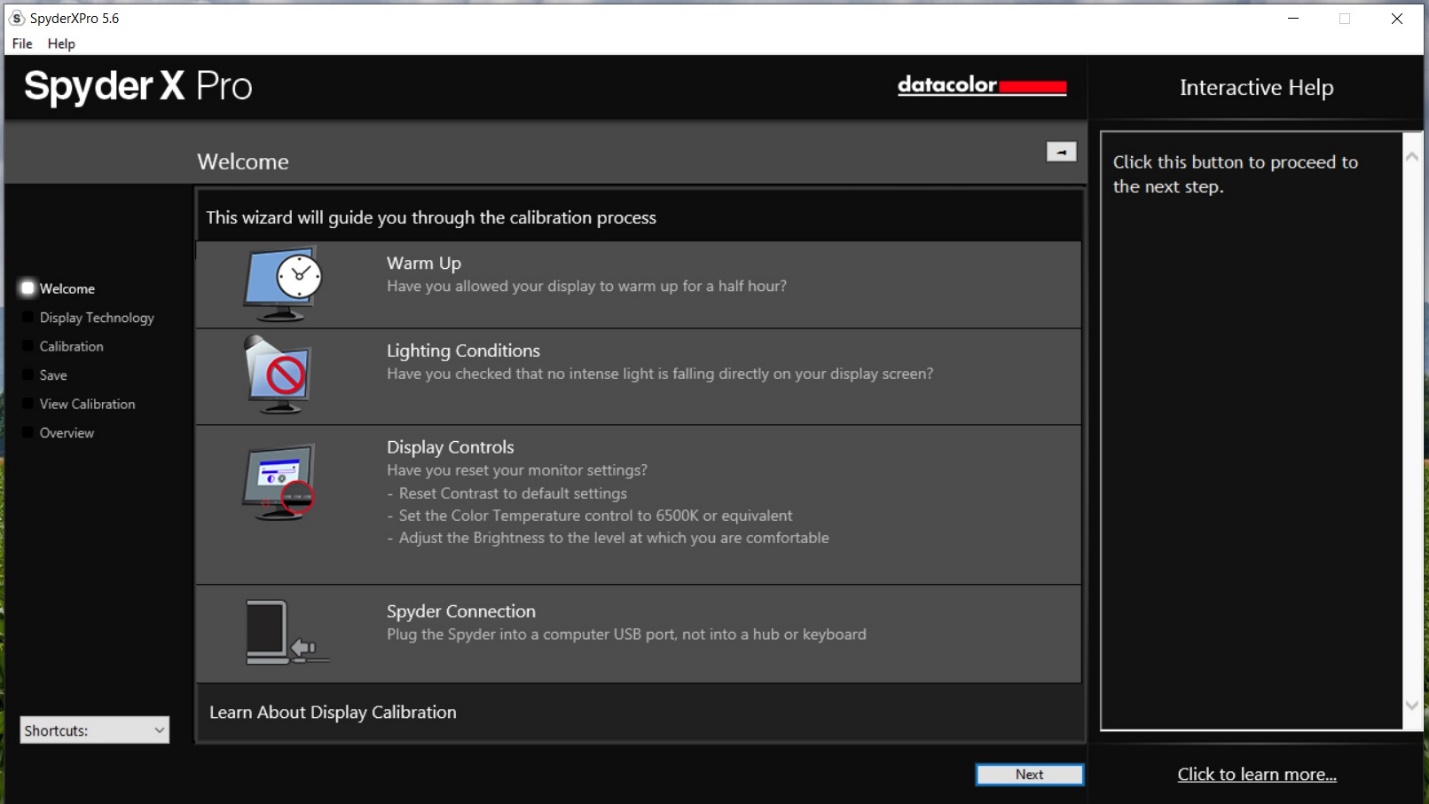
It’s also important to warm up your monitor, set the contrast to default or 50% if it’s adjustable, and set your monitor’s color temperature (if it’s adjustable) to the setting recommended by your calibrator.
This is the opening screen of the Spyder X software which I use. It reminds you to warm up, check ambient light, and reset some basic monitor settings before calibrating.
Be sure your ambient lighting is not too bright, and the first step will be for the calibrator to measure the ambient light and tell you how to properly set your monitor’s brightness.
More