Slightly Beyond Photography Basics – Intro to Photoshop Brushes Part 3
by Mickey Rountree
As I usually do, I’m calling this article beyond basic because it involves Photoshop rather than Lightroom or other basic editing programs.
I’m going to let you in on a little known secret. When you see your favorite celebrity on a magazine cover or online image, it’s almost surely retouched; probably a lot. Shocking isn’t it? Besides all of the usual skin smoothing and reshaping, here are a couple of things you might not know could be done with a Photoshop brush.
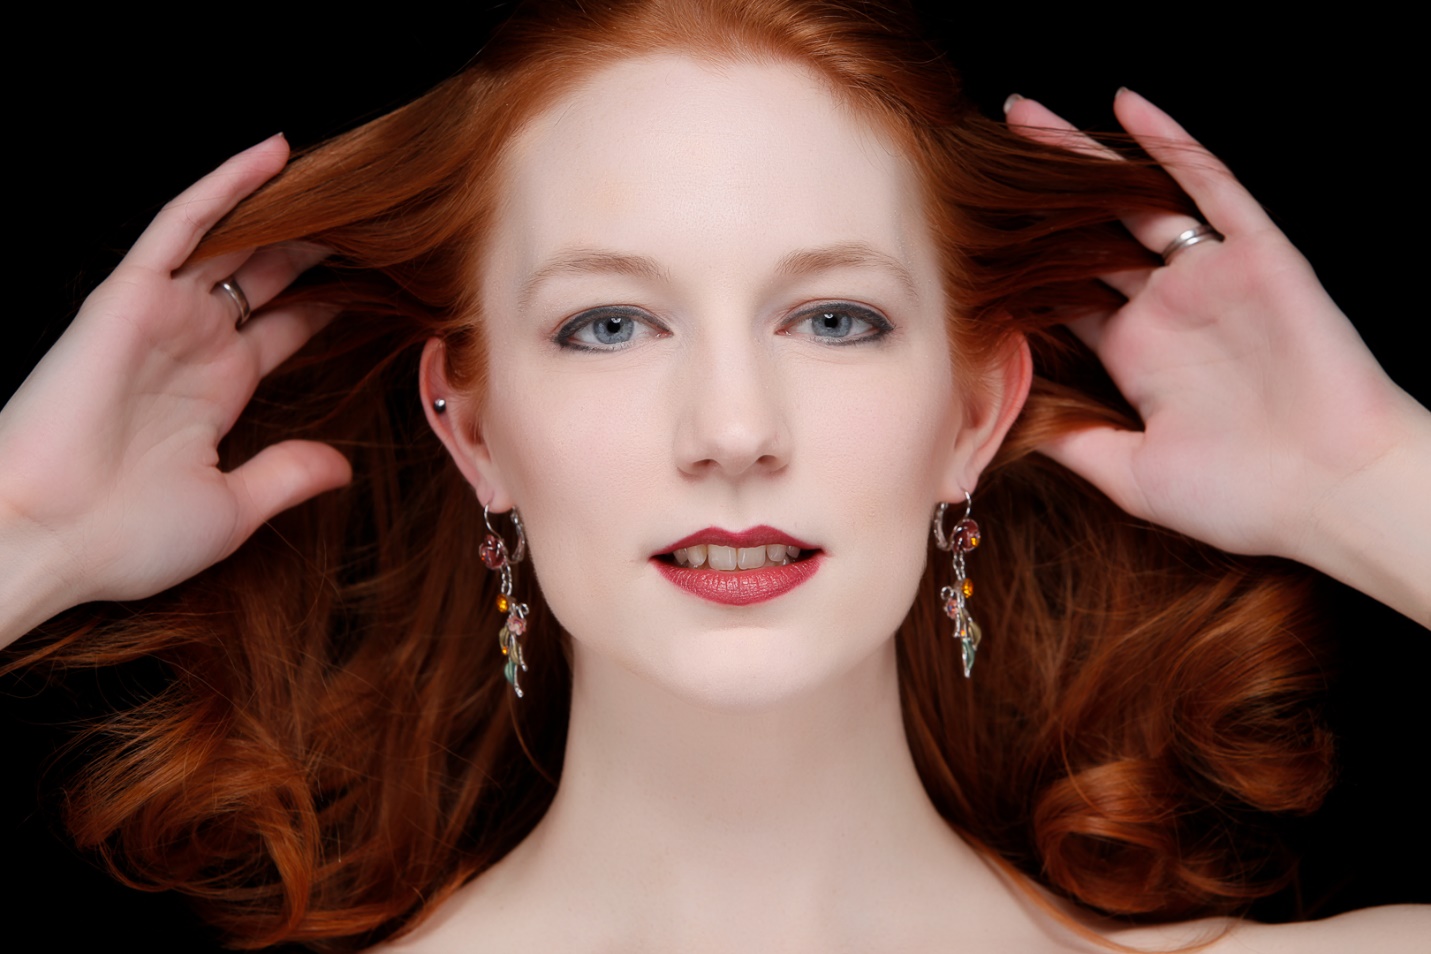
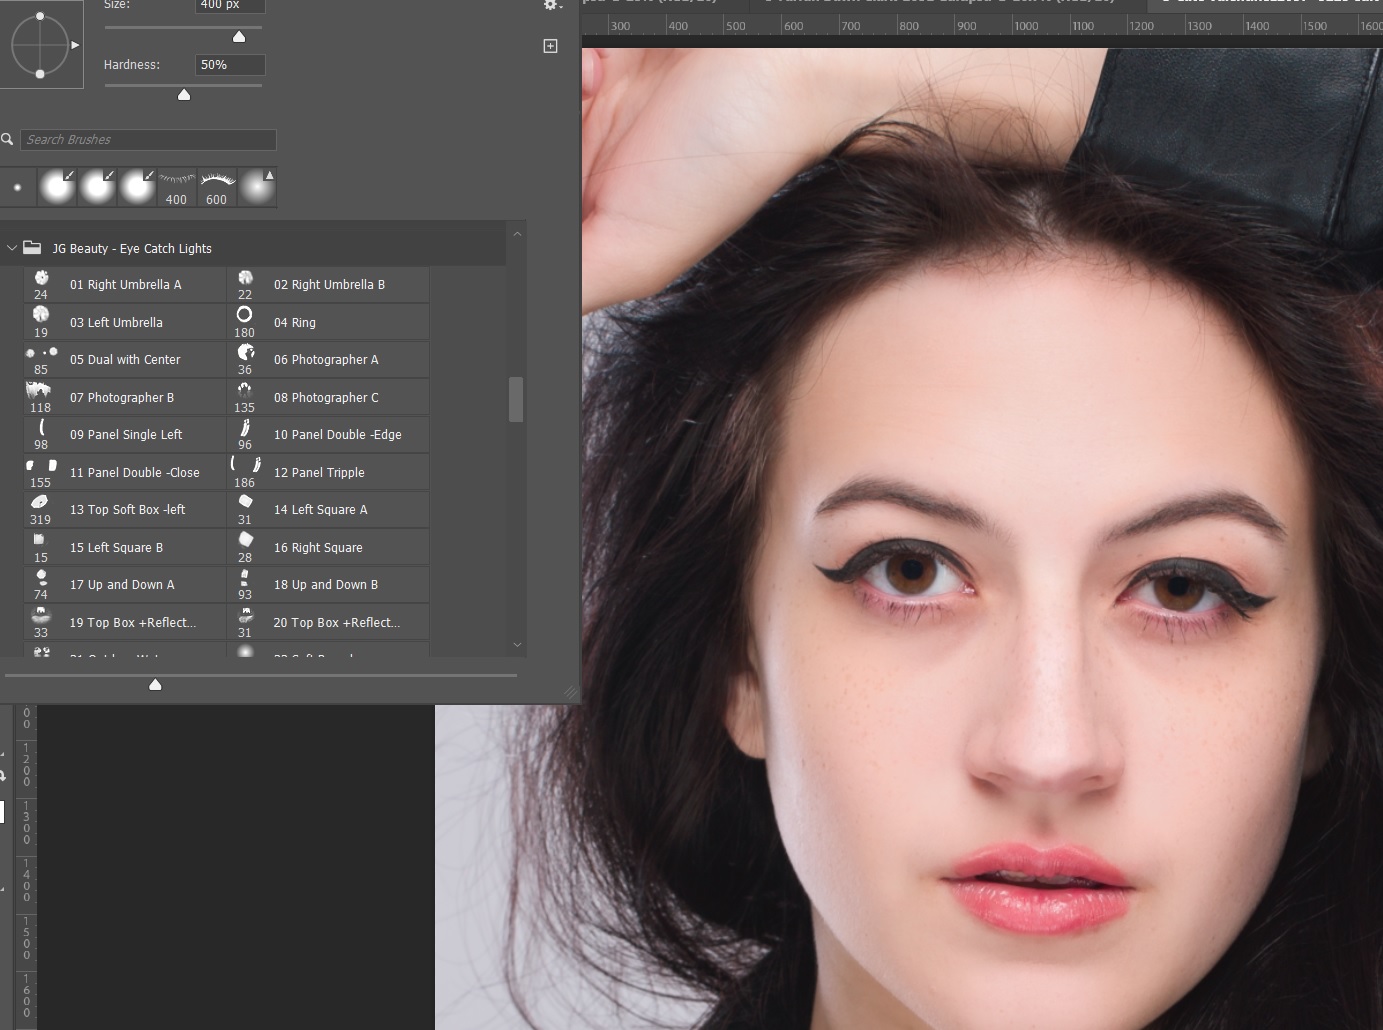
Catch lights – It’s been said that the eyes are the window to the soul, but without catch lights that create that sparkle, the eyes look lifeless. Here the model moved her position so that the light no longer lit her eyes. Notice how dull the image looks.
I could just paint with a small round white brush to create catch lights, but I opened a group of catch light brushes that simulate common lighting tools and used one that simulates an umbrella light. Again they are on a separate layer so I can control opacity.

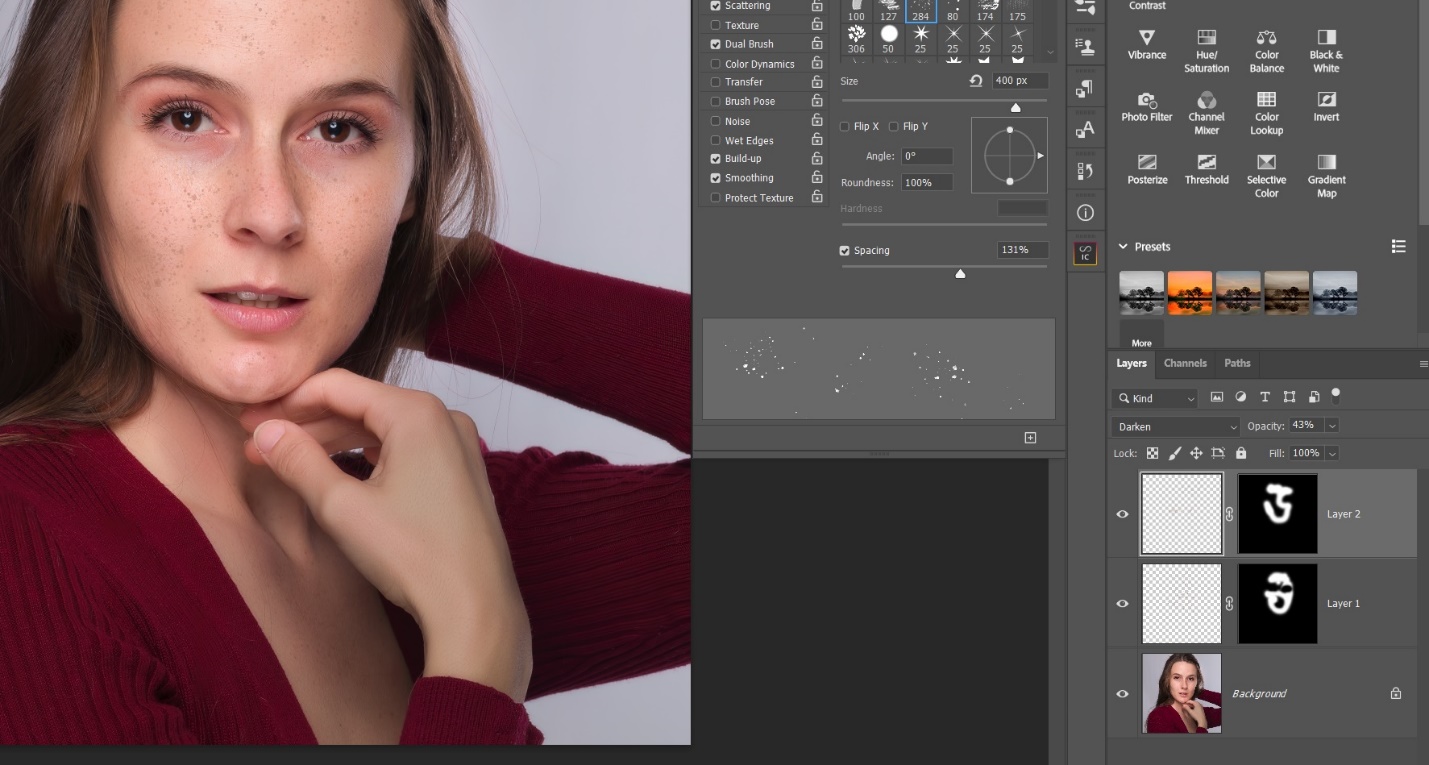
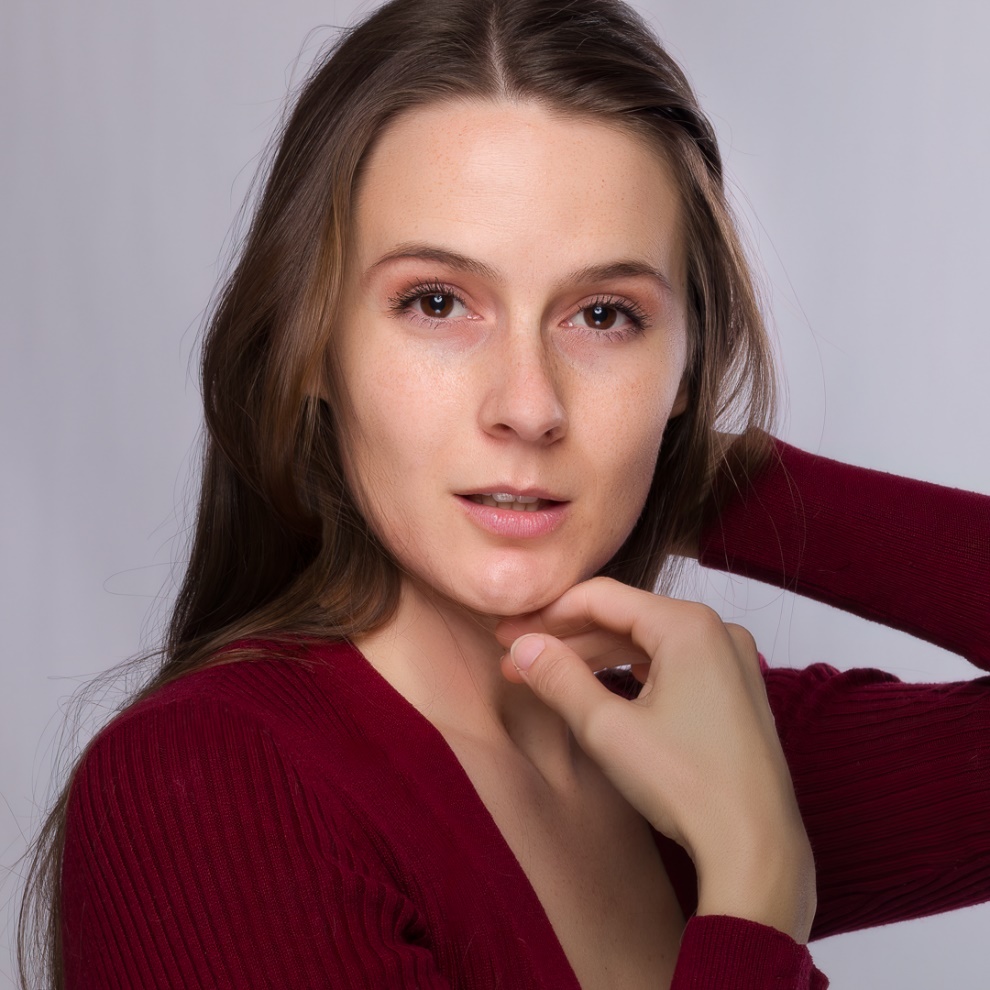
Freckles – This model has really nice freckles that add to her look, but my normal skin retouching pretty much removes them.
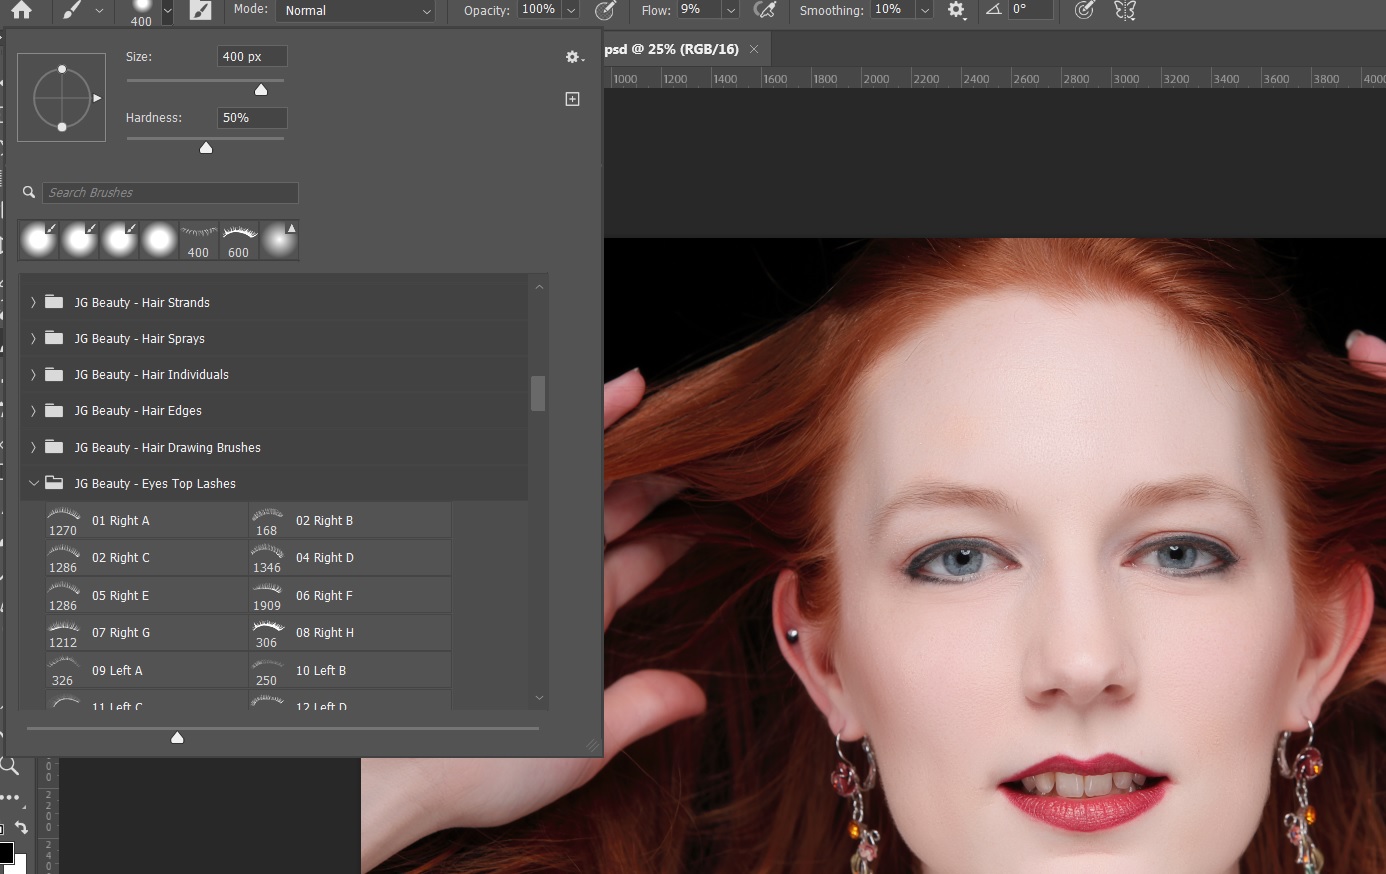
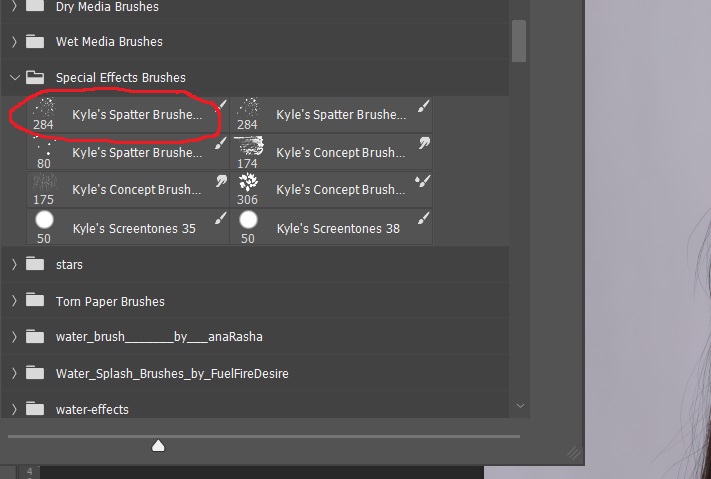
There is no “Freckle Brush” that I’ve found, but there is a spatter brush in the Special Effects Brushes that come with Photoshop. If I remember correctly, they don’t install by default, but you can import them. So I selected the spatter brush and resized it.
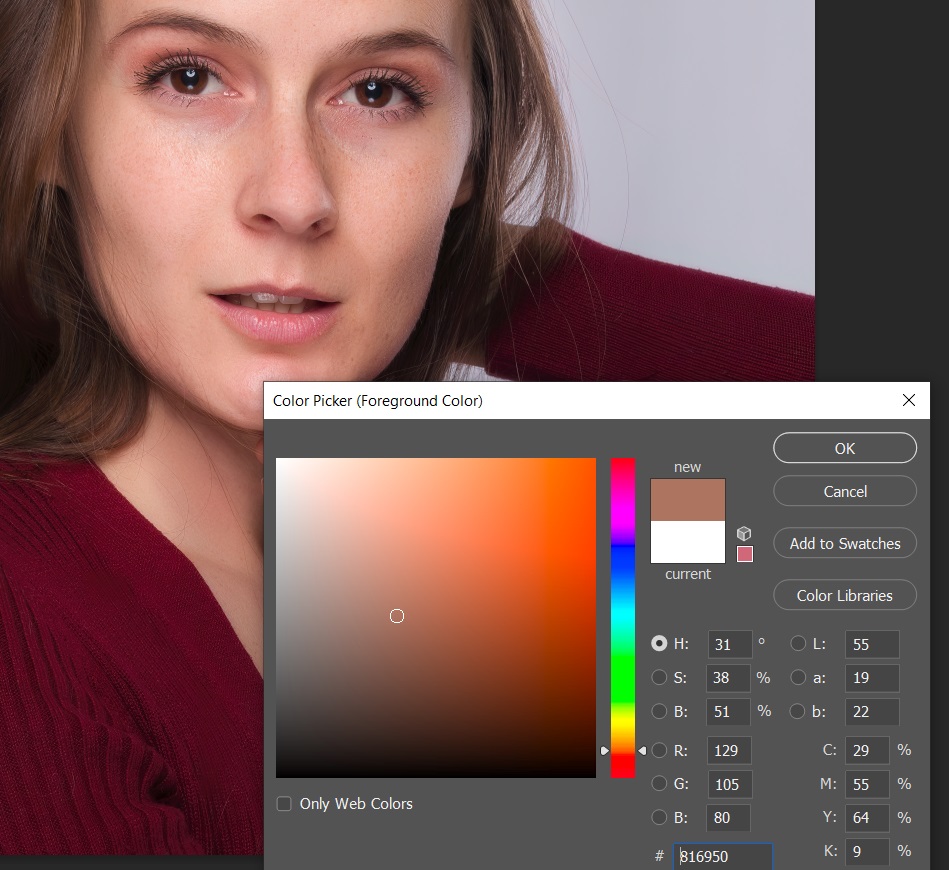
To get the right color for the freckles I alt-clicked on her face to bring up her skin color and then moved my cursor straight down to get a darker version of her skin tone.