I’m going to start with the basics of how to create a rainy window shot that doesn’t require any editing tricks. If you get your exposure and lighting right your shots will look great straight out of the camera and need little or even no editing. Then I’ll get a little more advanced and show you how to kick it up a notch in Photoshop.
The Basic Setup
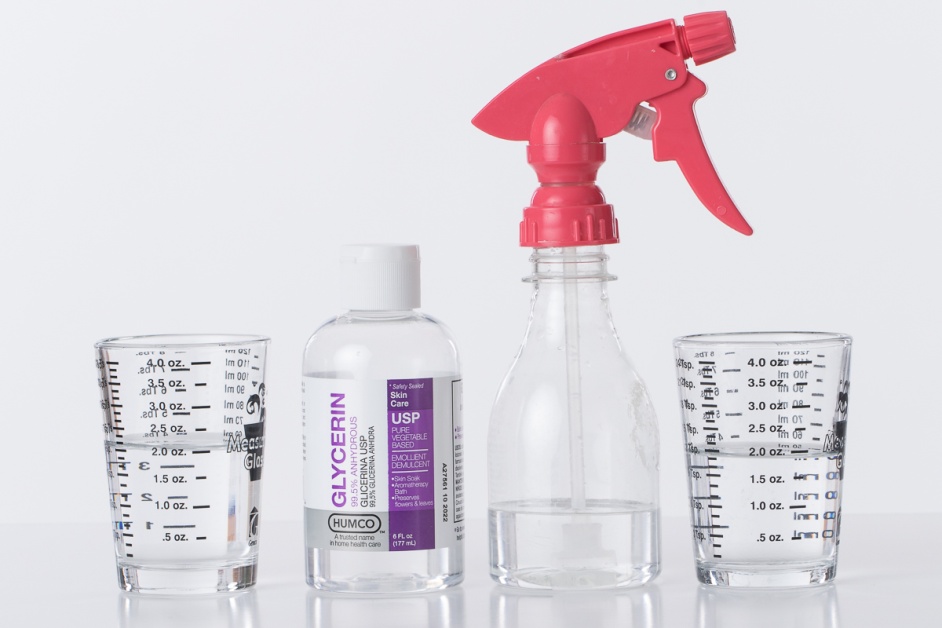
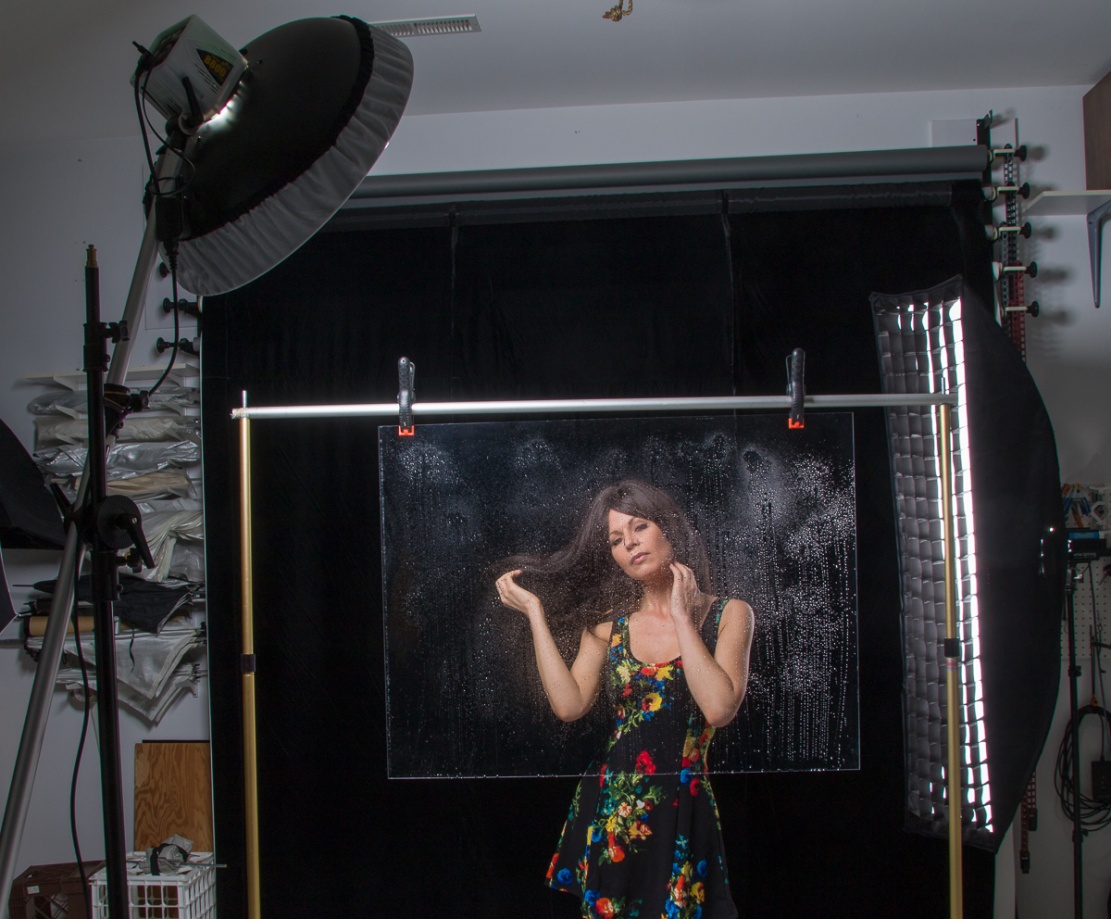
This image starts with a thin piece of clear plastic or Plexiglas. I used the plastic from an old, cheap 30×40 inch frame. I wouldn’t use anything valuable because of the mess (see below), and using actual glass is potentially just too dangerous. I use large A-clamps to hang my plastic from a background support stand, but you could use a rope or clothes line to clamp to. I also used a black velvet background to get the dark background that makes the second part of this work. But for the basic shot almost any background could work.
The first time I tried this I used a spray bottle (any cosmetic or cleaning sprayer with an adjustable nozzle will work) of water to mist droplets onto the plastic. The problem with water is that it quickly drips and produces long drips and runs that are always right in the wrong place. A much better solution is to use a mixture of equal parts of glycerin and water. The glycerin makes the drops adhere to the plastic and not run. Glycerin is available at any drugstore. It’s also best to start misting lightly and add more spray as you go along.
I should say a bit about cleaning up the glycerin when you get through. Glycerin is gooey and slimy and will probably require a couple of cleanings with a glass cleaner. Do your cleaning immediately after shooting, or the plastic will be almost impossible to clean after the water evaporates. Also, empty the sprayer, rinse it with hot water and spray with the hot water until the tubing and nozzle are clean. Otherwise the sprayer will be hopelessly gummed up.
Lighting
The main light is a small softbox about 45 degrees above and 45 degrees to camera left. The higher angle prevents the light from glaring back into the lens. I used a strobe with a beauty dish and diffuser, but any softbox or small shoot-through umbrella would work. You could also use a speedlight, or even a daylight balanced CFL or LED light. It’s not totally necessary, but I used a strip box with a grid about 45 degrees behind my model for some extra separation since she has dark hair.
Shooting
You’ll find it much easier to position your light(s) and adjust your exposure before you begin misting the plastic. Also you may find your autofocus wants to lock onto the droplets rather than the model, particularly if you have a heavy mist or large drops. Be careful to look at your focus and adjust manually if needed. I also shot at f/11 to help with depth of field. And after giving you all of these warnings, I still deleted some shots that weren’t perfectly in focus.
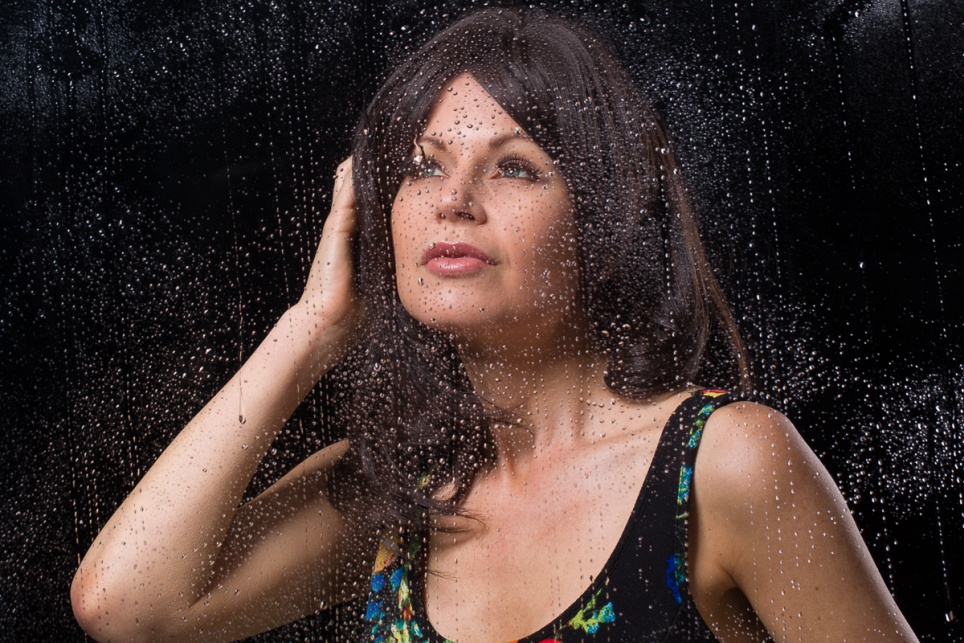
These will probably be head and shoulder shots, so use a lens in the 85-135 mm range on a full frame camera or 50-85 mm on a crop sensor. With good lighting, exposure and careful focus you should have some shots that are good with little or no editing. You can see the basic effect below.
Kicking Things Up a Notch (If you have Photoshop, you know you want to)
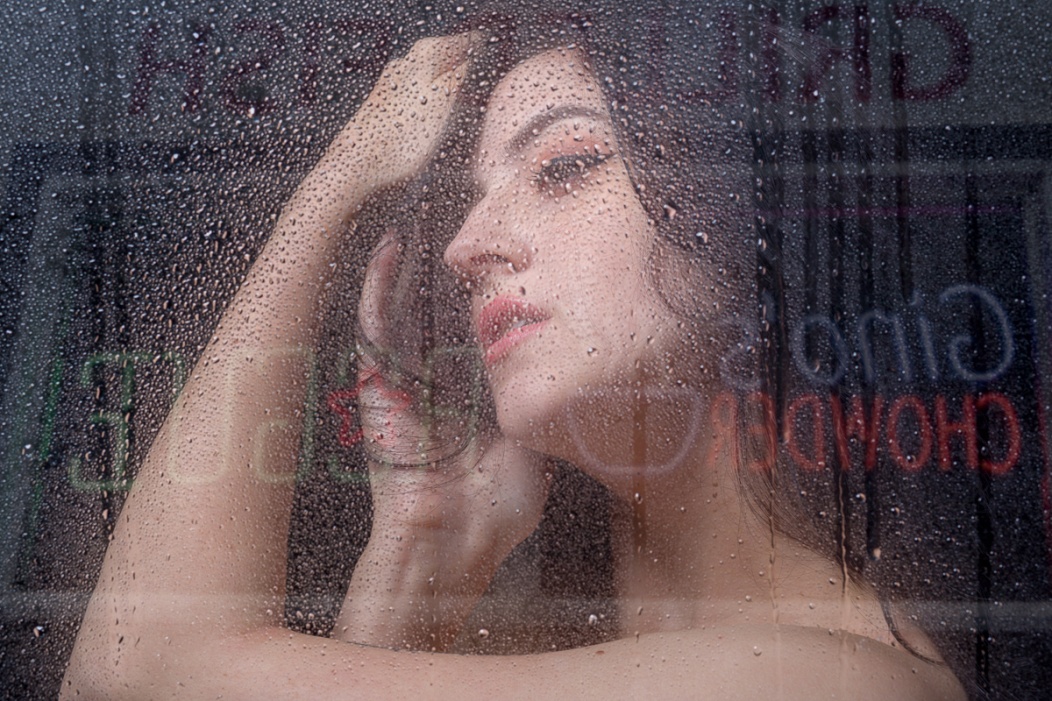
This next process is subtle, but creates the illusion of lights of the city (or neon lights, or car lights, etc) and helps sell the illusion that this was actually shot through a window at night. It doesn’t work well at all if you shot your model against a light background.
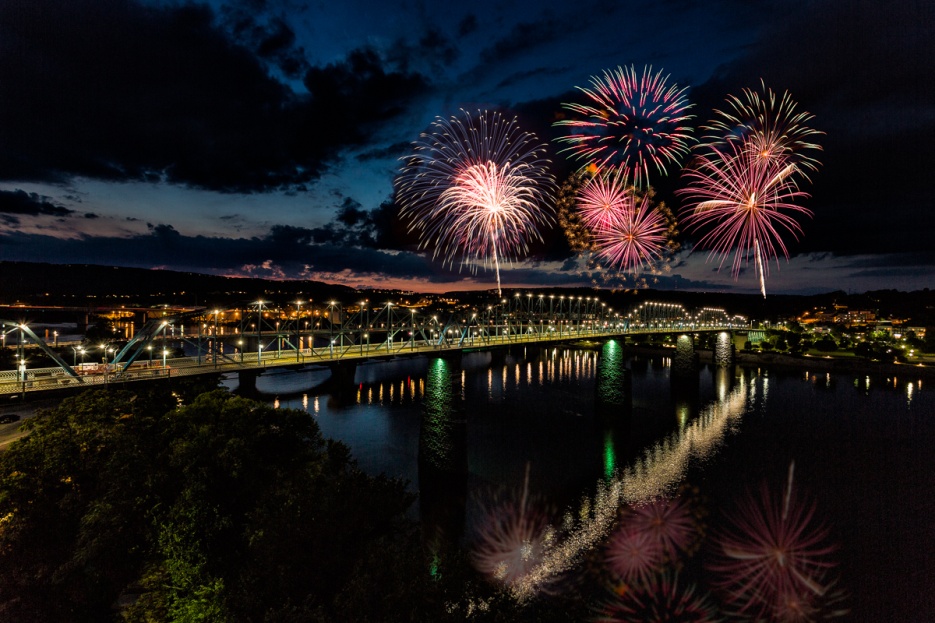
Start by selecting a predominantly dark night scene with some colorful lighting. I have a lot of night images, and a collection in Lightroom that helps me find them. So for this example I picked one of the shots of Chattanooga to which I had added fireworks (see the April 2018 newsletter). Open both the window image and night shot in Photoshop.
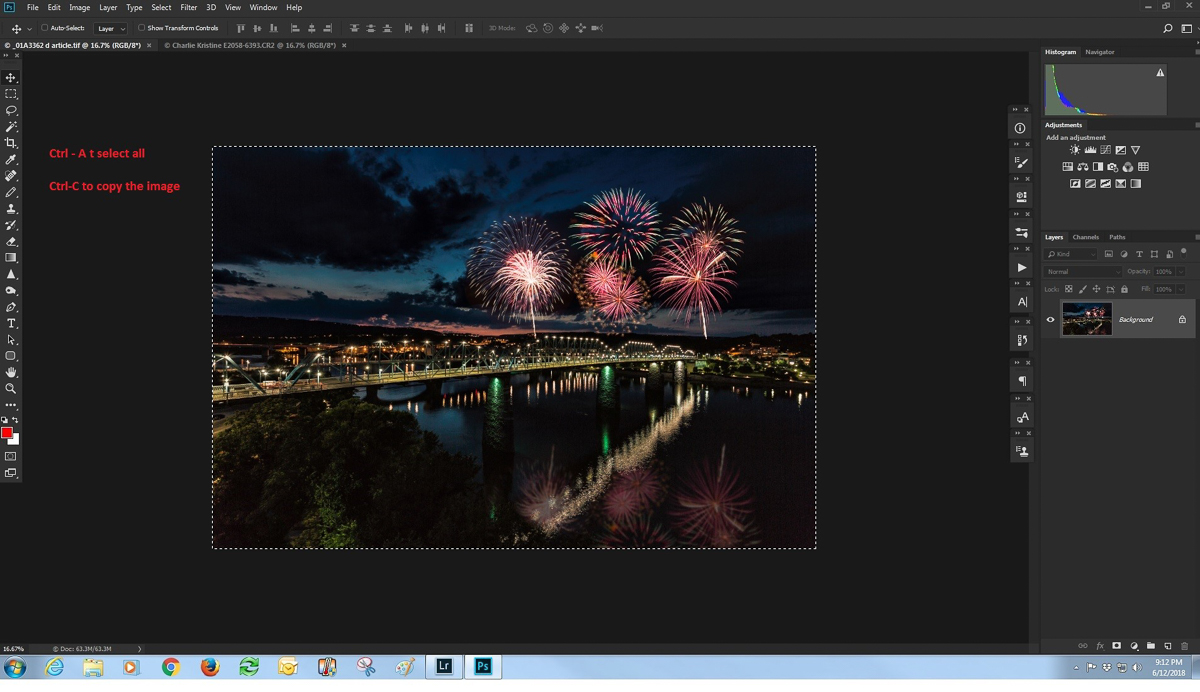
With the night image open in Photoshop, use Ctrl-A to select all of it and Ctrl-C to copy it.
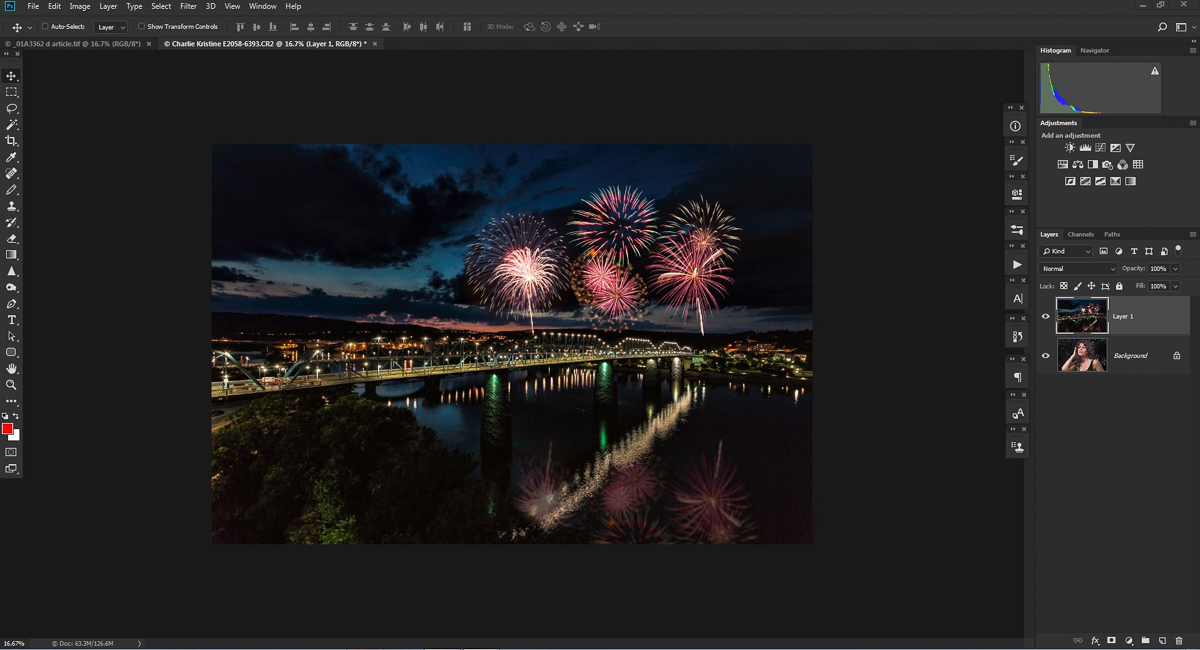
Then open your window image and use Ctrl-V to paste it as a layer over your window image. You’ll see that it completely hides the base image but we’ll fix that soon.
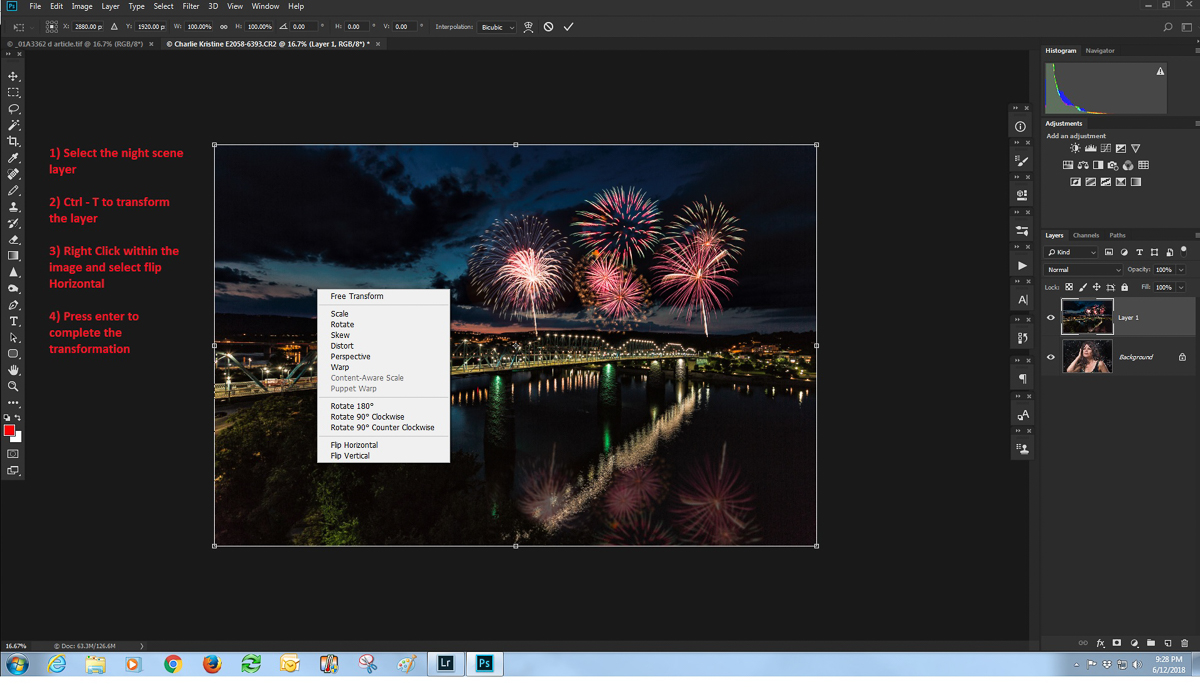
Even though it’s likely that no one would notice, reflections in windows are reversed and so reversing ours will add a little more realism. To do that, select the night image layer. Enter Ctrl – T to edit in free transform, right click inside of the selection and choose “Flip horizontally”. Hit enter to complete the transformation. While you are in free transform you may also drag out the corners of the image to make it larger, and allow some extra space to move it around when we put it in the window scene. Here the image is open in Photoshop and free transform is open.
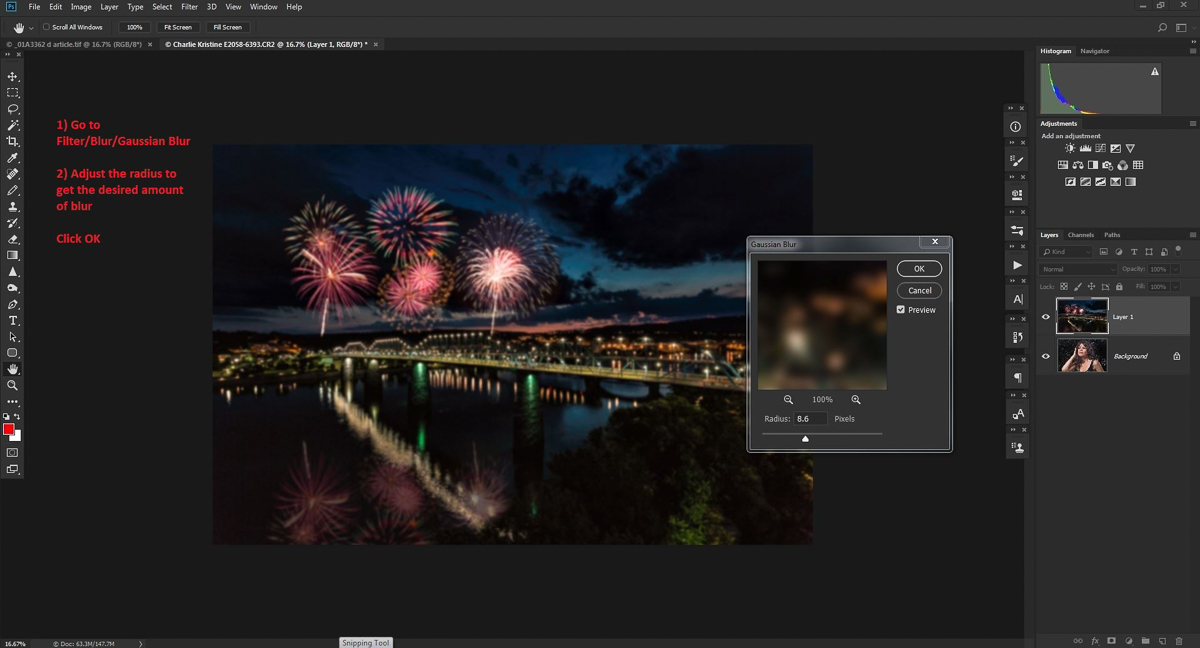
A reflected image wouldn’t be very sharp, so we’ll blur it with Gaussian blur. With the night image layer still selected, go to the filter menu, select blur and then Gaussian blur. I find between 8 and 20 usually works, but every image is different and your tastes may be different from mine. By the way, since we’re blurring anyway, you don’t have to start with a tack sharp original.
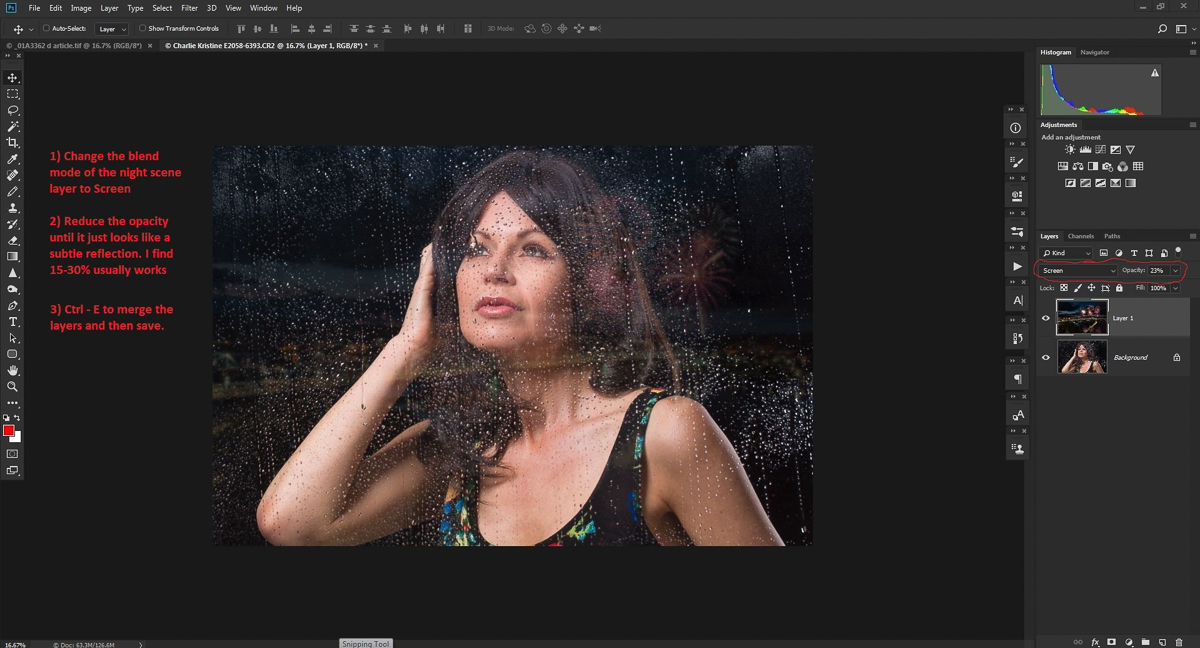
Now for the two things that really make this effect work, we’ll chage the night image blend mode to screen, and decrease the opacity until the effect is visible, but very subtle. I usually find something between 18-30% opacity works, but you may like more or less. If the night shot is too strong over key parts of your model, add a layer mask to the night image. Use a very soft black brush at about 30% opacity and paint on the mask over the areas where the night scenes needs to be more subtle.
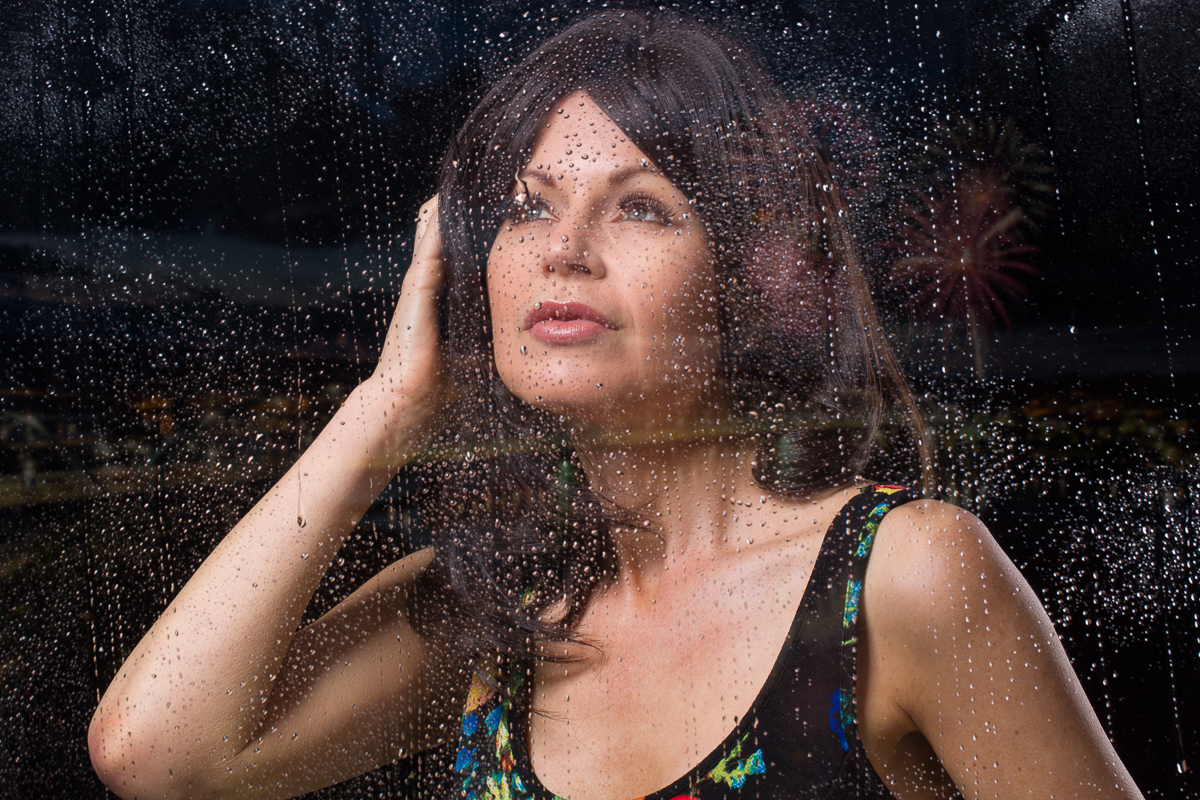
And this is what the completed image looks like.
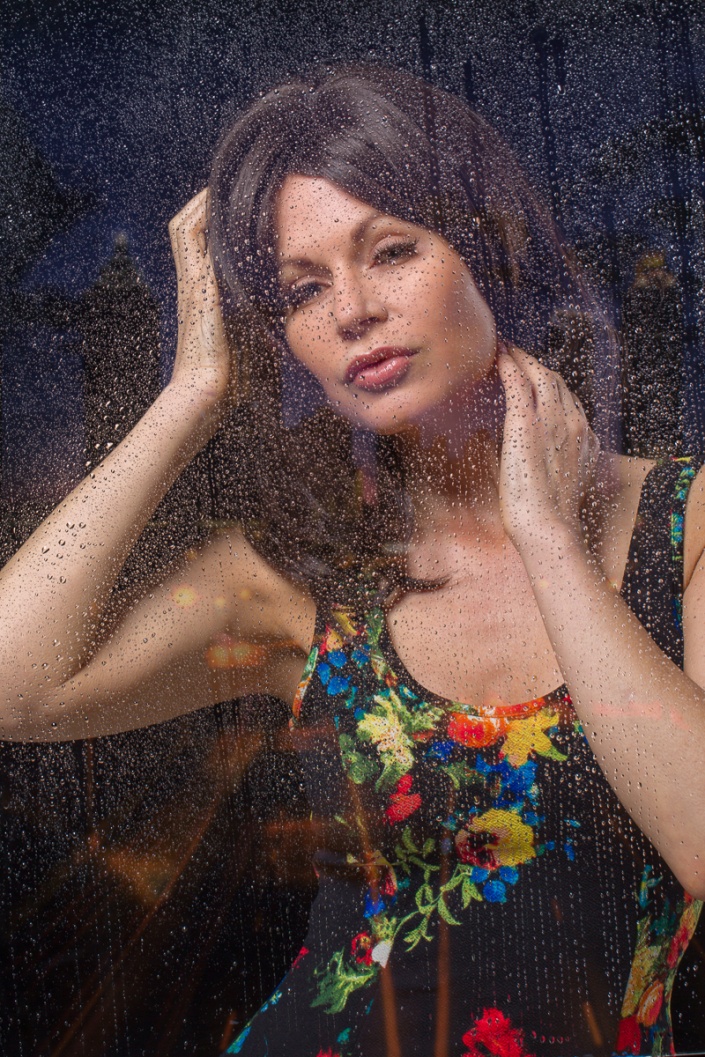
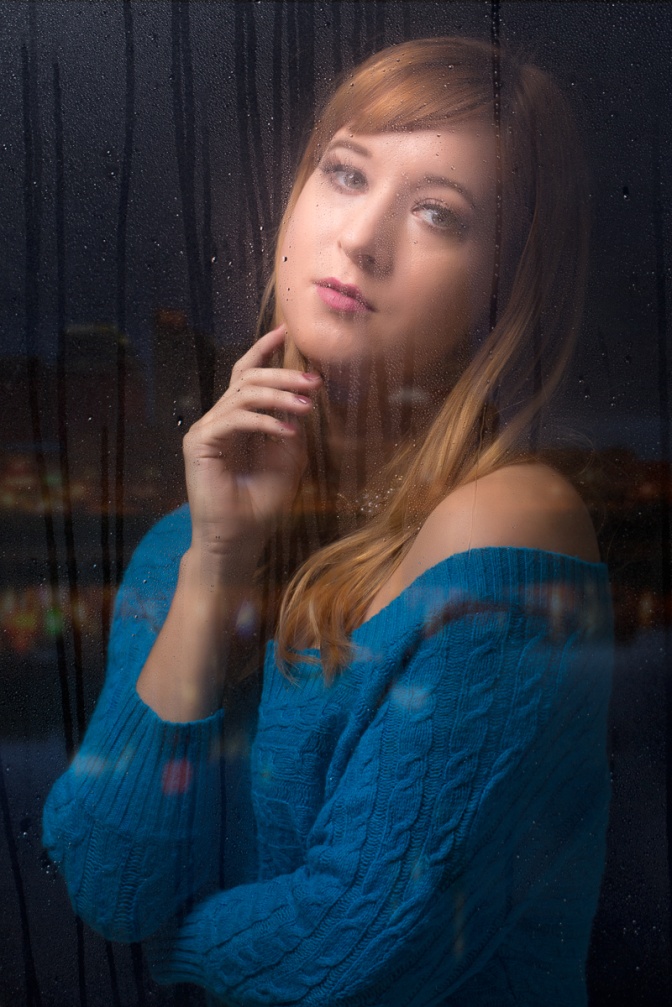
And here are a couple of other examples. The image of the girl in the blue sweater was my first attempt using plain water and you can see how badly it ran.