In this article I’ll be discussing how to create an HDR image in NIK HDR Efex 2. The good news is that it is part of the complete Google NIK suite which can be downloaded for free at:
https://www.google.com/nikcollection/
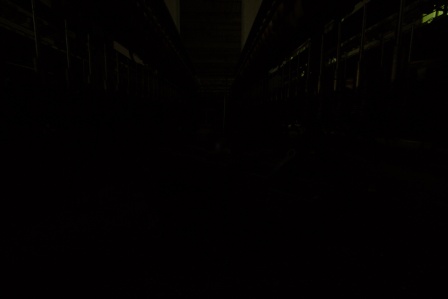
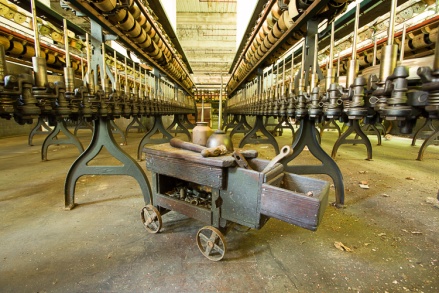
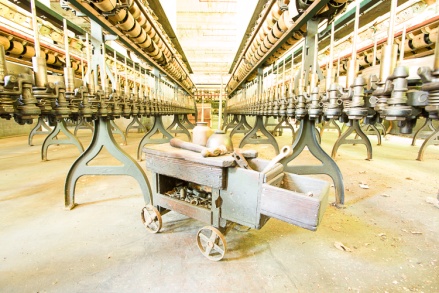
To begin with, these are the bracketed images we’ll work with. I originally shot 7 brackets, but the -8 bracket was almost totally dark with no useful detail, so we’ll only work with the remaining six. It may seem that the +4 bracket is totally washed out, but look at the detail it reveals inside the tool cart. I had also dialed in -2 stops of exposure compensation, because I was more concerned with washed out highlights in this situation.
Figure -6 stops 1/30 sec f/8 ISO 800
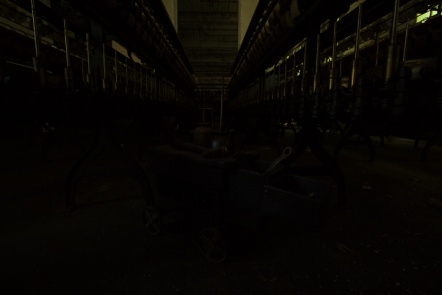
Figure -4 stops 1/8 sec f/8 ISO 800
Figure -2 stops 1/2 sec f/8 ISO 800
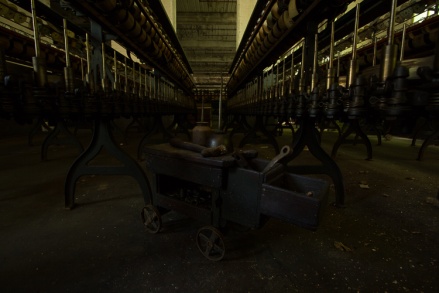
Figure normal 2 sec f/8 ISO 800
Figure +2 stops 8 sec f/8 ISO 800
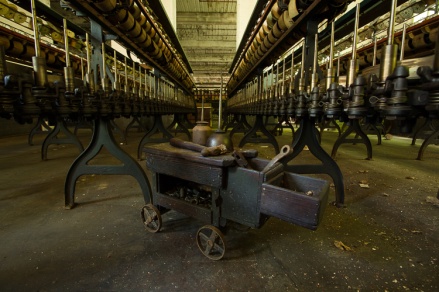
Figure +4 stops 30 sec f/8 ISO 800
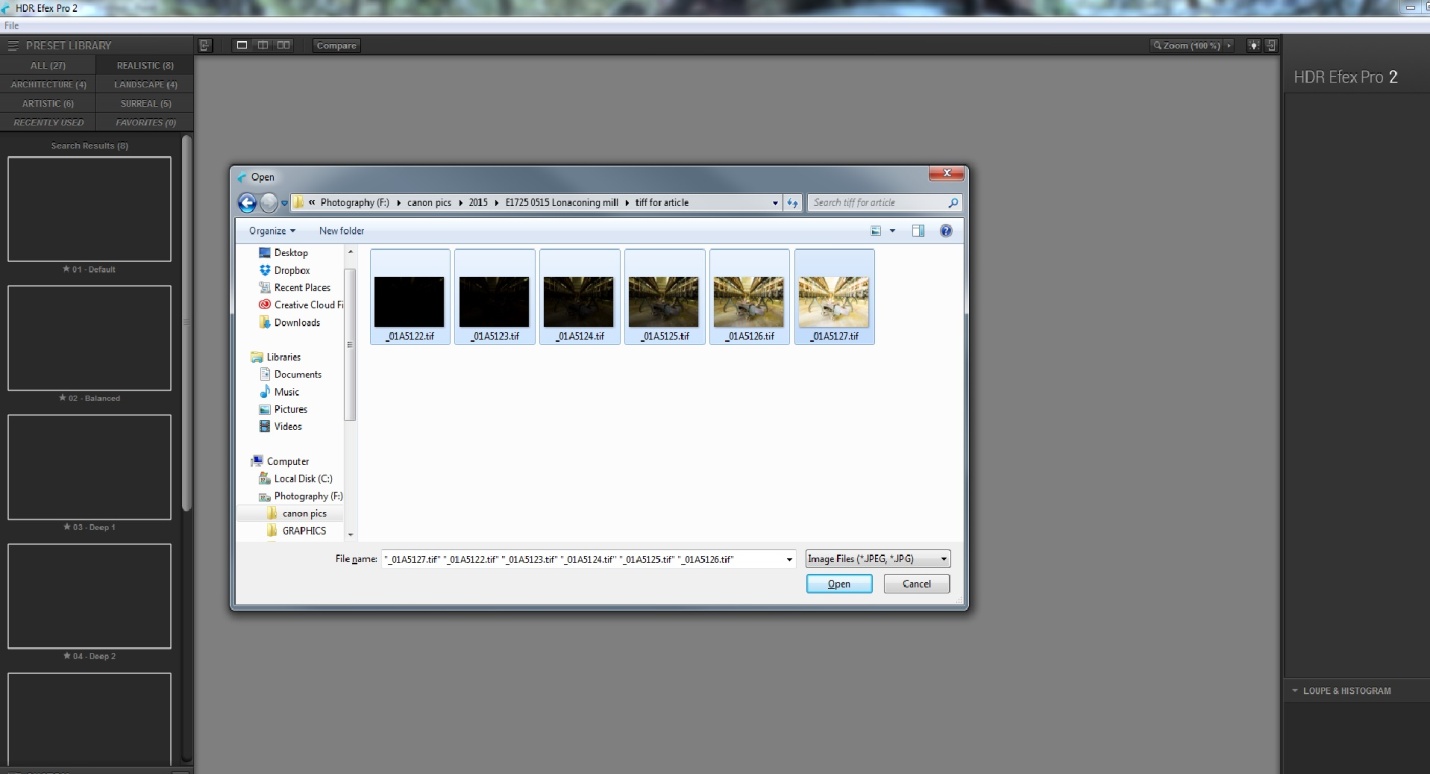
The first thing we have to do is get our six images into NIK HDR Efex. Here’s the bad news – while HDR Efex can run as a standalone program, it cannot directly open camera raw files from any camera. If you shoot raw, you must create TIFFs or JPGs to use HDR Efex as a standalone. If you shoot JPGs, no problem – you can select and open them directly into HDR Efex. Here I have already created TIFF’s and I’m opening them in HDR Efex.
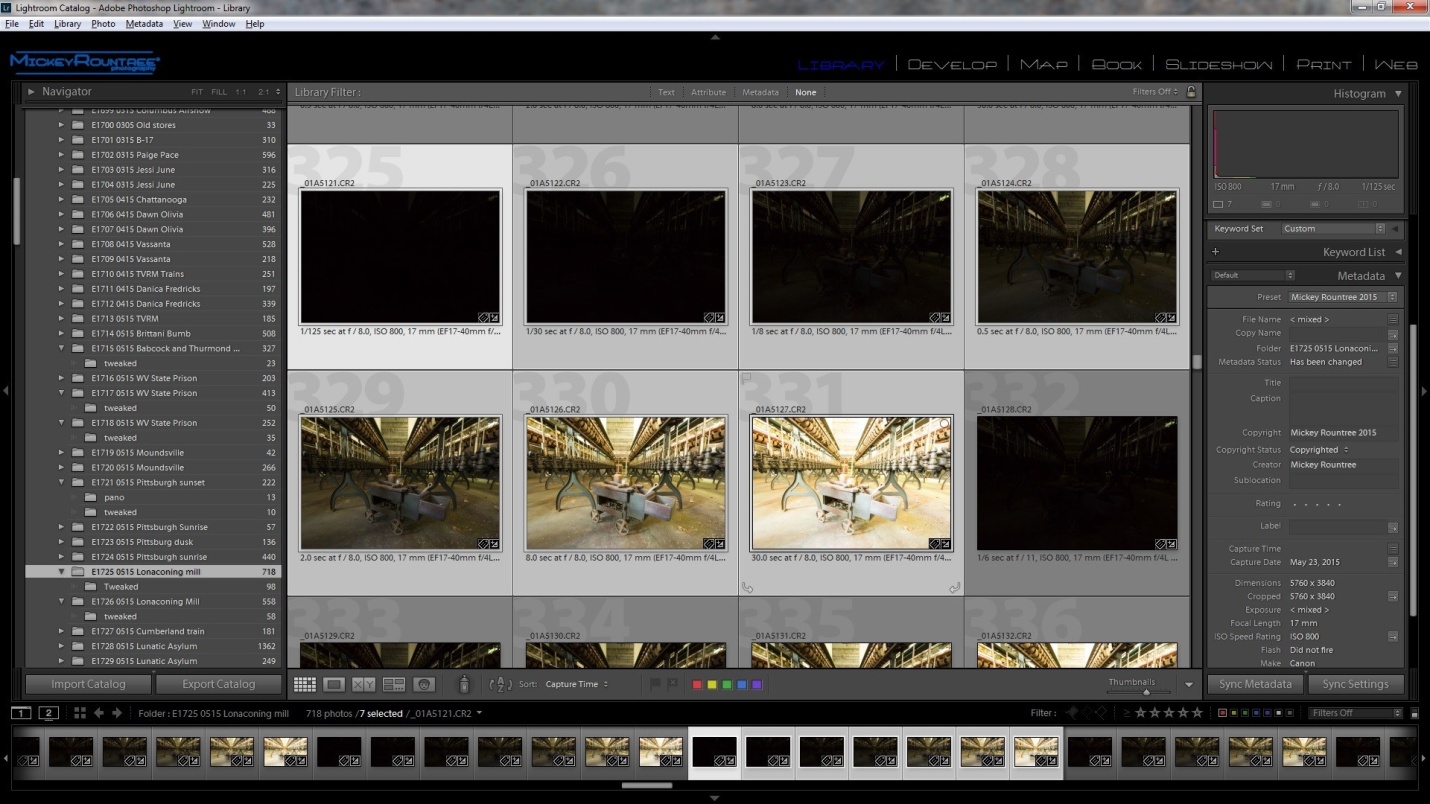
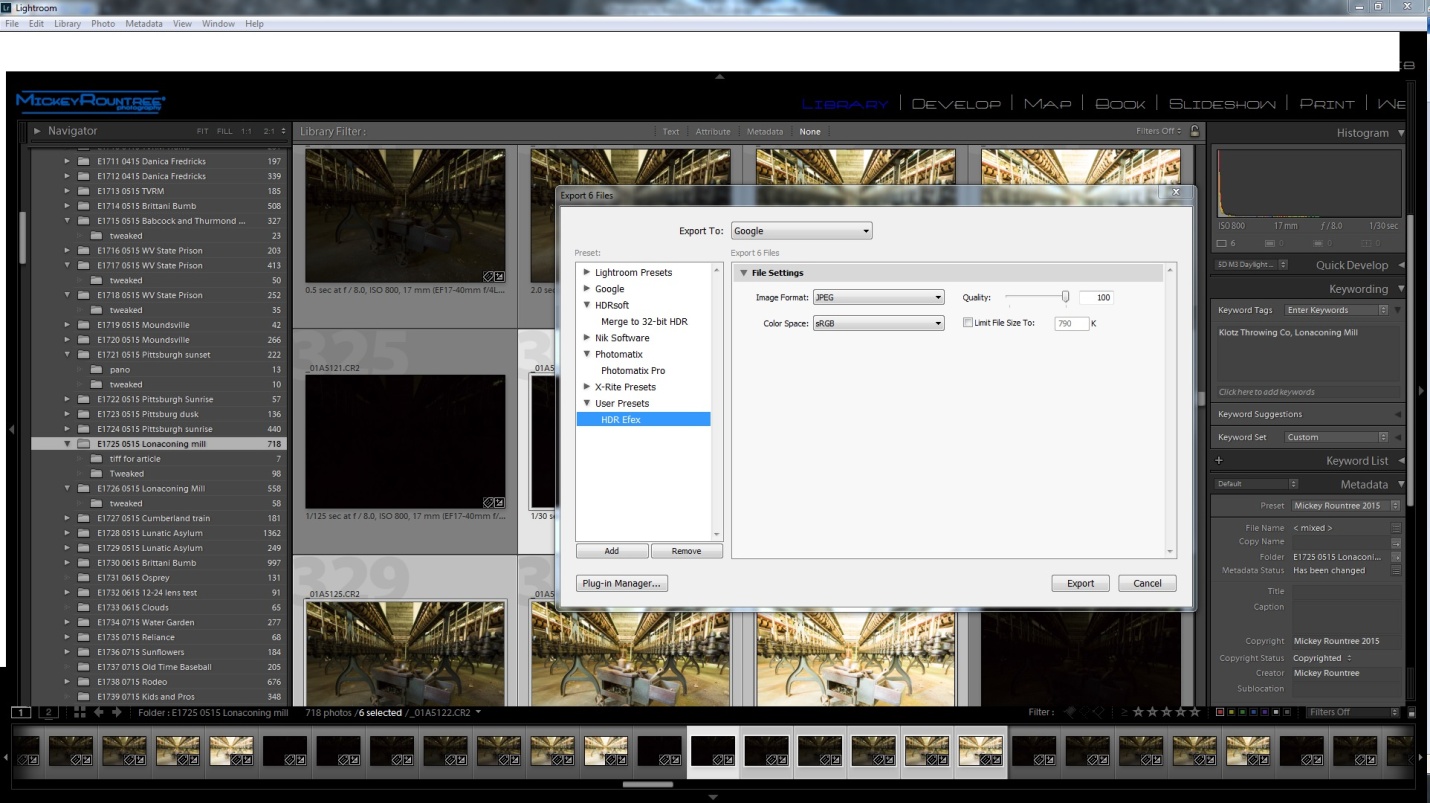
If you use Lightroom (and you should, for many reasons) you can select your images and send them to HDR Efex in a couple of ways. Here I’ve selected my images in Lightroom.
One option is to select your images, then choose File/export/ to google/and user preset/ HDR Efef. If that doesn’t appear as an option, here is how to correct that.
Or the way I prefer is to configure NIK HDR as an external editor. This allows you to define what type of files will be sent to NIK, the color depth, and what file to start to run NIK HDR. If you have NIK set up as an external editor, select all of the files you want to use, right click (PC) and select “edit in” and select NIK HDR Efex. Lightroom will then convert your raw images to the file format you specify (I use 8bit TIFF) and open them in NIK HDR. If you don’t know how to configure an external editing program here is an article showing how.
Whichever of the three methods you use to open your images, the first screen you see in NIK HDR will ask you to make a couple of choices. The first choice is about alignment. You must check this if you shot handheld, but you can also select this if you used a tripod.
Ghost reduction only applies if there was something moving within the image. This could be a fluttering flag, a person or animal, a car etc. This image had no movement so it is unchecked.
Besides intensifying noise, HDR seems to intensify chromatic aberration, so I leave this checked and usually accept the default settings.
Click on create HDR in the lower right, and your image opens in a window as below. On the left are the program’s built in presets, and as you click each one you can see how it will change the look of your image. I suggest you click on several and see what suits your image. I find I most often use the balanced preset, and that is the starting point I chose here.
Then start playing with sliders. Tone compression controls the balance between highlights and shadows, method strength effects micro contrast. Increasing strength gives a greater sense of detail, but can cause halos and other problems. be careful about overdoing this one. I decreased exposure a bit, left the shadows and highlights alone. I slightly decreased both blacks and whites, a bit. I increased structure to about 66%. Structure is similar to high pass sharpening in Photoshop and effects the look of detail and contrast. Several of these changes were made after this screenshot. Once you have the look you want, click save and select where to save the image.
Here is our image after processing in NIK HDR Efex, but it’s not at all ready yet. Notice the overall green color cast, and the highlights still feel a bit washed out.
My last article in this series is going to address some finishing touches in Photoshop, but here I’ll at least fix the color balance, add vibrance and clarity, and fine tune the exposure, and the white and black points. You can see I adjusted the color balance to eliminate the green cast by adding magenta. I opened the shadows a bit, and set the white and black points. I do this automatically by shift-double clicking on the back pointer and then the white. Sometimes I need to readjust from there, but it’s a good starting point. I usually add in some clarity (midrange contrast), here about 40, and increase vibrance a bit, but I usually don’t touch saturation.
So below is our first HDR created in NIK HDR Efex with some additional tweaks in LR. We’ll do the final adjustments in Photoshop in the last article.