Photography Basics – Creating and using Actions
by Mickey Rountree
As I usually do, I’m calling this article Beyond Basic because it involves Photoshop rather than just Lightroom.
When these articles are converted to PDF and sized for the newsletter, the resolution and quality of the images is seriously degraded. If you would like to read the article and see the images as I did, you can see this article on my website at this link.
https://mickeyrountree.smugmug.com/Articles/Basic-Photography-Series/
When you have things that you do frequently in Photoshop, or maybe things that are complex and time consuming that you are likely to do again more than once actions can be a real timesaver. In Photoshop an action is just a method of recording a series of steps in Photoshop, saving them and being able to repeat them with a single click. One of the bonuses is that even relatively simple actions happen much faster than performing the individual steps one by one. Also you’ll see plugins run without opening the full graphical interface, and this really speeds things up.
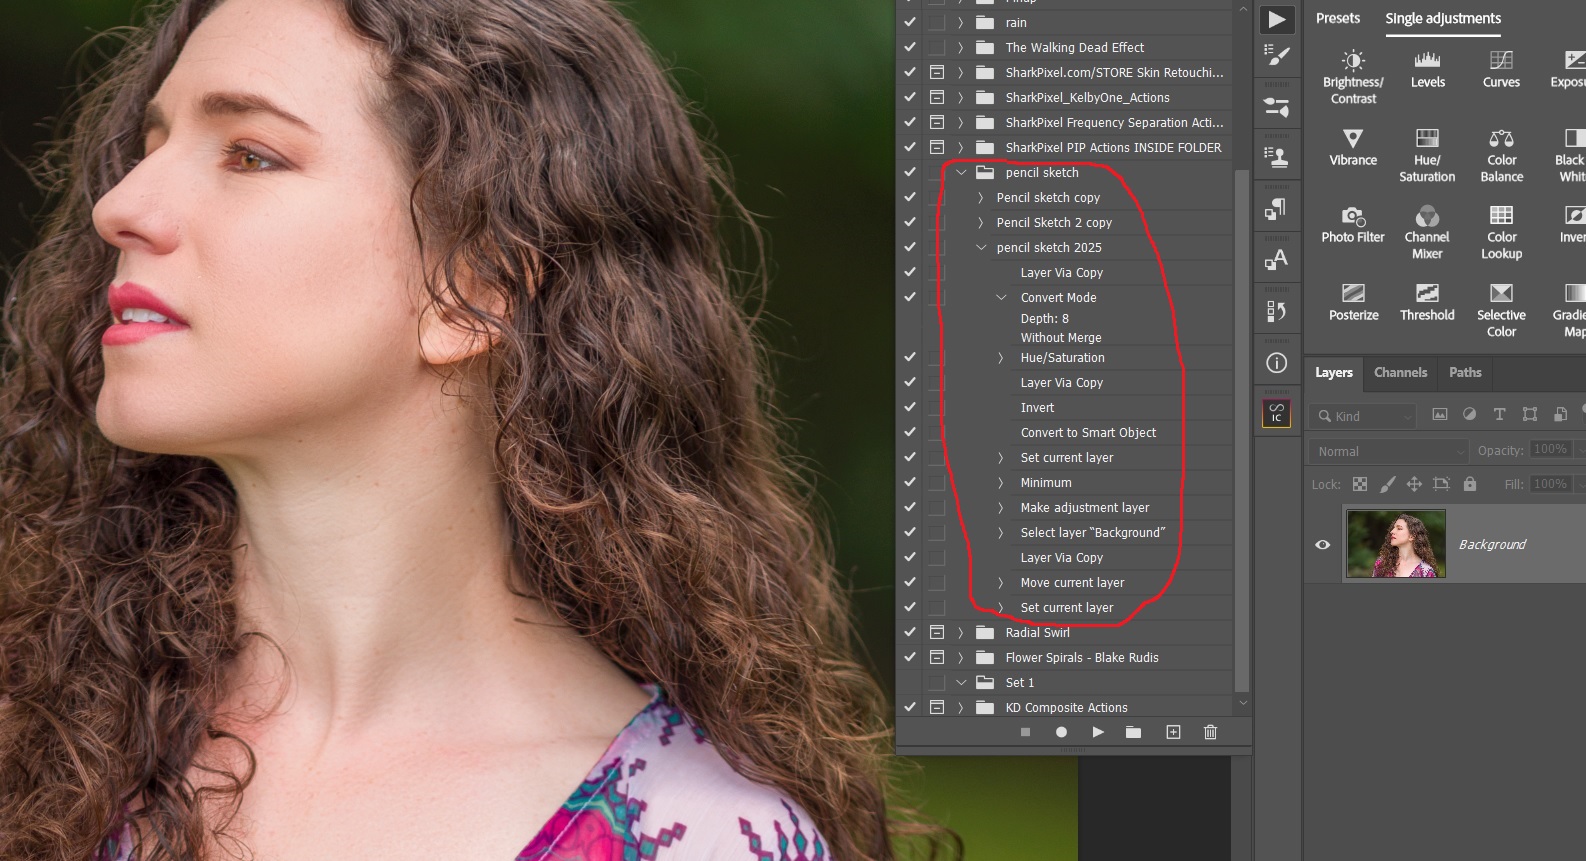
First we’ll learn how to create an action by recording a very simple action. Then I’ll show you a couple of more complex actions and some possible problems I’ve found and how to work with them.
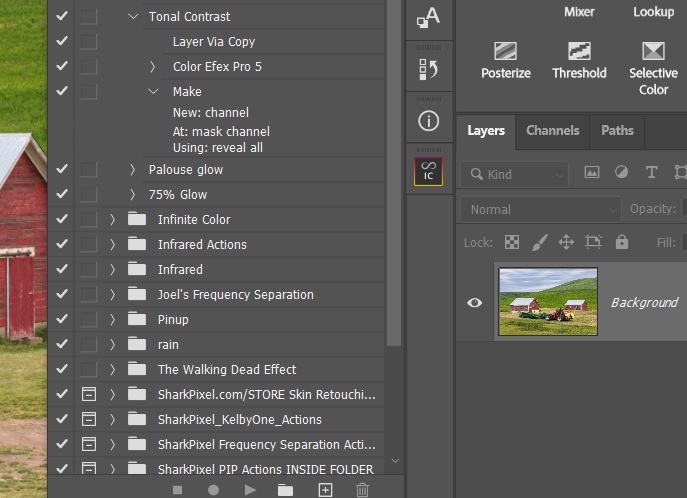
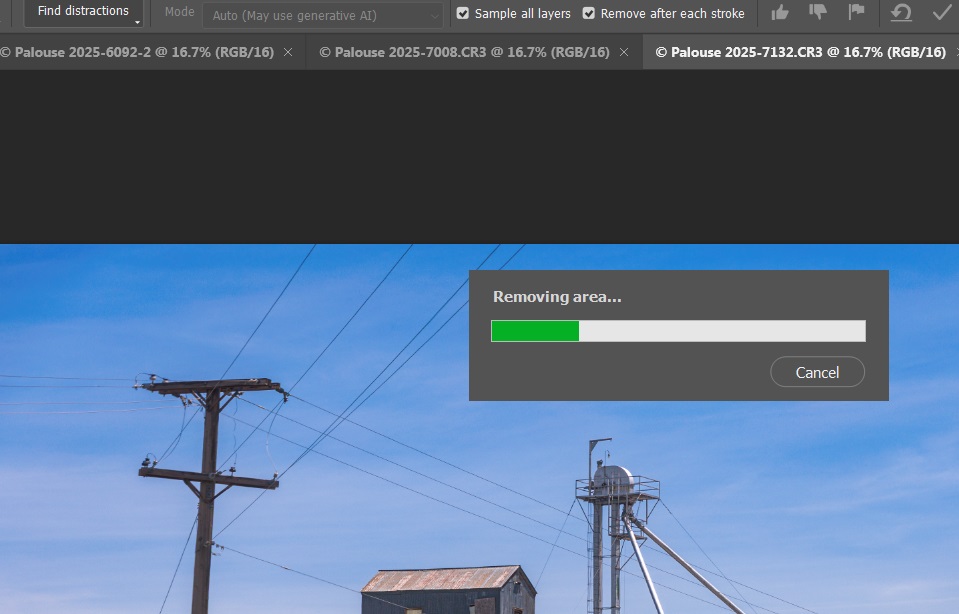
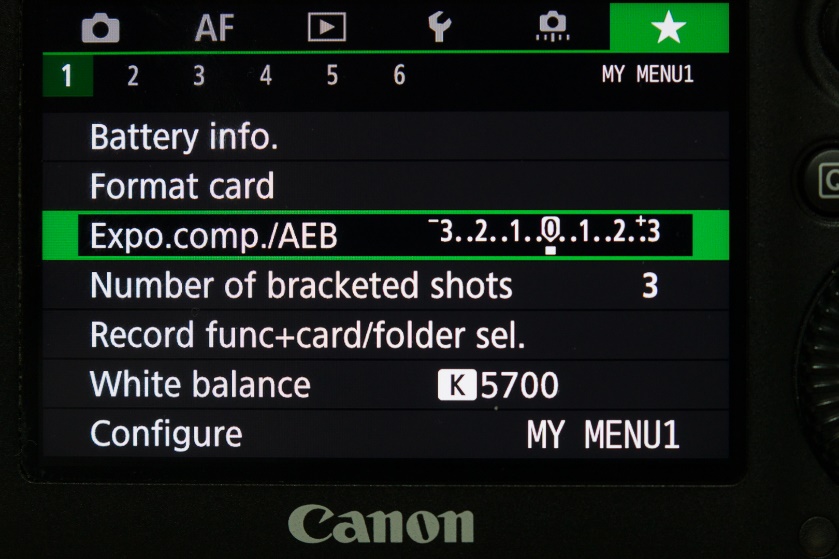
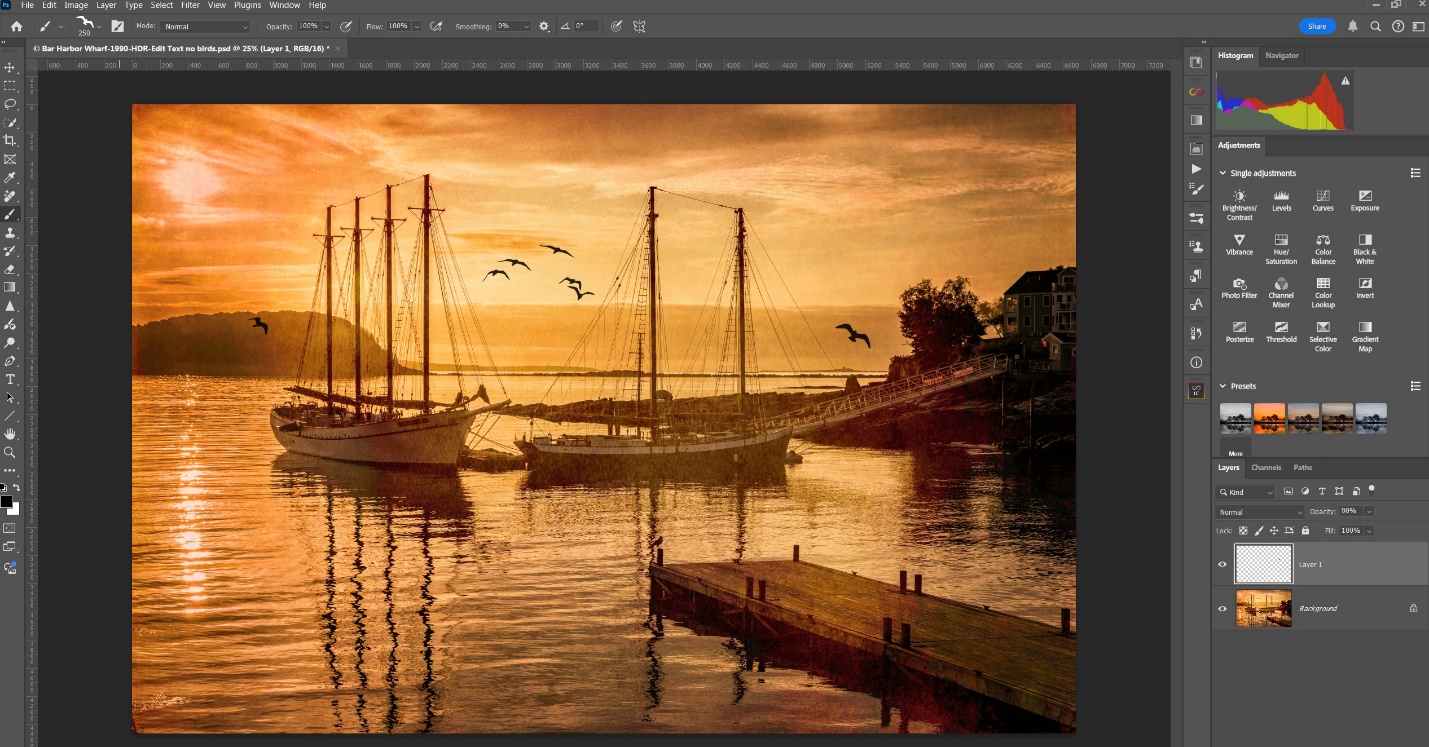
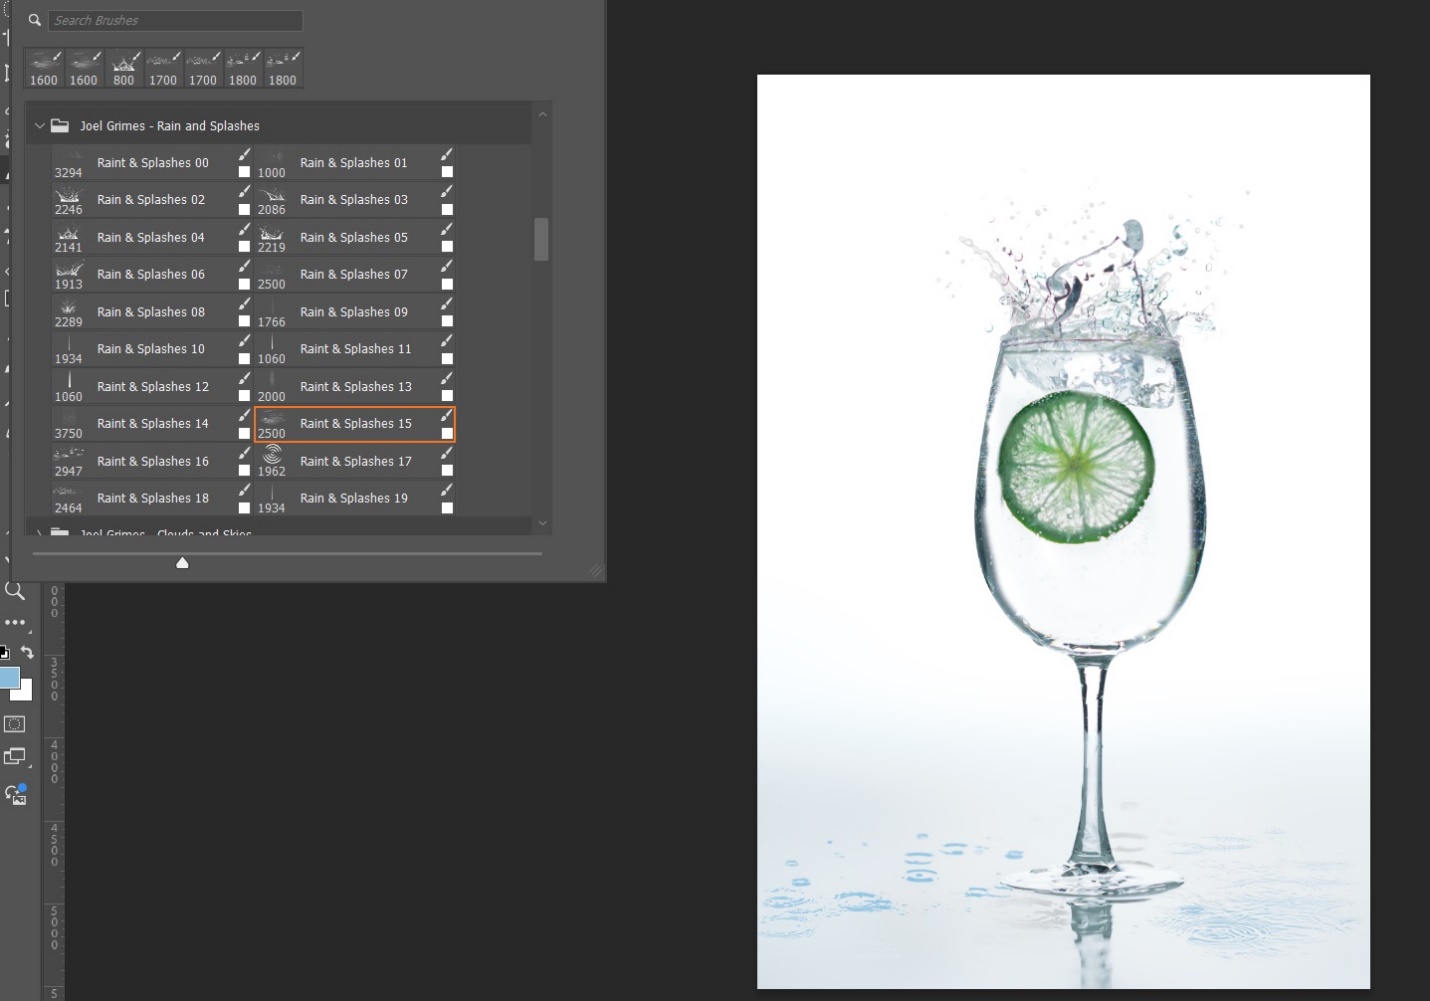
First make sure actions are visible by going to window and be sure that there is a check next to actions. Everyone seems to lay out their work space differently, but I dock the button for actions on the palette to the right. Clicking the arrow icon for actions opens the expanded actions palette and shows any custom actions groups you have created.

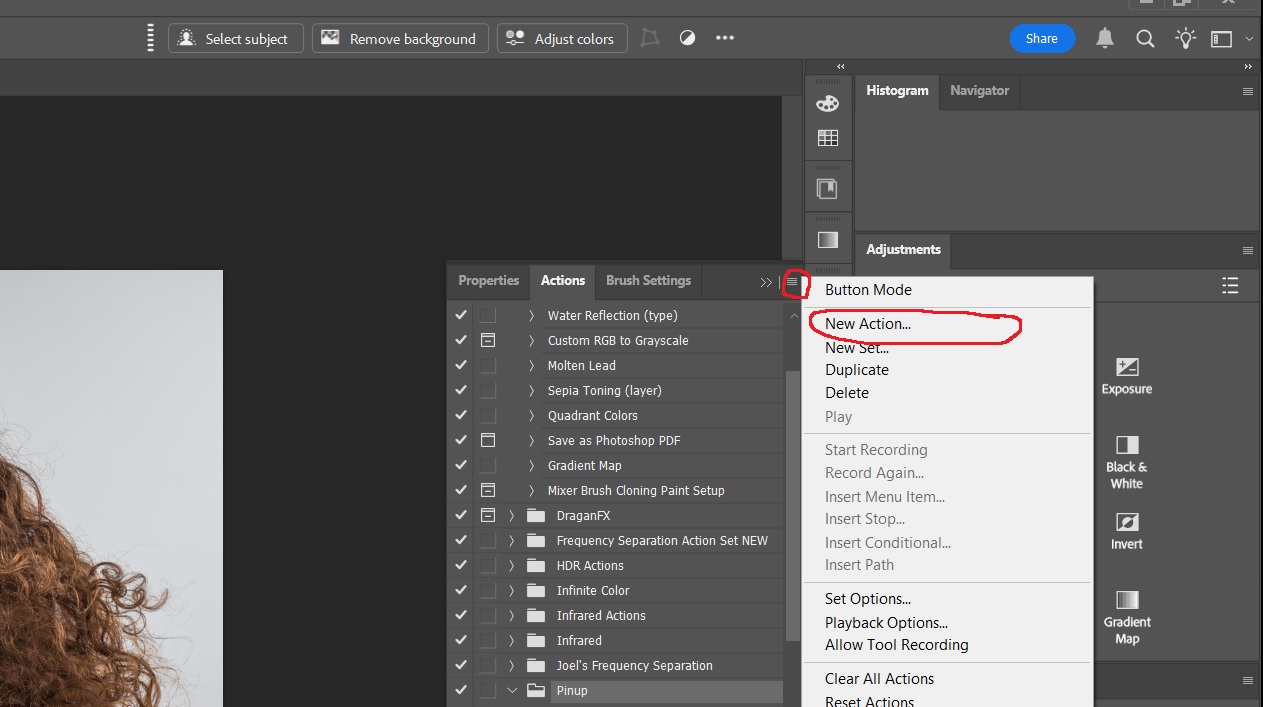
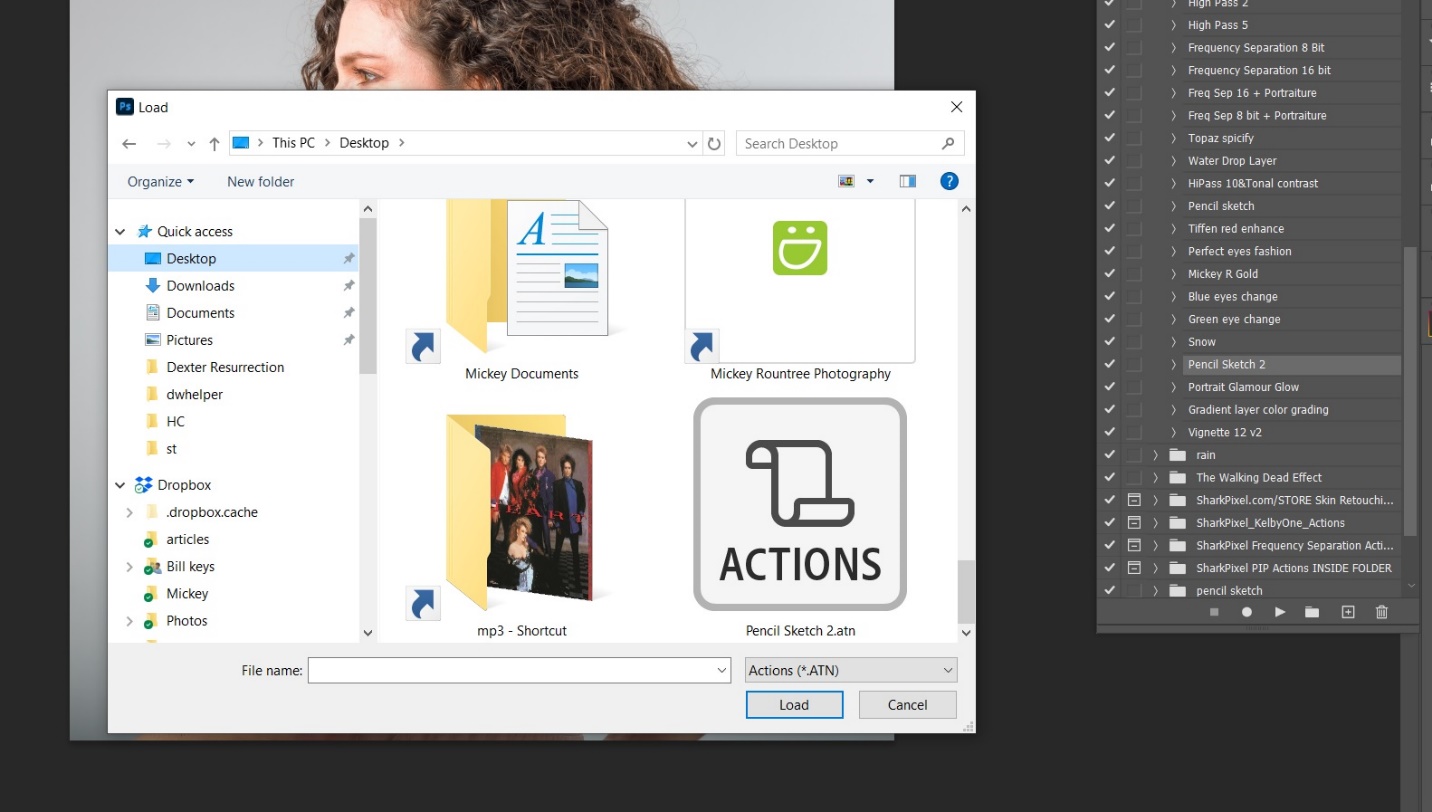
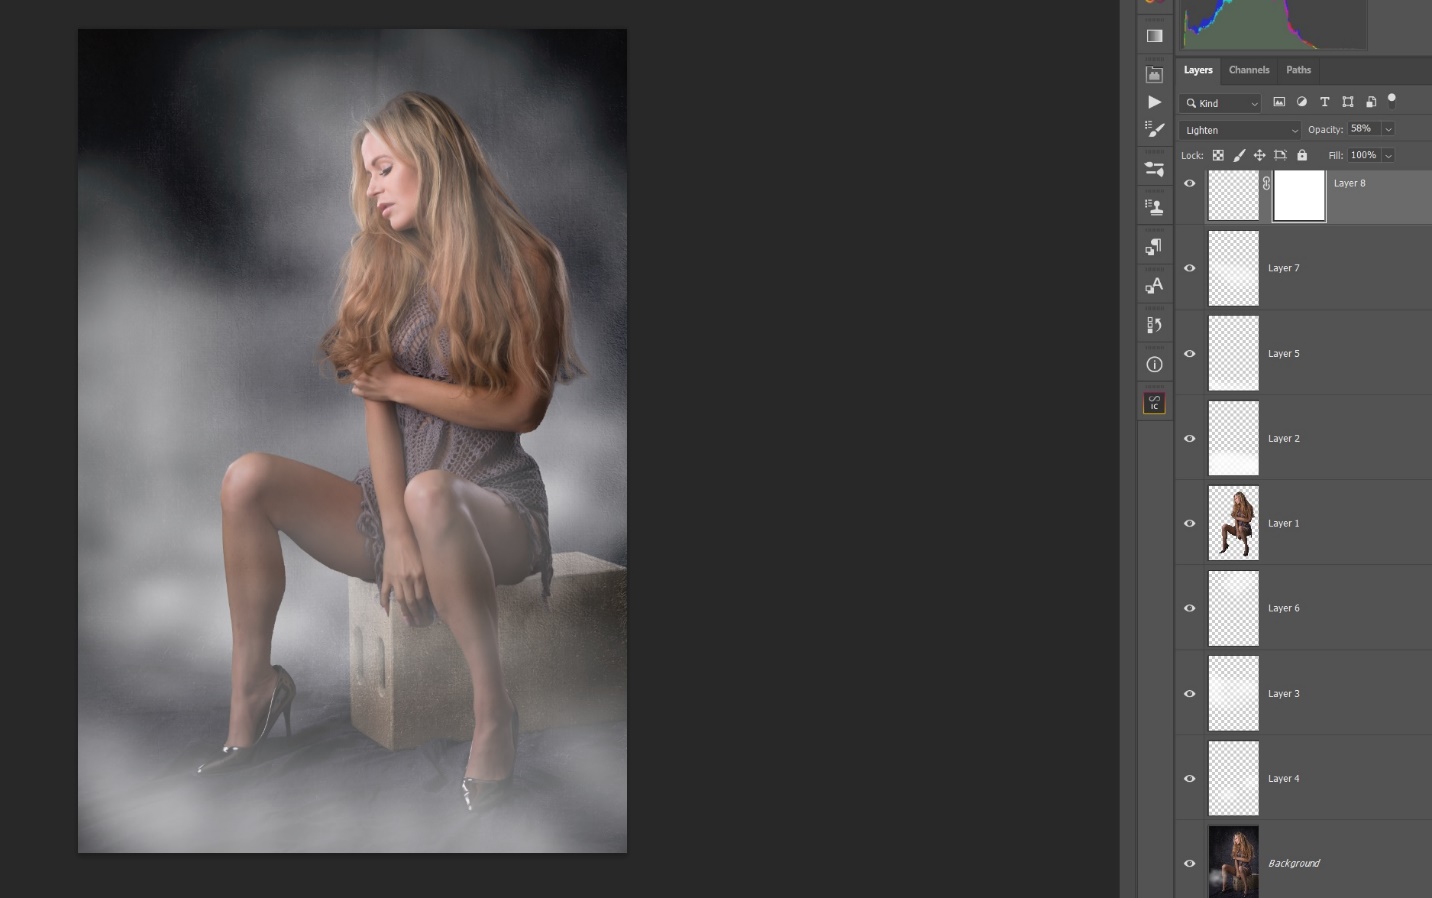
To create a new action, open an image in Photoshop, and click on the arrow icon for actions. Then click on the three lines and choose create new action. If you like you can create a set to put icons in. I have a set of actions I use for portraits and a different set I use for scenics. That makes it easy to find the action you need.

Once you choose create new action you will be asked for a name for the action and which set to add it to. After naming the action, click on record. At this point Photoshop will record and save all the steps you do until you tell it to stop.

Here I’m going to create a very simple action to open camera raw and add a vignette. This is something I do on almost every image so having an action is a real time saver. I’ll open camera raw either by going to filter/camera raw or using the shortcut CTRL-SHIFT-A. Drop down to the effects panel, and drag the vignette slider left to -12. (This is a very subtle vignette, so I also have created an action to vignette at -24 which is much stronger.) Click OK to create the vignette and close camera raw. Note that you could actually change lots of sliders and save that as an action, but here we only want a vignette.

After camera raw has closed, click on the lower left stop button and your action is created and saved. At this point it’s good to try your action on a couple of images to be sure it works correctly.

Here is an image before and after running the vignette 12 action.


Once you have recorded an action or a set of actions I recommend that you save them someplace where you be able to reload them if you have to reinstall Photoshop or install Photoshop on a new machine. Click the three bar menu, and then save actions.

Photoshop will ask you where to save them. I keep an external drive with all of my installation files so that’s where mine go. Once you’ve saved an action you can also share it with friends.
There are two ways to load an action if you are reinstalling Photoshop or someone has shared an action with you. With Photoshop open click the three-line menu and select load action. Photoshop will open a window for you browse to the actions location.
Or with Photoshop closed, browse to the action and double click it and Photoshop will open and load the action.
One plugin that I use frequently is Tonal Contrast, a part of Color Efex in the DXO NIK Suite. I have color Efex set to save its changes to a new layer allowing me to adjust opacity and masking later. When I created an action to run Tonal Contrast everyone thing worked as I created the action. But when I ran the action, Tonal Contrast was run on the base layer rather than creating a new layer. The answer was to re-record the action, but add a copy layer before opening and running Tonal Contrast. I have since found the same problem in other plugins that I normally set to save their changes to a new layer. For whatever reason Photoshop doesn’t allow the plugin to create a new layer, so when you create an action using one of these plugins just create a copy layer first. Below are the steps of my action, and you’ll see that I went ahead and created a mask as part of the action.
Here are the layers after running the action.
And here are the before and after images.

In a previous article I described how to create a pencil sketch effect. (https://mickeyrountree.smugmug.com/Articles/Basic-Photography-Series/Basic-Photography-94-Creating-a-Sketch) It takes several steps and I don’t do it often enough to remember all of the steps, so this is a perfect opportunity to create an action. Below you can see the action expanded.
And here you see all of the layers created by running the action. The last image is the final effect.

Whenever you find yourself doing the same steps over and over, or doing an effect that takes multiple layers and complex settings that you may not always remember, don’t forget the power of an action. The few minutes you invest in creating an action will save lots of time and frustration later.


