I’ve gotten several questions lately about some of my infrared images and how they are made. So here is a quick primer on digital infrared photography.
Infrared (IR) light is invisible to the eye and has wavelengths longer than about 750 nm (nanometers) up to 1000 nm. By comparison visible light has wavelengths between 380 and 740 nm. Digital camera sensors are sensitive to infrared light, but camera manufacturers use filters to block the infrared light, so that it doesn’t interfere with image production on the sensor by visible light. So to photograph in infrared a camera must be converted by having the IR filter removed, and replaced by a filter that lets IR light pass through. Some filters will allow a mixture of visible and IR to pass through, while others block almost all visible light. Depending on the wavelength of the filter we either get colored infrared (lower wavelength filter) or almost pure black and white (higher wavelength filters).

There are a number of companies providing IR conversions, but the one I am most familiar with is LifePixel (https://www.lifepixel.com/). Years ago I had my old Canon 20D converted to their “super color” filter (590 nm), and last year I had my old Canon 5D Mark II converted to their “Deep Infra Red” 830 nm.
I found that I didn’t really like the color IR option. It requires a lot of manipulation, including shooting a custom color balance, swapping the red and blue channels in Photoshop, and the effects are somewhat unpredictable. I really like the look of the deep infrared black and white. Of course it is possible to convert a color infrared image to B&W in Lightroom or Photoshop.
A color IR from my “super Color” converted Canon 20D after Red and Blue channel swap and color balance adjustments.
A Black and White conversion form the color shot above.
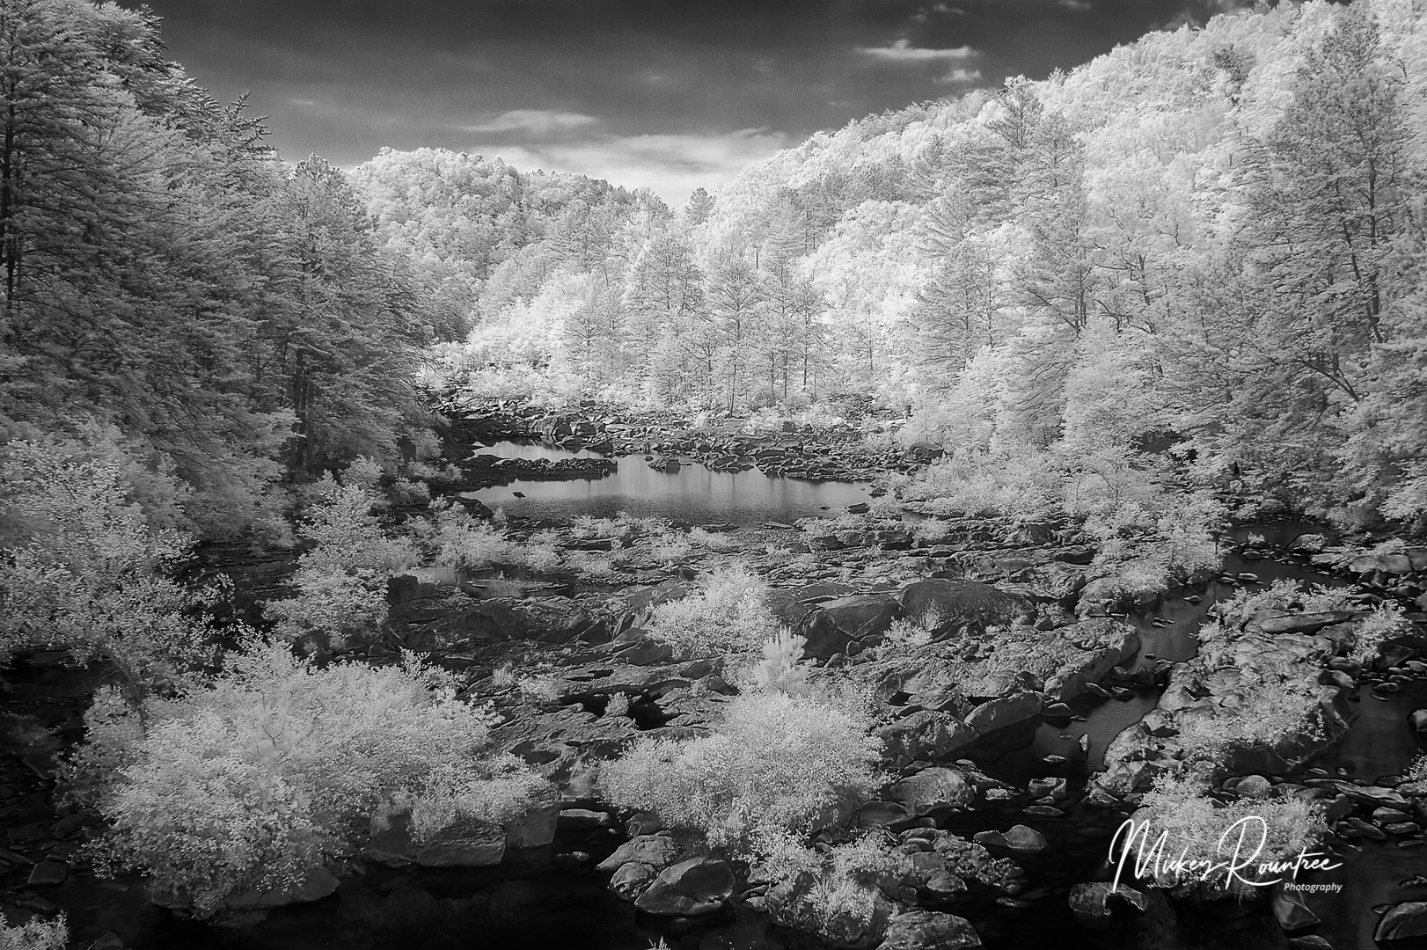
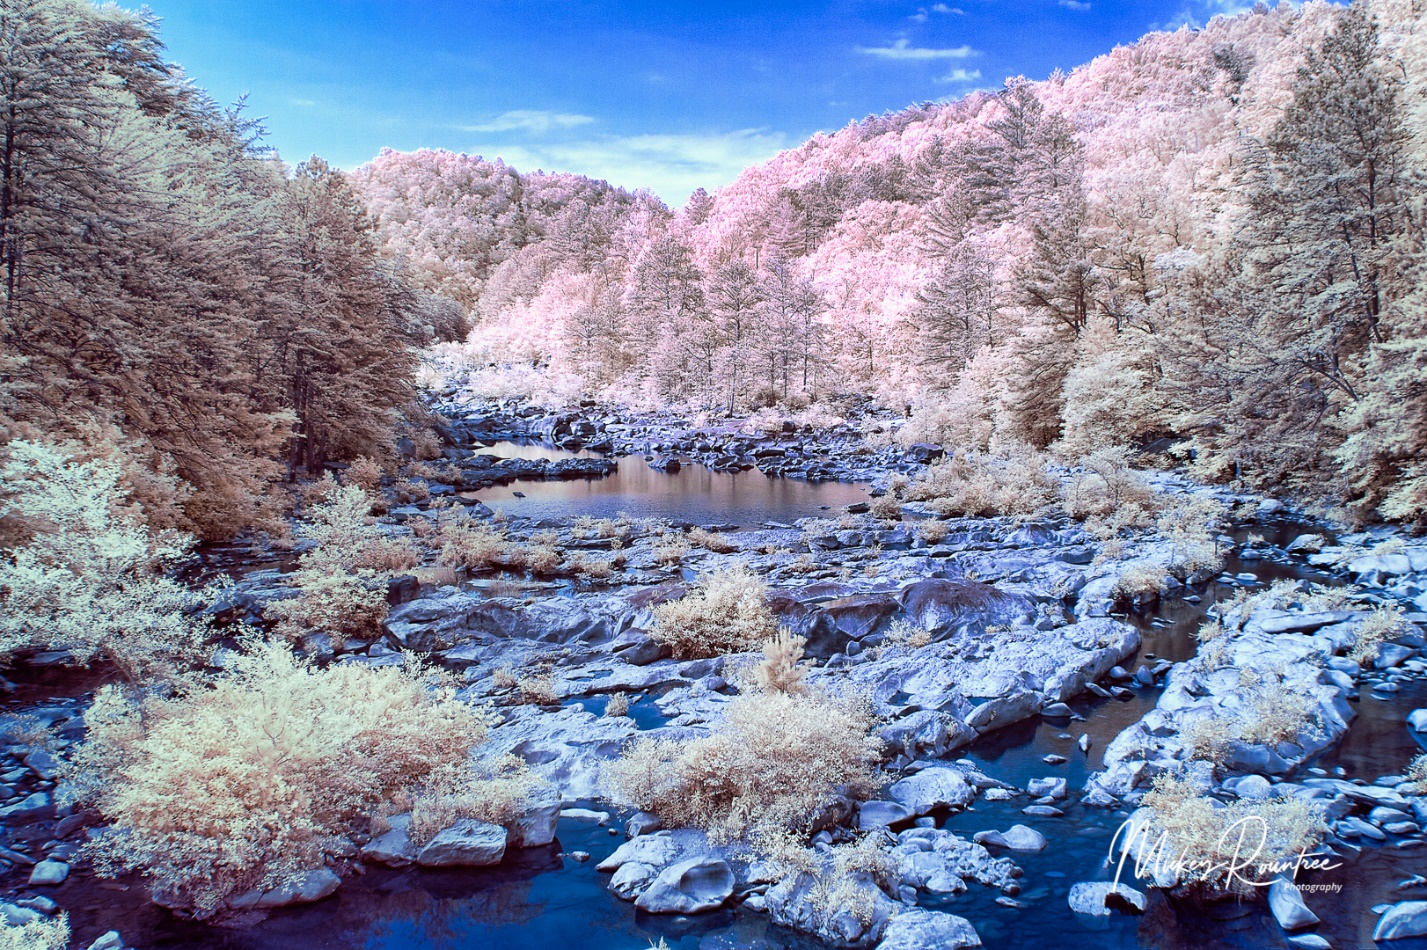
Another color IR after Red and Blue channel swap. 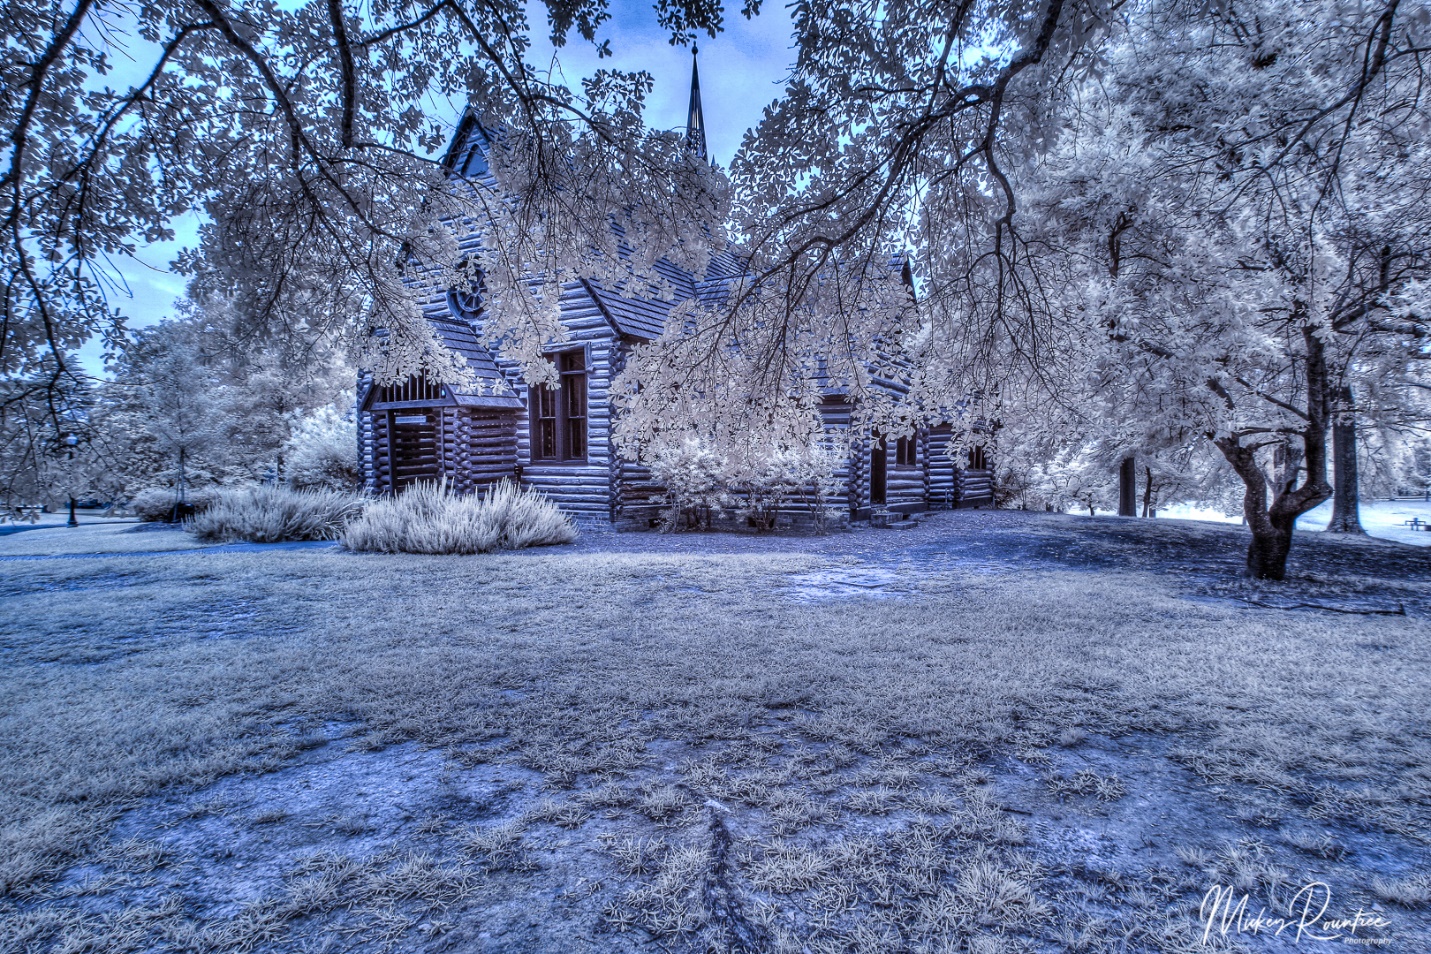
There are lots of tutorials available on the LifePixel site for both color and black and white, with tips on shooting and processing. But here I’ll give you some tips I have learned shooting with the deep Infrared (B&W) filter.
The first issue is exposure. The meter is still sensitive to some visible light, and the balance between visible and IR light in a scene affects the meter’s accuracy. Consider the meter a starting point, and look at the LCD and histogram. I find that I generally have to dial in +2 stops of compensation. I cover myself by shooting brackets for HDR, so with +2 compensation, my brackets are generally 0/+2/+4. In a scene with a higher ratio of IR, I may only use +1 or even no compensation. My eye still isn’t trained enough to know how a scene will meter, so I watch the LCD and histogram after each shot. And of course, shoot at the lowest possible ISO.
IR light focuses differently from visible light. At the factory after conversion the camera focus is calibrated to a specific lens, usually the 50mm or normal lens. Other lenses may not focus as accurately, so I cover myself by shooting at f/11 or f/16.
Even with the 830 nm filter, the sensor still receives some visible light and it comes into Lightroom with a strong reddish cast. I solved this by creating an import filter that automatically converts the image to Adobe Monochrome color profile.
I find the IR images are very flat and low contrast. So why do I shoot HDR when it wouldn’t seem to be needed? I have two reasons. First it helps compensate for slight exposure errors, and second I add a LOT of contrast, texture, clarity and sometimes dehaze, and the HDR image keeps the noise in the shadows from becoming excessive, and keeps highlights from blowing out details.
After processing in Lightroom, I send the image to Photoshop. Here I do some mild high pass sharpening, and then use the tonal contrast filter in NIK Color Efex. I then use the NIK Silver Efex Black and White conversion program. Yes, the image is already black and white, but Silver Efex gives me more control over the final image. I find the most useful presets are high structure smooth or harsh, and full dynamic range smooth or harsh. I’ll often process one layer smooth, and another layer harsh, and blend them to keep the sky smooth while bringing out detail in the main subject.
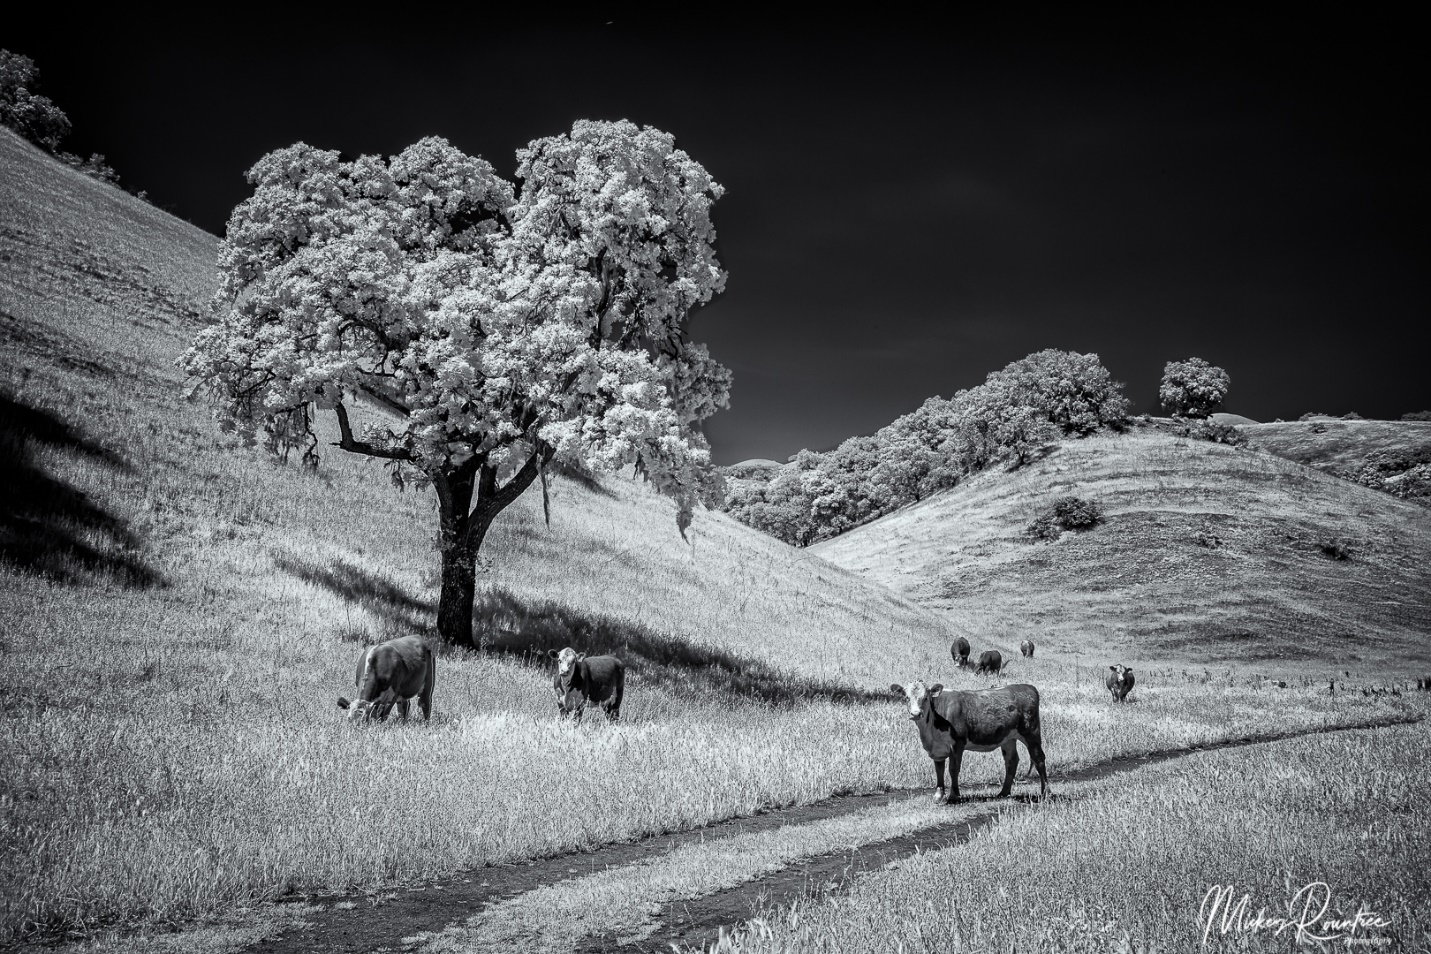
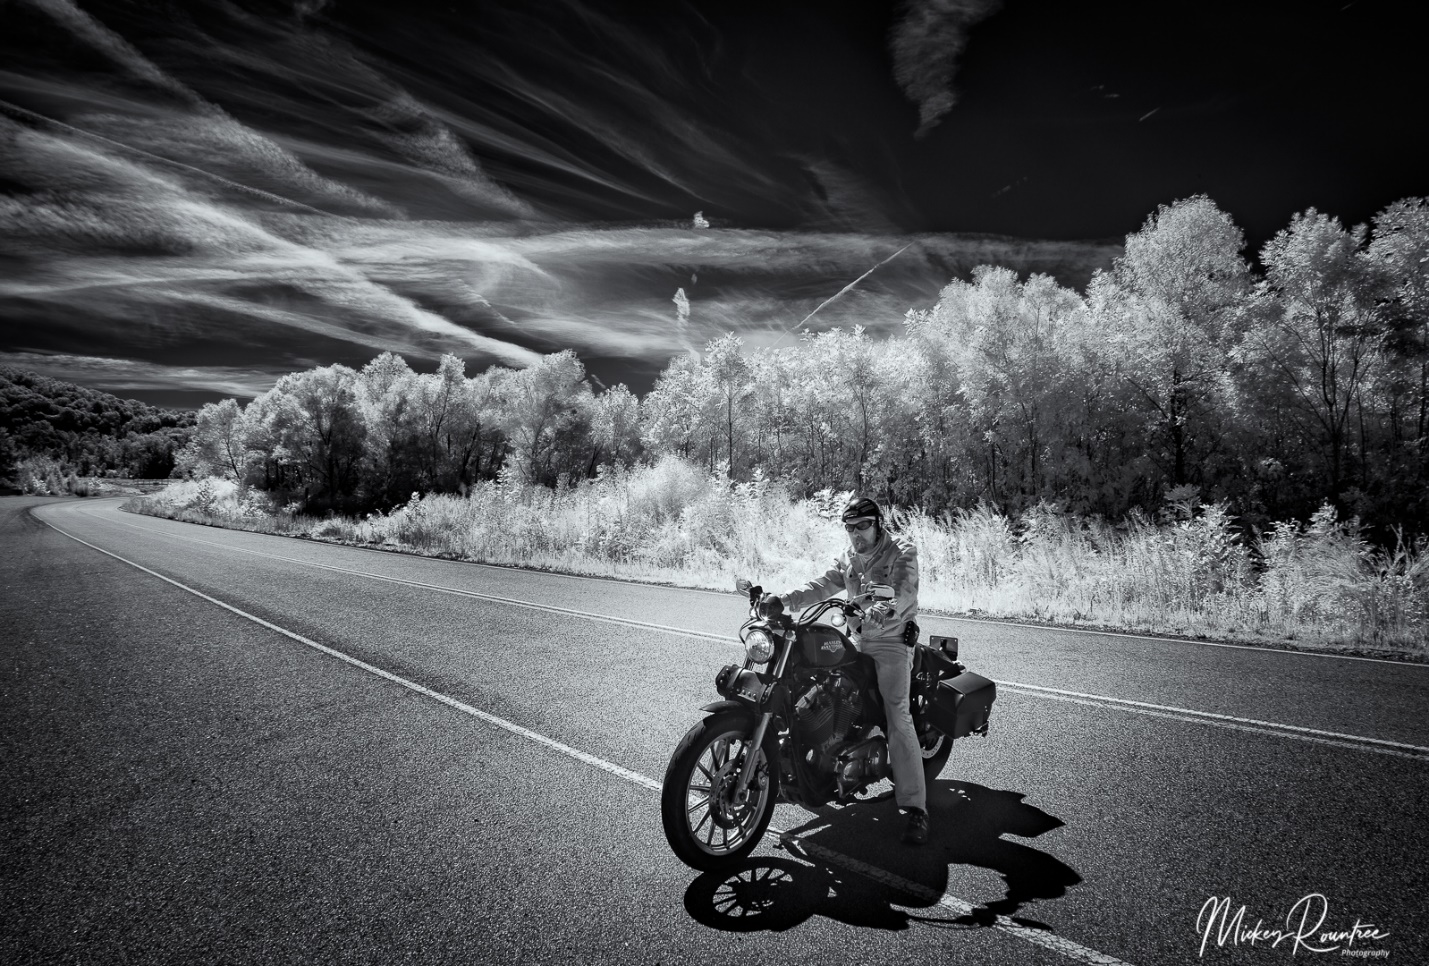
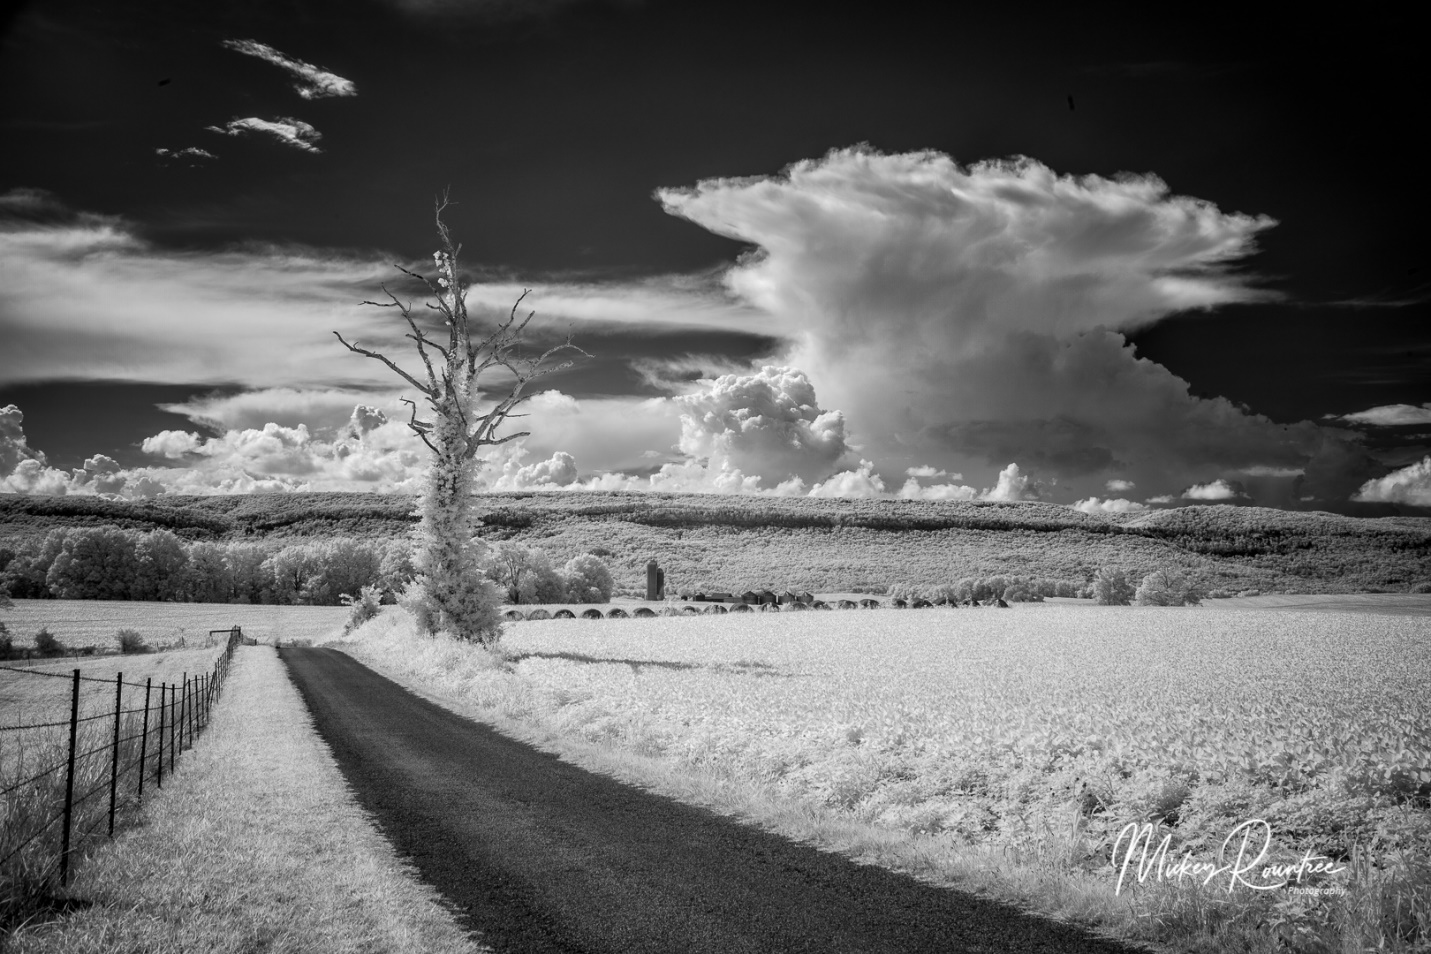
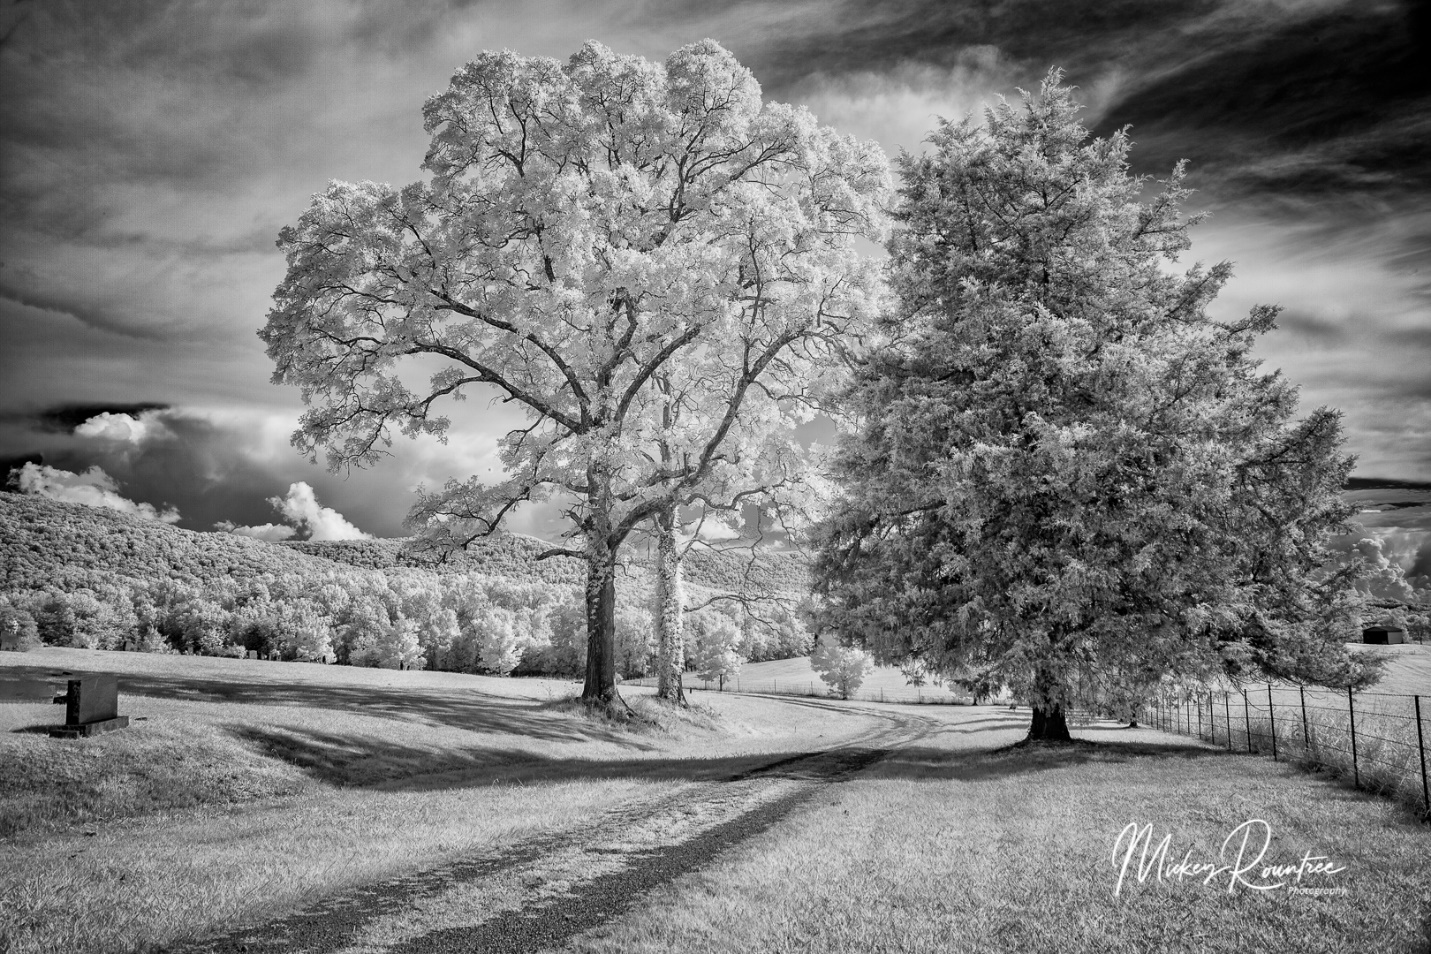
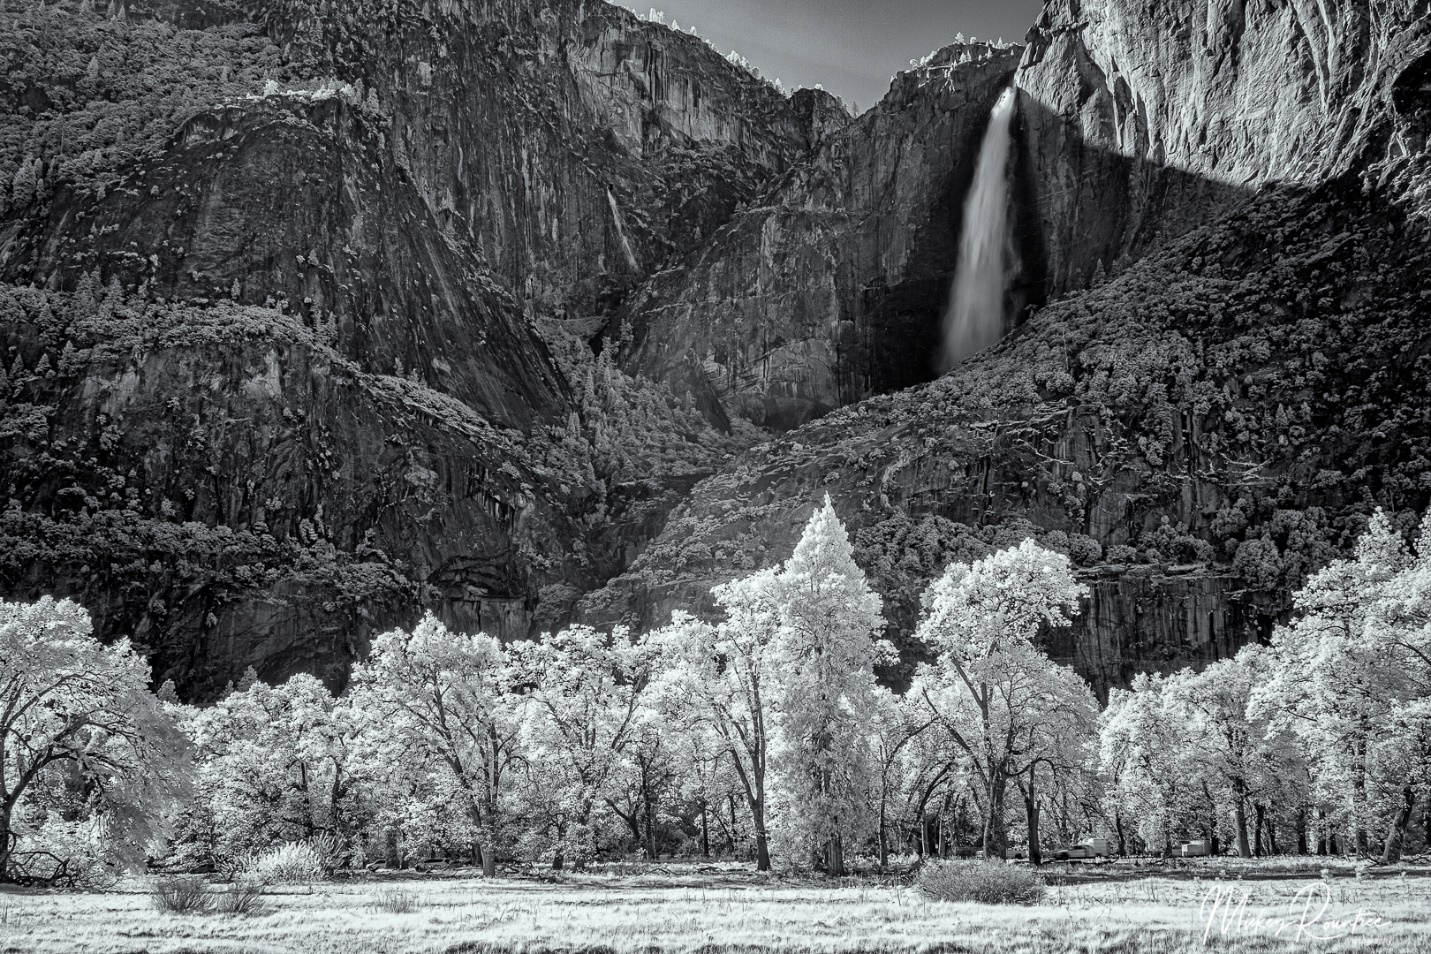
For me, the subjects that just scream B&W infrared are scenes with deep blue skies with puffy white clouds, and lots of trees with green leaves (chlorophyll reflects a lot of IR), and even better if the leaves are backlit. On my recent trip to Yosemite I actually shot more infrared than color. But in the towns of Santa Barbra and Carmel it didn’t come out of the bag. I don’t find IR pleasing for tight portraits, but it can be interesting for an environmental portrait.