In this article I’ll show you my favorite plugin for creating black and white images, either as a conversion from a color image or as a different look for a monochrome image. Silver Efex is one of the programs within DXO NIK Collection. Version 6 has just recently been released, but I am still using version 5. Also as I said in my earlier article, even though this can run as a stand-alone program, or from within Lightroom, I use it as a plugin in Photoshop. This gives me the benefits of masking, blend modes, and “blend if” controls. The NIK plugins offer “control points” which allow for localized adjustments within an image. You may find them useful, but my workflow has always revolved around layers and masking, and that’s what I’ll be describing.
You can find more detailed information on how to use any of the NIK programs, including the use of control points at:
When these articles are converted to PDF and sized for the newsletter, the resolution and quality of the images is seriously degraded. If you would like to read the article and see the images as I did, you can see this article on my website at this link.
To me, one of the greatest advantages of digital photography is that we get to shoot in color, and then later we have the option of converting to Black and White. Very often in the film days I carried one camera with color film, and one with B&W. We won’t even mention the hours and hours in the darkroom breathing noxious fumes. While it is possible to make very nice B&W conversions in Lightroom or Camera Raw, Silver Efex gives much me more options and greater control. There are numerous presets and I can usually find one that suits my image. Often the preset is perfect as is, or is a good starting point for the many tweaks available in the right hand panel.
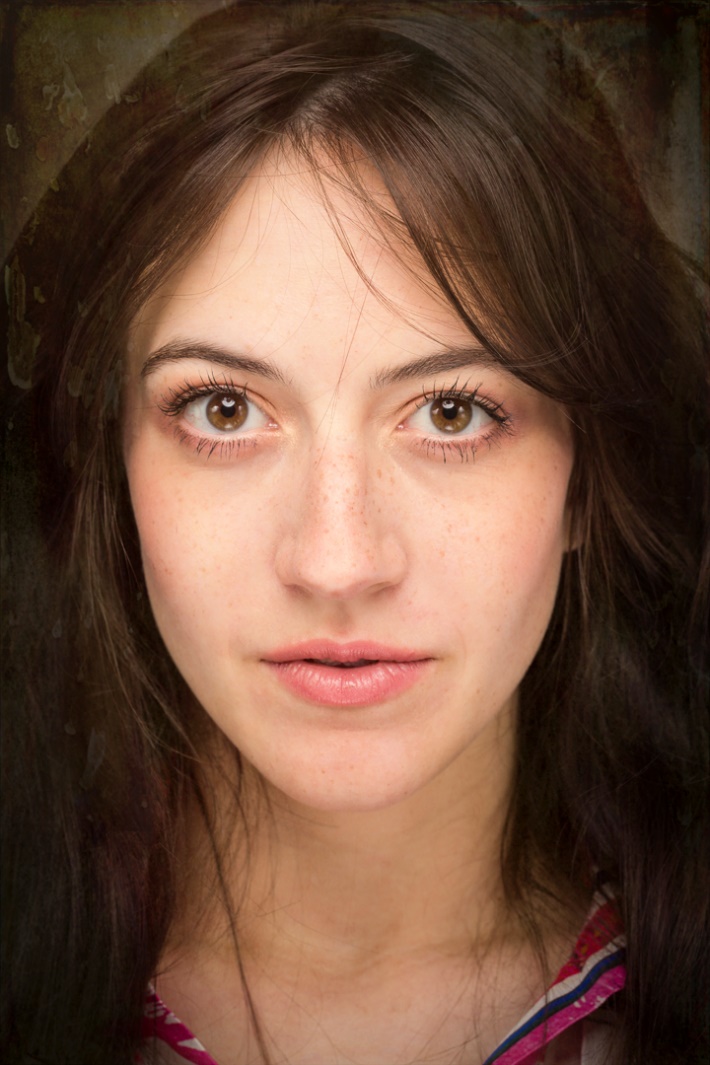
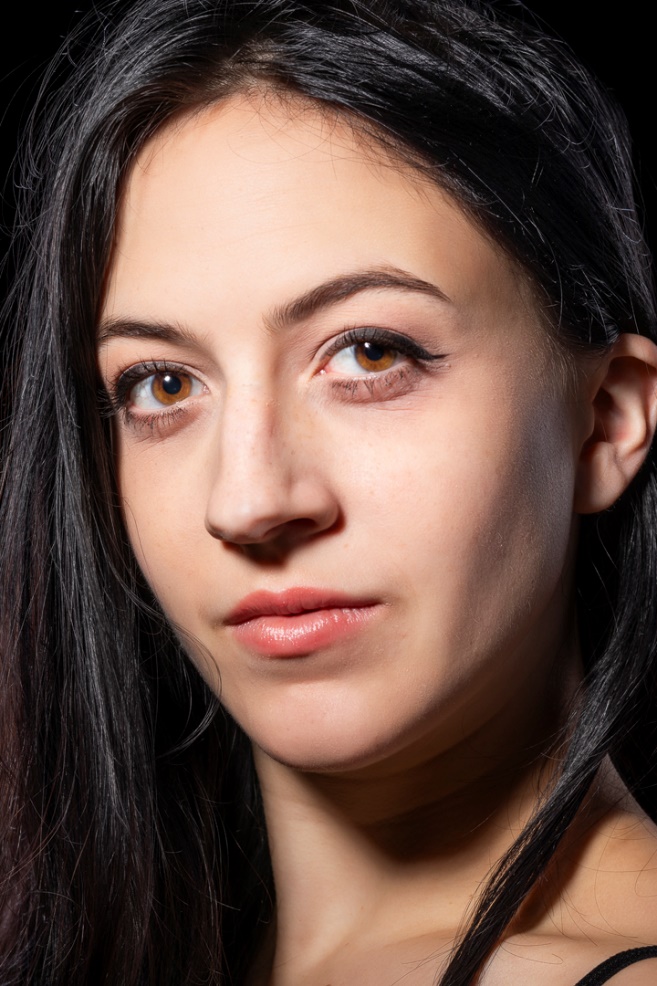
One of my favorite subjects has always been B&W portraits, but now I get to shoot in color and then choose the color or B&W version.
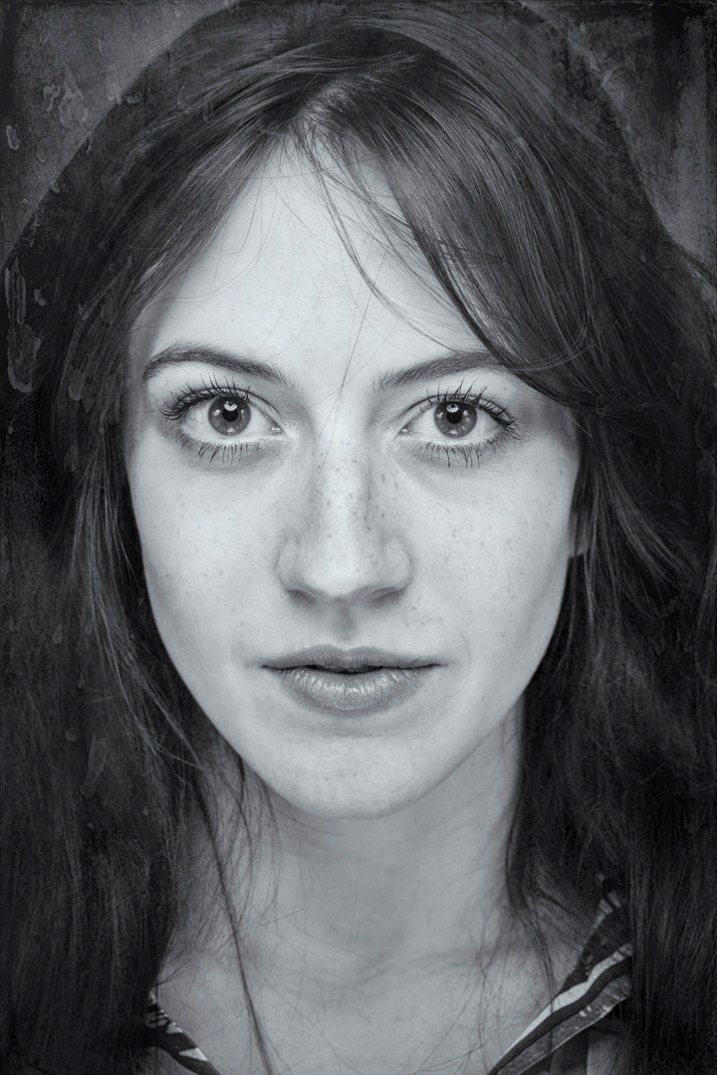
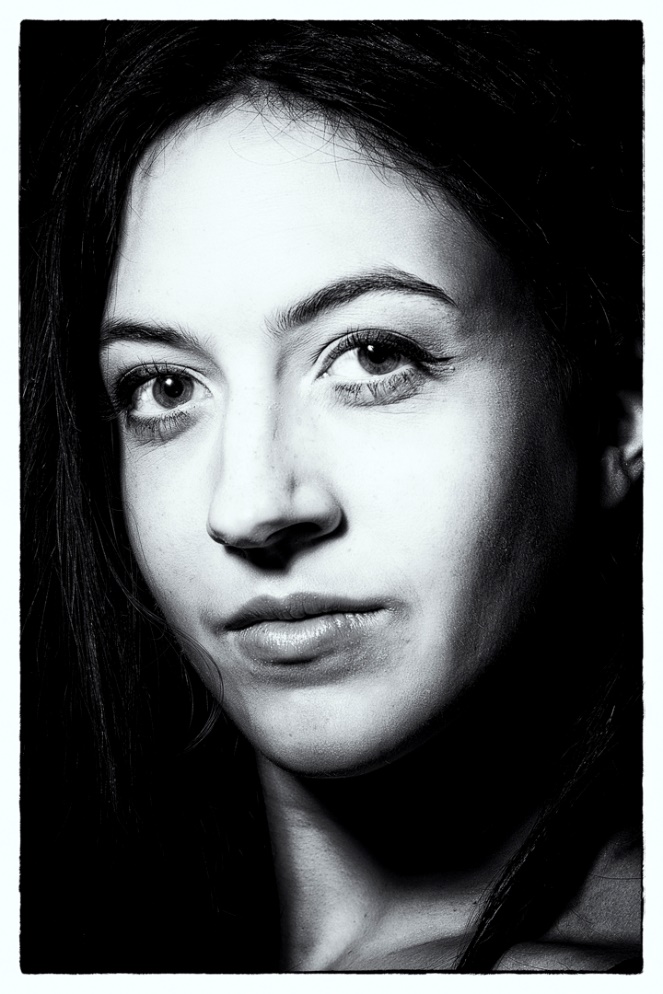
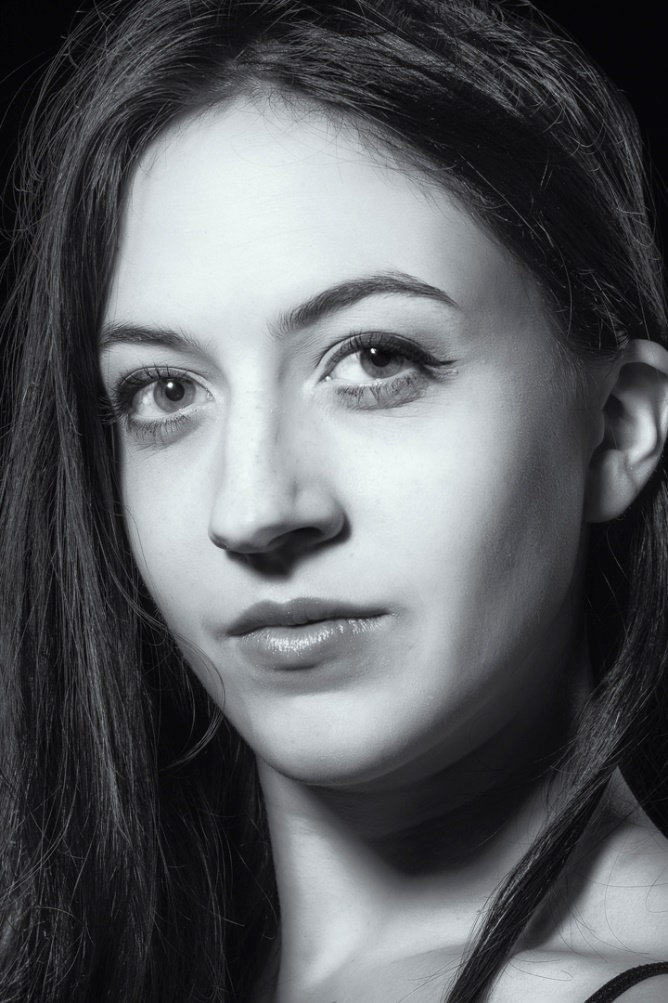
One important control in Silver Efex is the color filters in the right hand panel. These act just like shooting B&W with a colored filter on the lens. For those of you who didn’t grow up shooting B&W film, the basic principle is that the color filter blocks colors other than its own, and darkens those colors, while lightening its own. So in the example above, I used a low strength of the green filter, since it is the opposite of red and darkened down the lips.
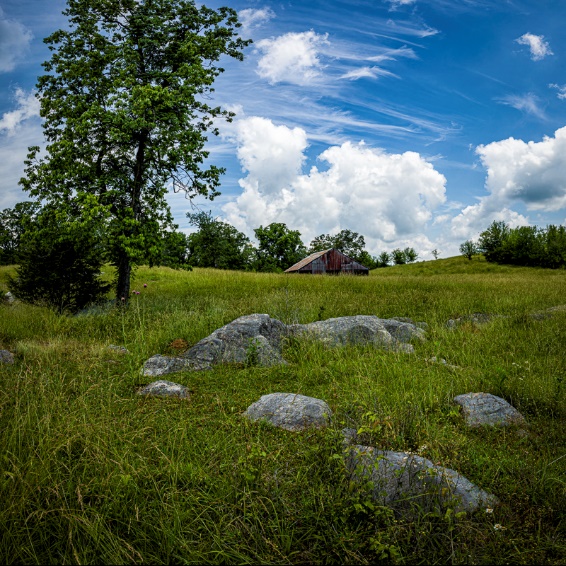
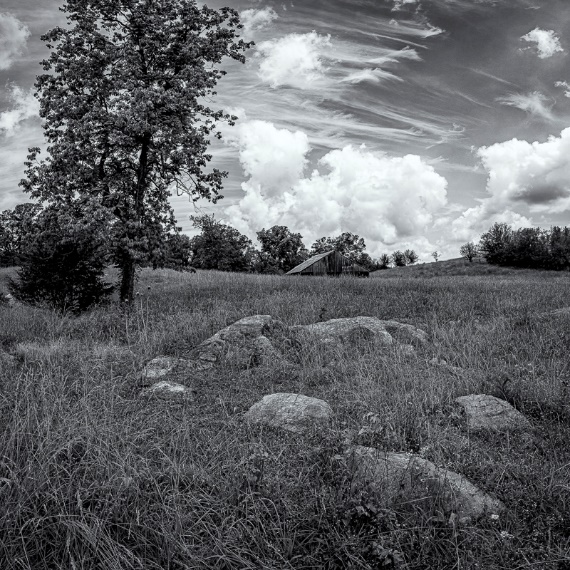
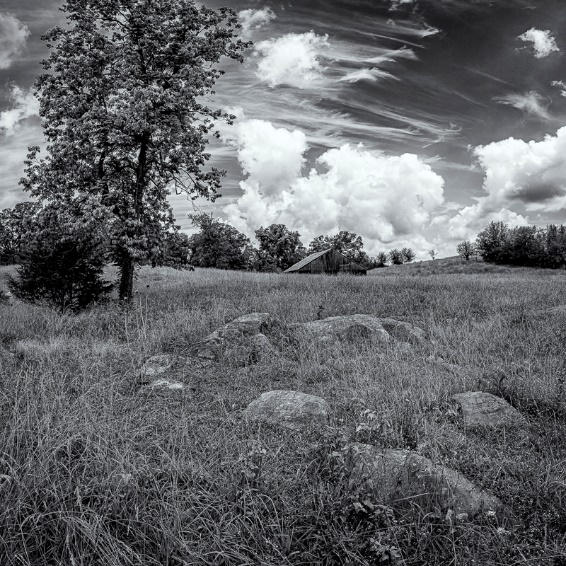
In the series below, I went from color to B&W without a filter and then B&W with a yellow filter. Since yellow is the opposite of blue, the blue skies are darkened. A red filter would also have darkened the blue sky, but would have lightened the red barn.
I shot this portrait with a small harsh light source to mimic the Hollywood glamour look of the 40’s and 50’s. Color doesn’t fit the mood of the image, so I converted it to B&W with several presets so you can see the differences. The first preset was film noir which was very appropriate to the mood.
In order, I also tried Full Dynamic Range, and Fine Art, which are probably my two favorite starting points for portraits.
One of the options for finishing an image in Silver Efex is toning. My personal favorite is the lowest level of selenium, which creates a very slight blue cast. I think I like this one because when I was in school doing actual B&W prints, selenium toner was so expensive that we didn’t get to use it very often. Of course varying degrees of sepia are available for a more traditional or antique feel as well as several others.
I have a camera converted for B&W Infrared, but even though I have an Adobe Monochrome image after basic editing in Lightroom, I still prefer the look I get with Silver Efex. Below is the image with basic processing, and then below that with the high structure smooth preset in Silver Efex. This is one of my go to presets for images other than portraits.
Here is another example where color just doesn’t suit the mood of the image. This was shot at a Civil War reenactment and there weren’t any color tin types in the day. This is the Antique Plate preset which is perfect for the time period.
One of the creative effects we have available by using layers is the ability to mask parts of the B&W layer to create a selective color effect. Use this sparingly and subtlely. Here is an image with subtle colors to begin with and masking just the leaf works pretty well. To make it easier to mask the leaf, I selected the leaf with object selection, and then with that selection in place, I painted black (Remember black conceals, white reveals) on the mask of the B&W layer.
This look has been way overdone, so be very careful not to overdo it yourself. In the 2010’s the bride holding her bouquet, converted to B&W, with selective color on the flowers became a cliché. Non-photographer brides loved it, while photographers hated it. But the bride had the checkbook, so who’s right? However if I see or hear of you doing this shot, I’ll deny ever knowing you and I certainly would never admit to showing you how it’s done.
Play around with all of the various presets in Silver Efex and enjoy the freedom of being able to shoot in color, but choose B&W later. This one ability is one my very favorite advantages of digital photography. Have I told you lately what a great time this is for photography? And it just keeps getting better every day.