In my last article I showed examples of how HDR in Lightroom and Photomatix compared to processing a single image when the image fit within the dynamic range of the sensor. In this article I’ll show the same comparisons when the image exceeds the dynamic range of the sensor. This is actually from my first ever attempt at HDR all the way back in 2010. It wasn’t as bad as I feared it might be. It took me a few more years to really perfect bad HDR habits. But this shot had a range of brightness from the bright outdoors and the relatively bright light fixtures, to the dim interior of the chapel. Also since this was 2010, my Canon 5D Mark II didn’t have nearly the dynamic range of my current 5D Mark IV. Also all of these images may lose some detail when this article is converted to PDF format.
Here are the six brackets I shot and they range from -3 stops to + 2 stops in 1 stop Increments. This was before I began bracketing in 2 stop increments.
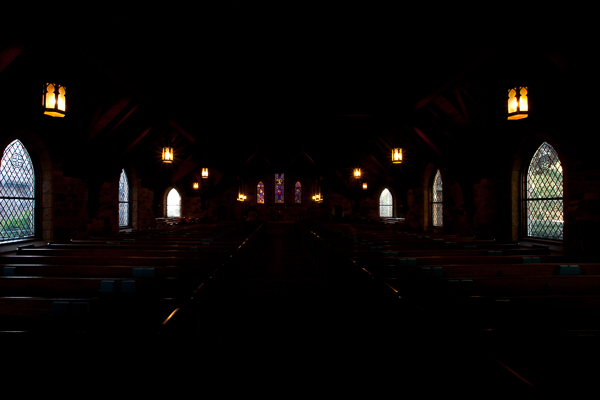
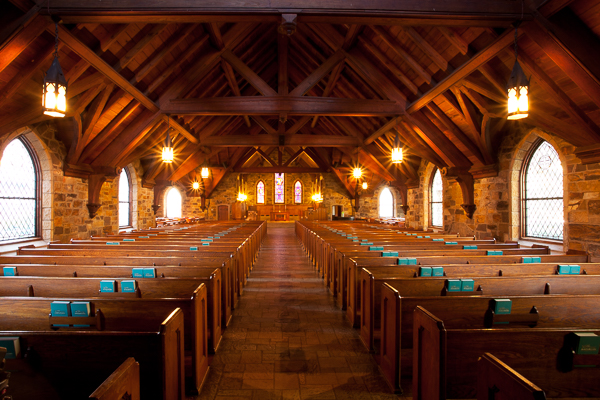
Here is the image that results from trying to edit the single normally exposed image. In this image the light fixtures are completely blown out, and when I edited and reduced the highlights, they just become a muddy gray rather than showing any detail. Also I had to open up the shadows to maintain detail. The net result is a fairly flat looking image (even though I increased contrast) and gray light fixtures and windows without detail.
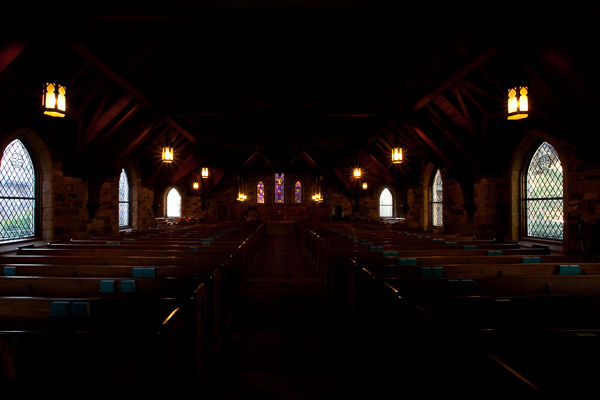
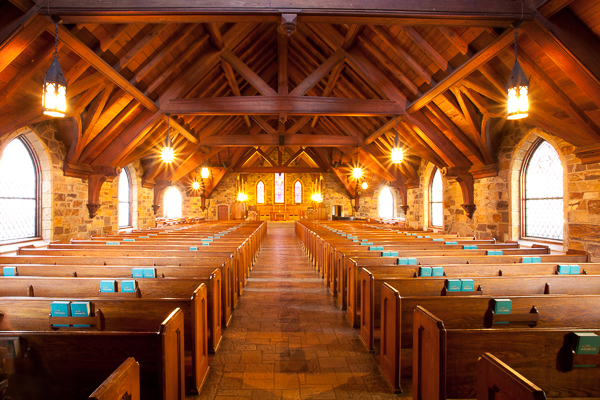
Below is the result I achieved by merging the six images to HDR in Lightroom, and then editing using just the basic controls in the tone panel. At first glance it may look similar to the single image, but notice how much more detail there is in the light fixtures, and the shadows are cleaner with better detail. Already you should see the advantages of HDR for this image, and that it was really necessary to capture the dynamic range of this image.
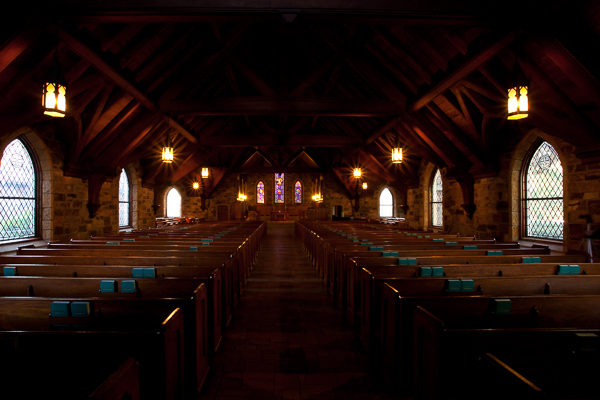
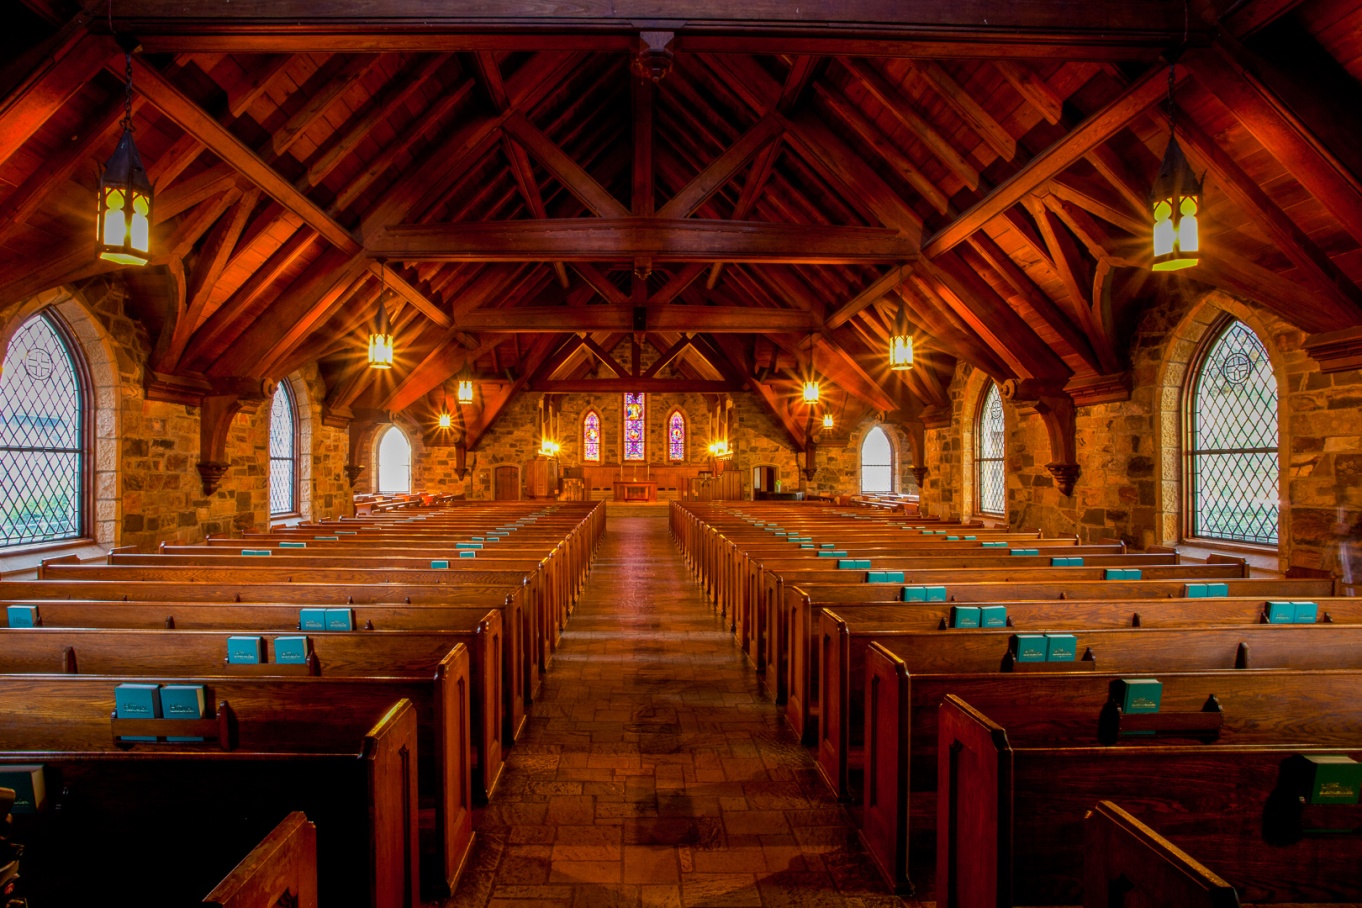
This is how I edited it back in 2010 using Photomatix 4.0. Notice that even though you see details in the windows and the outdoors, in the light fixtures, and in the shadows, there is contrast with even some blacks in the darkest shadows. It has a different look than the Lightroom HDR, with more pop and contrast. Photomatix 4 had different modes and presets compared to the current 6.0 version.
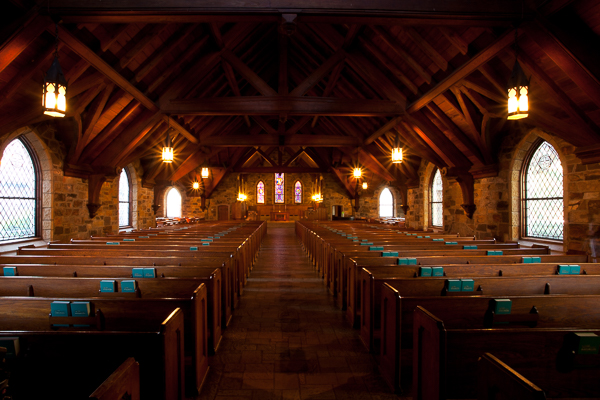
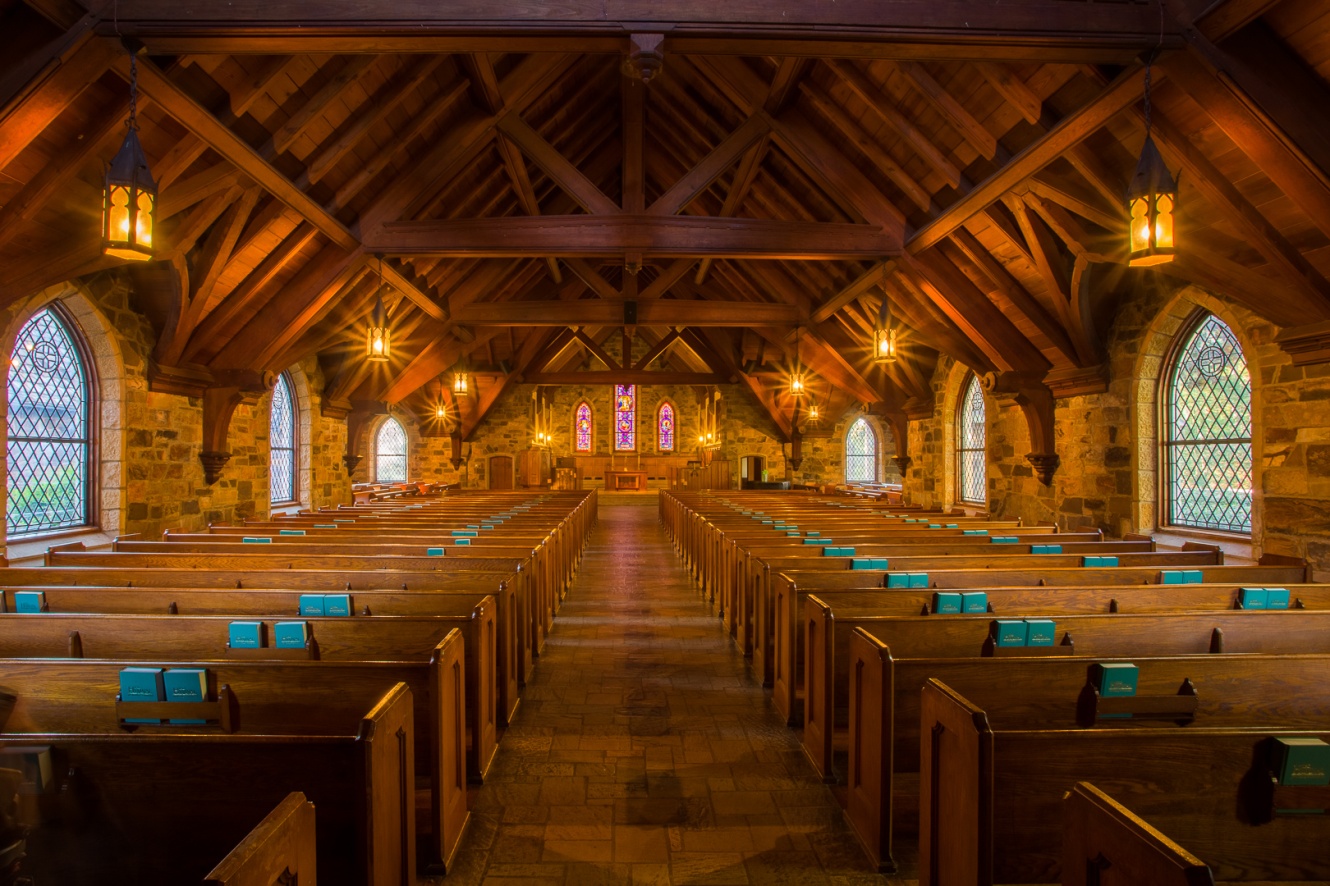
This is how I processed it in Photomatix 6 using the details enhancer mode and my current technique and settings.
I also tried processing it in the tone balance mode to see if that more closely resembles the tonemapping of version 4, but I don’t think it is very similar at all.
So now I’ve shown you four different HDR edits: LR merge to HDR, Photomatix 4.0, and two modes in Photomatix 6.0. You may like one more than the others, or you may not like any of them. But hopefully from this example you can see how brackets in HDR really can create a much better image than a single exposure where the range exceeds the dynamic range of the sensor. This still happens, even with the best of cameras. Typically it happens with a mix of indoor and outdoor exposures, very dark shade and bright sun, or an image with strong light sources. Then it’s HDR to the rescue. Even if you don’t use (or misuse) HDR as much I do, it’s a good tool to have in your bag for situations like this.