In this article, I’m going to explain how to add fireworks to an image. Why not just shoot them live you ask? Well fireworks displays get rained out, there are crowds and traffic to contend with, it may be hard to find a good unobstructed view point with room to use a tripod, the fireworks may not be where you want them in the composition, or there aren’t enough bursts to satisfy you. Adding fireworks puts you in control. You can add as many bursts as you want and put them wherever you need them.
To make this possible, it’s good to have a file of fireworks images to choose from. Over the years I’ve found locations where I could shoot isolated bursts without worrying about composition. My basic exposure is f/8 and ISO 100. My shutter is set to bulb mode, which means it opens when I press the release (I use a cable release) and stays open until I let up on the release. I usually listen for the sound of a fireworks being fired, or look for the trail of one rising. I open the shutter and hold it until the burst is through. I usually only try to get one burst at a time, except for right at the end of a show when lots of fireworks are going off all at once.
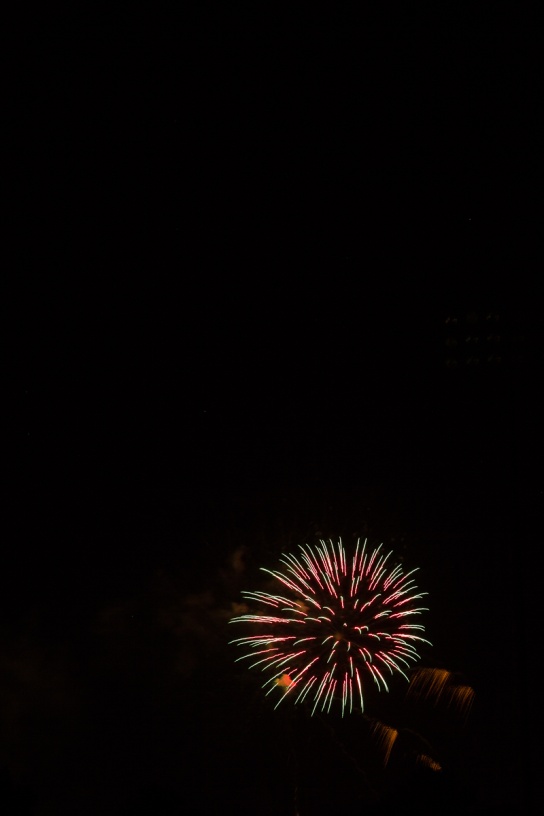
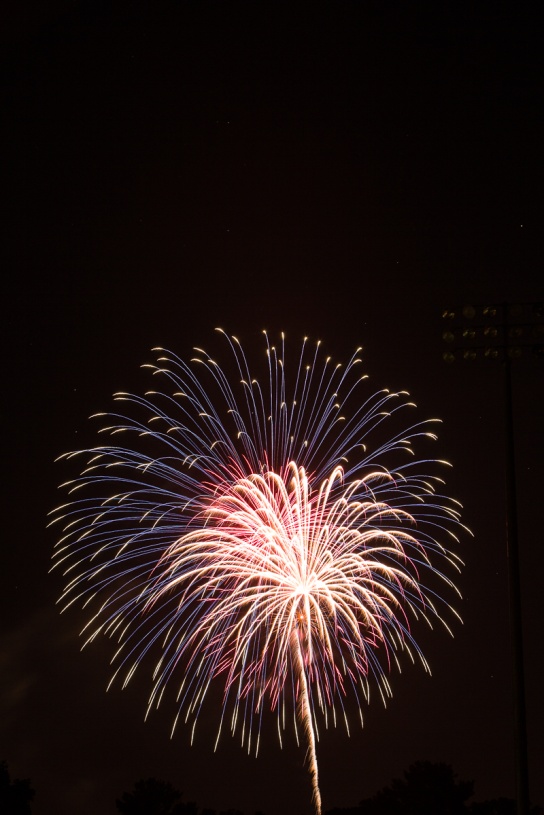
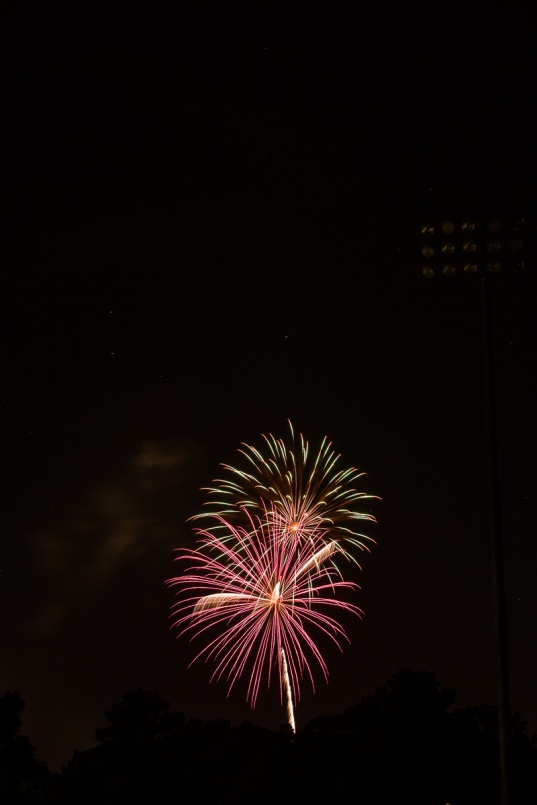
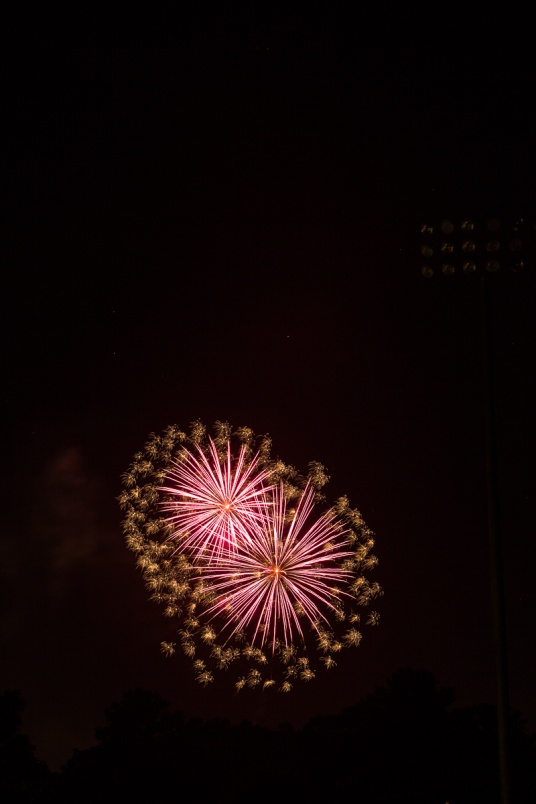
For this lesson we’ll use a dusk image of Chattanooga as our base image and add four fireworks bursts from my library. Below are the base image and fireworks images we’ll start with.
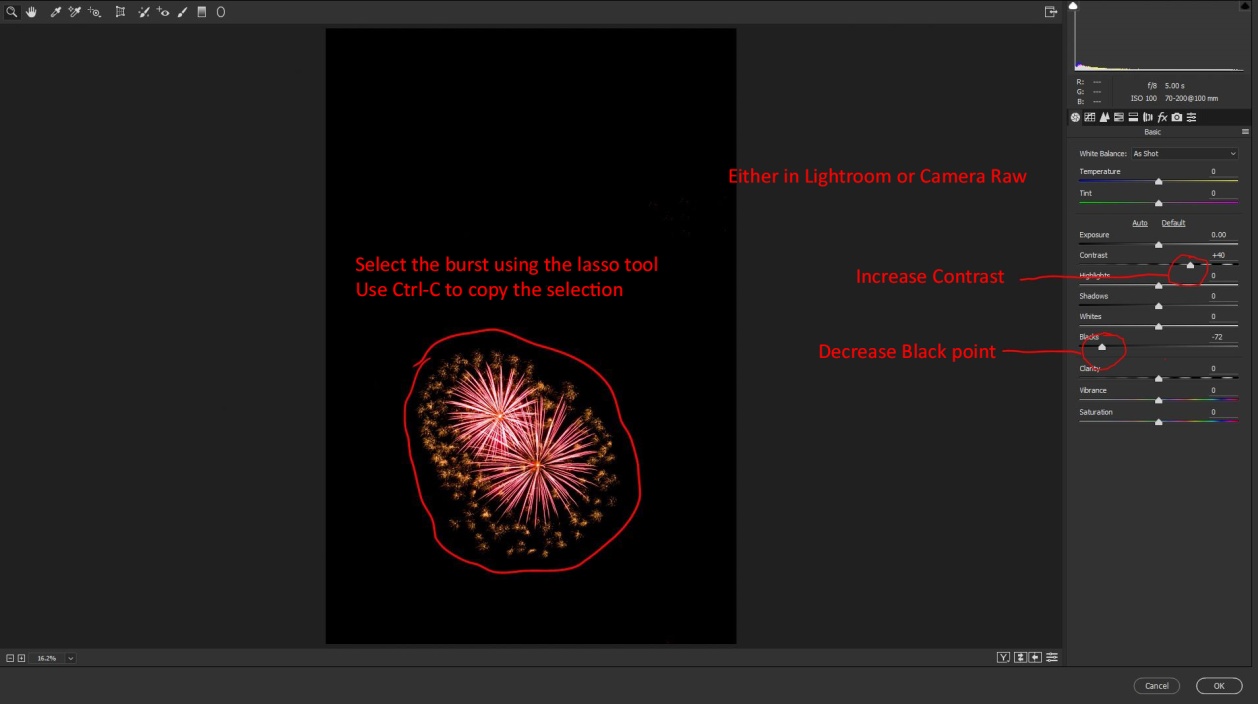
We’ll start by opening our base image and all 4 fireworks files in Photoshop. (This should also work in Photoshop Elements). First select one of the fireworks files. Then open the camera raw filter and increase the contrast, and decrease the blacks. This will help our fireworks blend in more cleanly. I also usually increase saturation and vibrance so the colors will show up well. Then click OK. You could also do this step in Lightroom before opening the fireworks in Photoshop.
Make a selection around the burst, and hit Ctrl-C (Cmd-C for you Apple types) to copy your selection. At this point you could close this file.
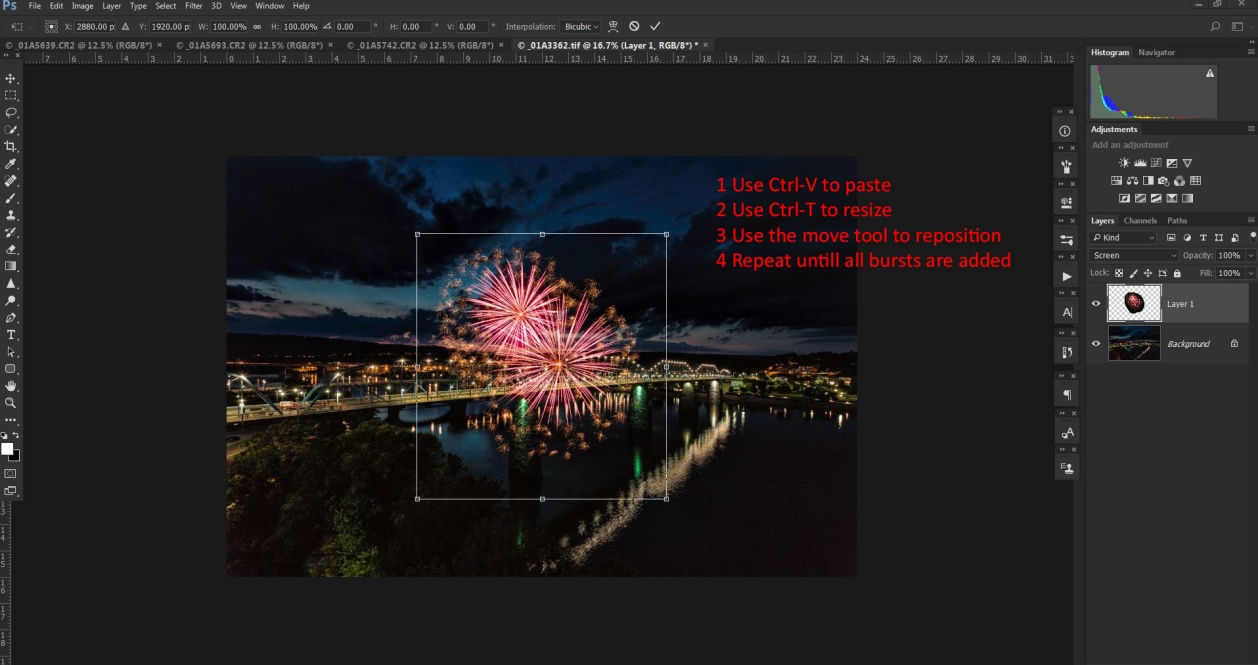
Go back to your base image and enter Ctrl-V (Cmd-V) to paste your fireworks selection. At this point, it’s probably not the right size, not in the right place, and it’s surrounded by a black blob.
To resize the burst enter Ctrl-T (Cmd-T) to bring up free transform. Hold down the shift key and drag a corner in to change the size while keeping the same proportions. Hit return when it’s the right size. Use the move tool to drag it where you want it. Here’s the secret to blending the fireworks without that black blob – change the layer blend mode to “screen”. Only tones lighter than what’s below them will show and the black blob disappears.
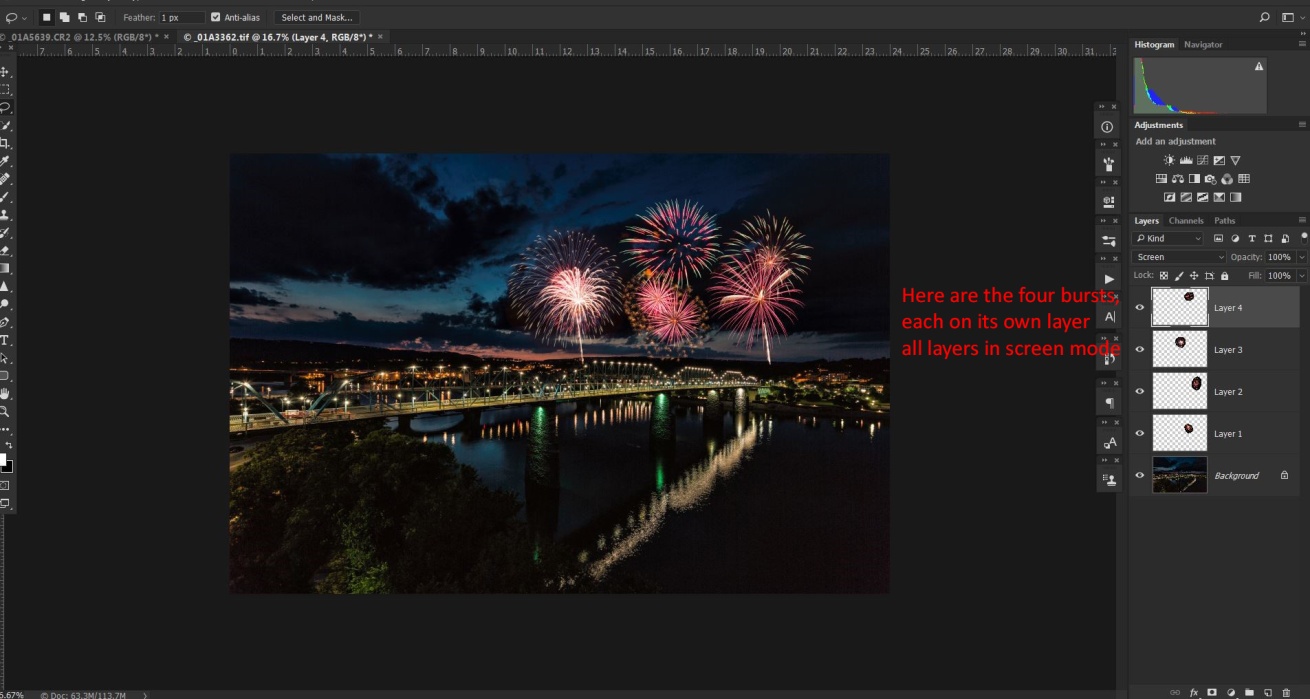
Repeat these steps for as many fireworks bursts as you want. Here I’m using those four images.
If there are no reflective surfaces, go to Layers/Flatten image then save and you’re done. If there are reflective surfaces like the river in the Chattanooga shot there are a couple of additional steps that will add to the realism.
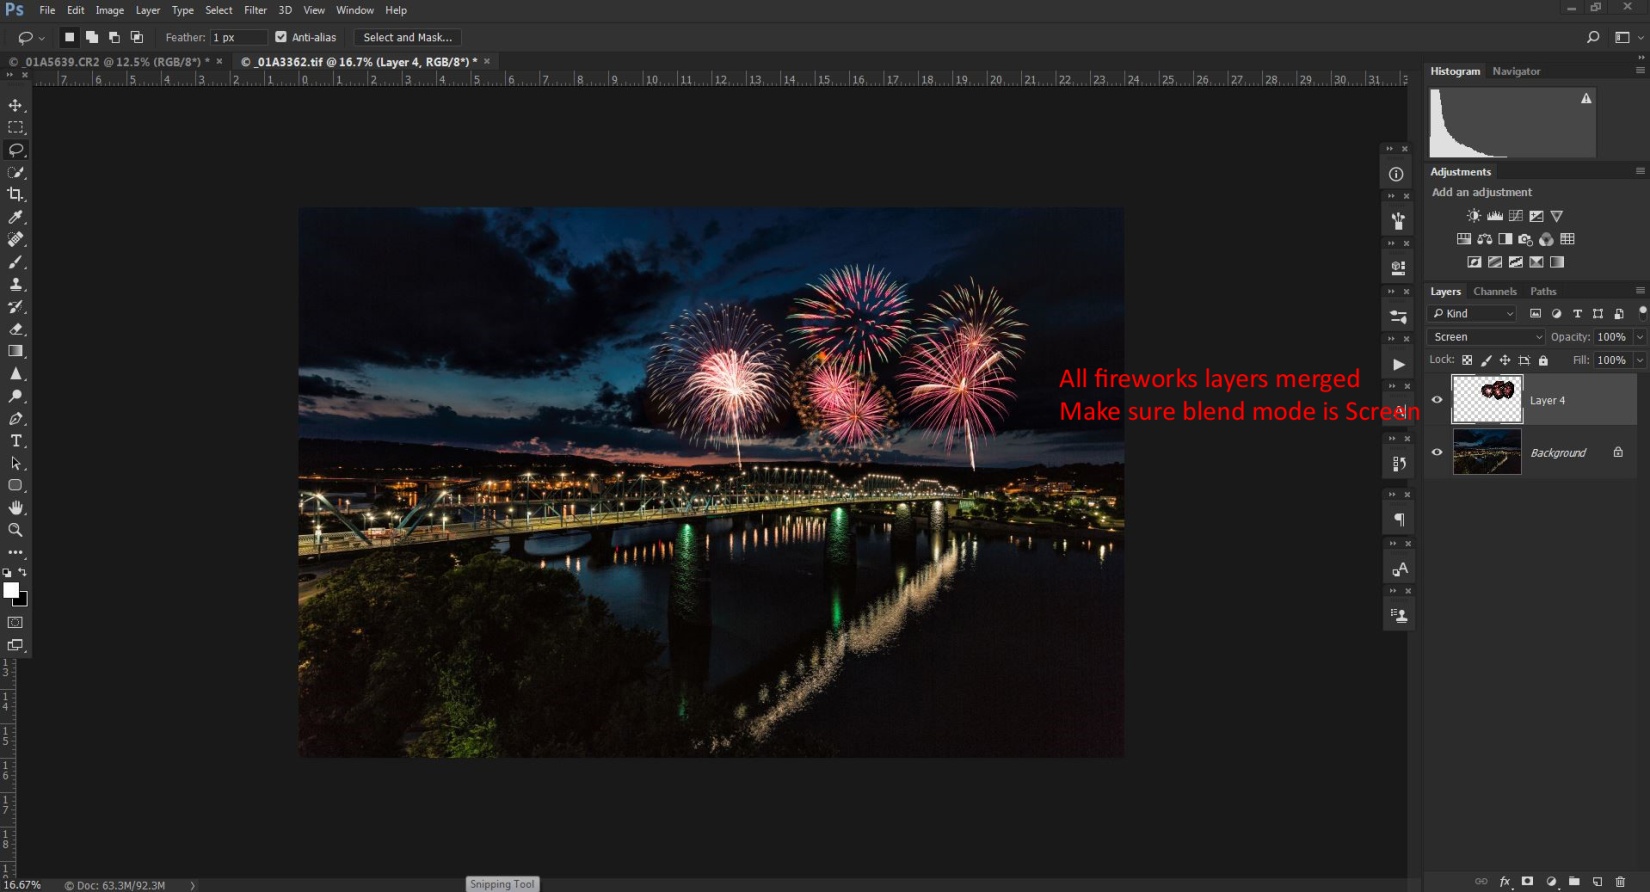
Start by selecting all of the fireworks layers by clicking on one, then hold Ctrl (Cmd) while clicking on each of the others. Right click and select merge layers. That puts all of the fireworks in one layer and they move and behave as one. You will need to change the blend mode of this merged layer to screen.
To create the reflections in the water we’ll create a new layer by duplicating the merged fireworks layer by hitting Ctrl-J (Cmd-J).
Select this layer and enter Ctrl-T (Cmd-T) to bring up free transform again. Right click inside the box and choose flip vertically. Hit return and use the move tool to drag the reflections layer down to the water.
Erase or mask the reflections from anything that isn’t reflective or that would block the reflections. To make the reflections blend more realistically, decrease the opacity until the reflections are more subtle. And choose filter/blur/gaussian blur and add a blur so the reflections don’t look too sharp. Something between 5 and 10 should work.
Now all that’s left is to go to Layers/flatten image, and then save and close.